Wasn't planning on upgrading from my 10G tank, but ran out of space and someone I knew was downgrading. Anyways, here are the details:
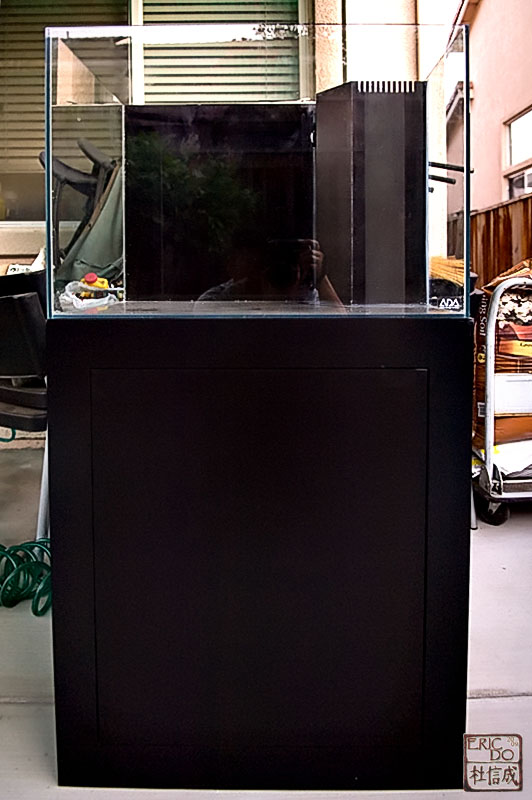
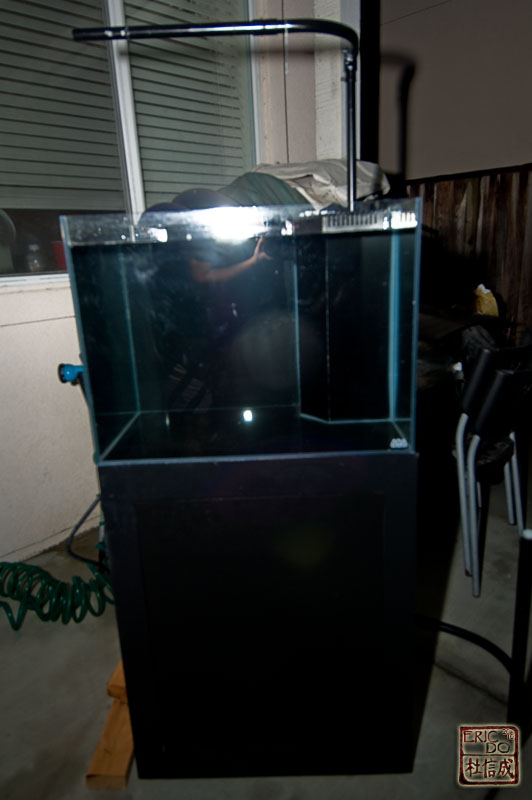
Tank: 24x18x18 ADA tank, bottom drilled in the back right corner
Bottom and back were already painted black, which is what I prefer, so it'll stay that way.
Additional equipment/planning:
Light: Giesemann 230+ (1x150W Radium 20KK + 2x24W T5 - UVL super actinic + giesemann actinic plus)
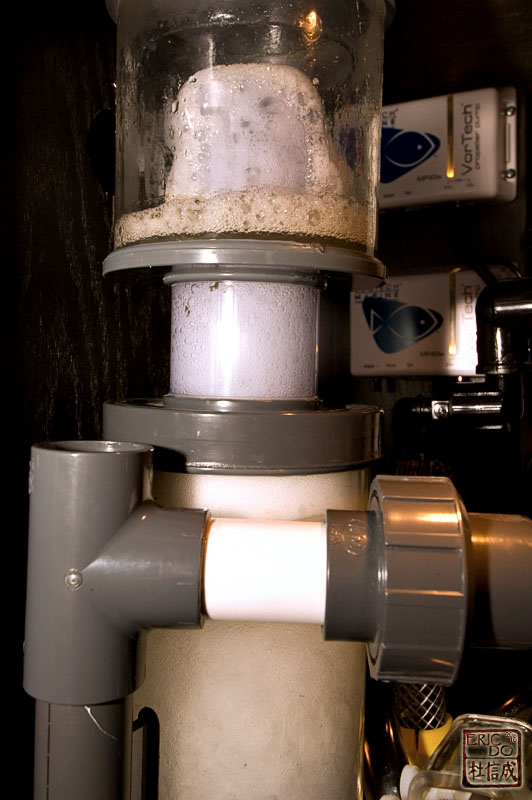
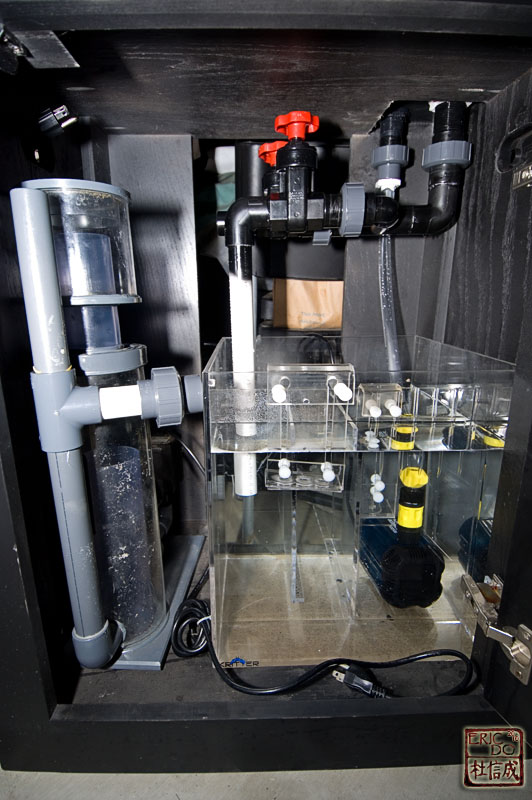
Skimmer: H&S A110-F2000
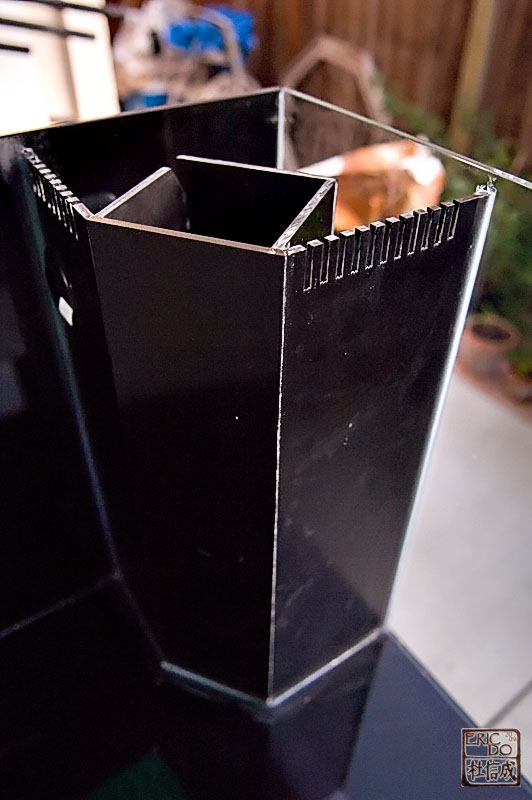
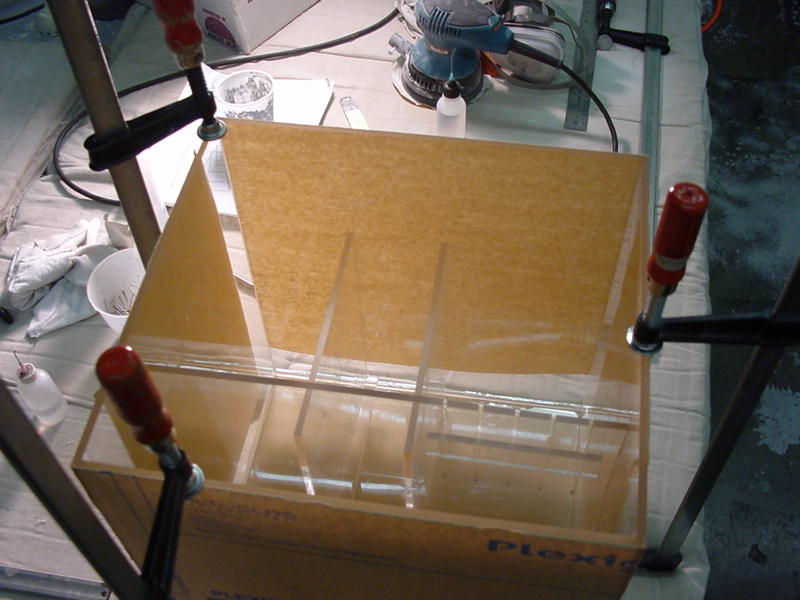
Flow: Vortech MP40W in drybox
Sump: ...
Chiller: Teco TR-10 with heater module
The tank is currently sitting over at Max's place, waiting for the stand and the vortech dry box to be built. Stand will be ADA style made of poplar and painted black. The other piece that I'm asking Max to build is a drybox for the vortech. It'll function as a drybox to house the MP40W as well as to hide the two holes in the back right corner. Quince (person that I picked up the tank from) drew up the design.


That's it for now. Gotta stop by AS to check on the progress and also to check out their sump designs later today.
Tank: 24x18x18 ADA tank, bottom drilled in the back right corner
Bottom and back were already painted black, which is what I prefer, so it'll stay that way.
Additional equipment/planning:
Light: Giesemann 230+ (1x150W Radium 20KK + 2x24W T5 - UVL super actinic + giesemann actinic plus)
Skimmer: H&S A110-F2000
Flow: Vortech MP40W in drybox
Sump: ...
Chiller: Teco TR-10 with heater module
The tank is currently sitting over at Max's place, waiting for the stand and the vortech dry box to be built. Stand will be ADA style made of poplar and painted black. The other piece that I'm asking Max to build is a drybox for the vortech. It'll function as a drybox to house the MP40W as well as to hide the two holes in the back right corner. Quince (person that I picked up the tank from) drew up the design.
That's it for now. Gotta stop by AS to check on the progress and also to check out their sump designs later today.
")