Well, I have been MIA on the boards for a while - had problems with my SPS and couldn't quite figure out the cause, got busy and ended up just letting the tank coast for a while. Things were going really well up until that point too - stuff was growing really fast.
Anyways, thought I'd make my long-overdue build post. This is basically the chronicle of the construction of our 180g tank. Enjoy!")
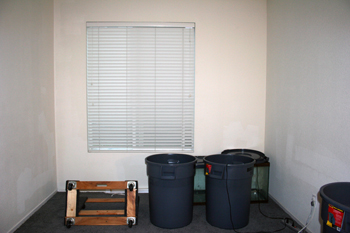
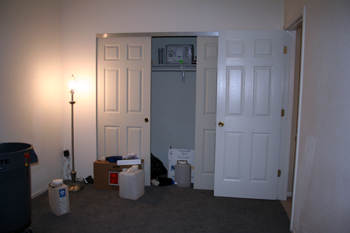
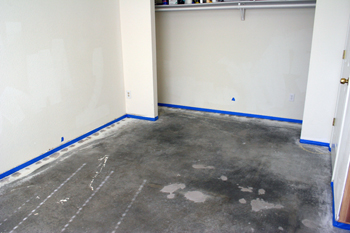
Our new house had an extra large family room - the previous owner had put up a wall to split it into a smaller family room and 5th bedroom. We decided to make the bedroom into our fish room (and other storage) so that the tank would be in wall and viewable from the family room.
Here's the room beforehand:
First thing we did was pull up the old carpet:
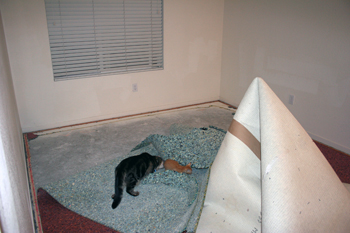
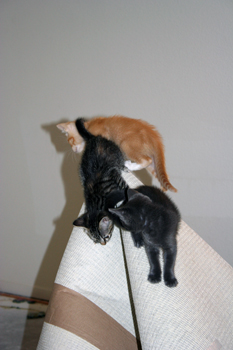
Our foster kittens thought that was a lot of fun:
Carpet gone:
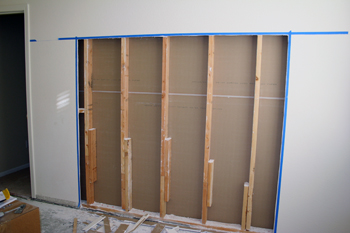
Then we started cutting into the wall. This was easy, since the wall was an addition, and therefore not load-bearing. One thing we did find though, was that whoever built the wall decided to go the cheap way - they got scrap studs that didn't go the length of the floor to the ceiling, so they literally patched the studs together. They also built the wall right on top of the old carpet. Brilliant.
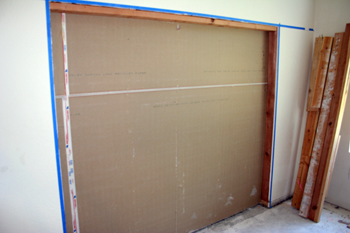
Studs were cut out, and the opening was framed:
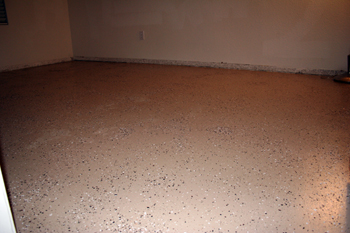
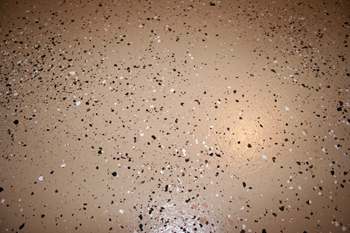
We then painted the floor with Epoxy Shield, which was surprisingly easy to do:
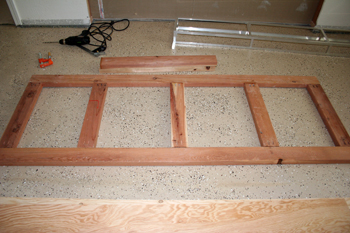
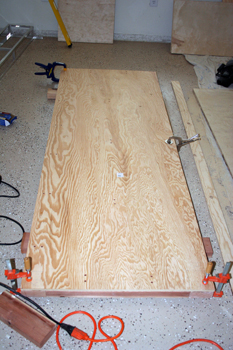
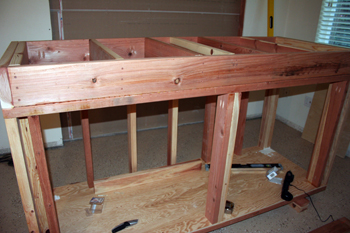
Then we started to build the stand:
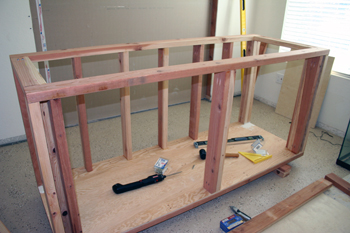
We primered and painted the stand, and while putting on the final coat of paint, I noticed the stand looked a bit crooked. Turned out I had built the top frame 1" wider than the bottom frame, and it was now a trapezoid. A trapezoid that was glued and nailed together. Oops!
Rather than start all over, we cut an inch out of the sides of the top frame, and pulled them together with glues and screws:
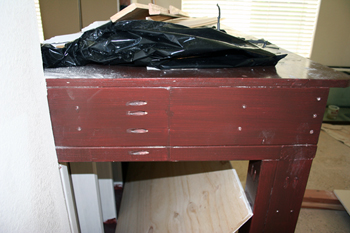
Problem solved!
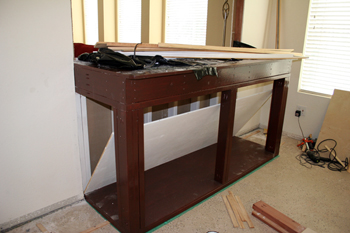
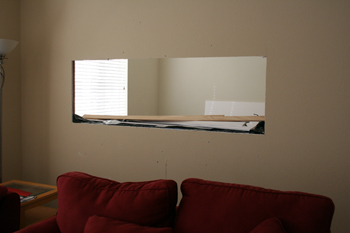
The stand was then put into the wall:
You could see through to the kitchen (which we remodeled at the same time):
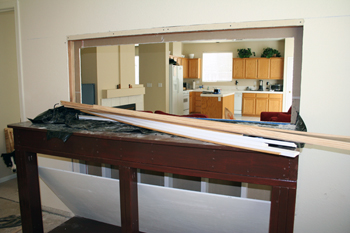
The view from the family room:
I took a break to dress the dog in a t-shirt:

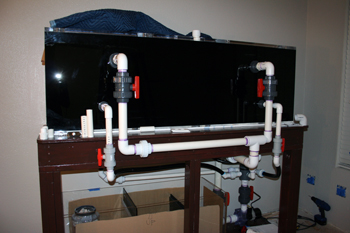
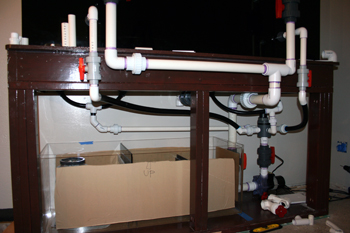
We got the tank on the stand, and then it took me a week to do all the plumbing for it:
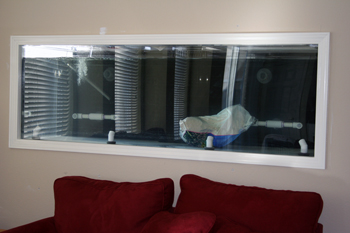
Finally after we leak tested it and everything, we made 180 gallons of water. Here's the tank, nearly full, with a lonely bag of sand:
r />
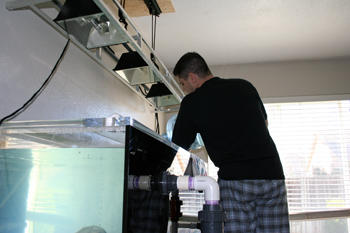
And Marc adding more water - next to his head is the rack with the three 250w ROIII pendants:
With the sand and rocks, the tank was very cloudy:
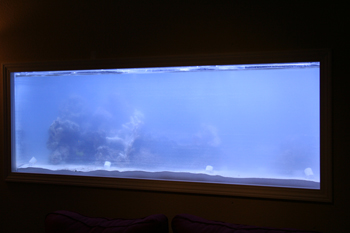
Took a couple of days for all the sand to settle out, and then I was finally able to move over my fish and stuff:


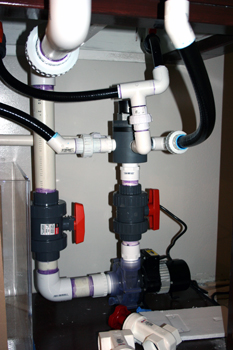
I have a Mag 12 powering the return from the sump, with the returns pointing straight down the back, and a closed loop powered by a Dart with an Oceans Motions 4-way. Flow alternates between coming from the back to the front (close to the bottom), and then back up from the bottom of the tank to the top/rear.
Skimmer is an H&S 200x2-F2001, and I'm in the process of setting up a Geo calcium reactor (have been dosing 2-part thus far). I've rearranged the aquascaping a little bit too. I'll post more current pictures later!
Anyways, thought I'd make my long-overdue build post. This is basically the chronicle of the construction of our 180g tank. Enjoy!
Our new house had an extra large family room - the previous owner had put up a wall to split it into a smaller family room and 5th bedroom. We decided to make the bedroom into our fish room (and other storage) so that the tank would be in wall and viewable from the family room.
Here's the room beforehand:
First thing we did was pull up the old carpet:
Our foster kittens thought that was a lot of fun:
Carpet gone:
Then we started cutting into the wall. This was easy, since the wall was an addition, and therefore not load-bearing. One thing we did find though, was that whoever built the wall decided to go the cheap way - they got scrap studs that didn't go the length of the floor to the ceiling, so they literally patched the studs together. They also built the wall right on top of the old carpet. Brilliant.
Studs were cut out, and the opening was framed:
We then painted the floor with Epoxy Shield, which was surprisingly easy to do:
Then we started to build the stand:
We primered and painted the stand, and while putting on the final coat of paint, I noticed the stand looked a bit crooked. Turned out I had built the top frame 1" wider than the bottom frame, and it was now a trapezoid. A trapezoid that was glued and nailed together. Oops!
Rather than start all over, we cut an inch out of the sides of the top frame, and pulled them together with glues and screws:
Problem solved!
The stand was then put into the wall:
You could see through to the kitchen (which we remodeled at the same time):
The view from the family room:
I took a break to dress the dog in a t-shirt:
We got the tank on the stand, and then it took me a week to do all the plumbing for it:
Finally after we leak tested it and everything, we made 180 gallons of water. Here's the tank, nearly full, with a lonely bag of sand:
r />
And Marc adding more water - next to his head is the rack with the three 250w ROIII pendants:
With the sand and rocks, the tank was very cloudy:
Took a couple of days for all the sand to settle out, and then I was finally able to move over my fish and stuff:
I have a Mag 12 powering the return from the sump, with the returns pointing straight down the back, and a closed loop powered by a Dart with an Oceans Motions 4-way. Flow alternates between coming from the back to the front (close to the bottom), and then back up from the bottom of the tank to the top/rear.
Skimmer is an H&S 200x2-F2001, and I'm in the process of setting up a Geo calcium reactor (have been dosing 2-part thus far). I've rearranged the aquascaping a little bit too. I'll post more current pictures later!
