Neptune Aquatics

The "Legend" of TubeRider's Looong Journey.

tuberider said:
Actually that is one of the many ideas that have been thrown around with this build, we've since decided to go 100% LED.

Good decision over the plexi in water idea. I've used submersible T8's in the past and how quickly algae builds up is incredible. I suspect it had not only to do with the light, but the heat as well. I'm sure you've seen the lights I'm talking about, Justin at ocean Aquarium used to sell em. Straight off the boat, not a drop of English on the packaging and SCARY ballasts. UL... HA they scoff at UL. CE, ha, even funnier to them :lol:
 
The good thing about submerging the lights is that they'll be about 15-20% stronger since about that much of light gets reflected off of the surface of the water.

That increase though is likely to be negated though by the aforementioned algae buildup.

Why does the light have to be submerged at all? Can it just be right above the surface of the water--especially with the lower profiled LEDs?

Patrick
 
krittertanks said:
...A decision was made to weld stainless steel bars and infuse them into the acrylic sheet....
Has this really been tested??
First think I thought of - yikes, major stresses.
The problem - stainless and acrylic probably have a pretty different thermal expansion coefficient.
(I did not look it up, but a likely assumption)
That could cause some major stress along the bond, especially over that length.
It is not like a normal frame, where there is some silicone and flex to allow for a bit of
play as things expand/contract. It is tightly glued in there.
Although if it was glued in at the planned tank temperature, and always kept that warm,
then you might be fine.
 
Good thought about the heat expansion differentials, the temp rise is around 30 degrees F. The distance of the stainless bars is 16" Only time will tell!
Engineering is about calculating the parameters, but then the balls to do it =P
We used Acrylic Monomer non-cured resin. The resin is injected using an epoxy type mixer tip, so not too many bubbles to deal with. AS long as there is not too much resin, the cure does not boil too much to create gas. The gas issue was a big one, I think the plastic manufacturers have a large autoclave. Fancy equipment and highly paid technicians.
 
krittertanks said:
Good thought about the heat expansion differentials, the temp rise is around 30 degrees F. The distance of the stainless bars is 16" Only time will tell!
Engineering is about calculating the parameters, but then the balls to do it =P
We used Acrylic Monomer non-cured resin. The resin is injected using an epoxy type mixer tip, so not too many bubbles to deal with. AS long as there is not too much resin, the cure does not boil too much to create gas. The gas issue was a big one, I think the plastic manufacturers have a large autoclave. Fancy equipment and highly paid technicians.

Yes, I thought it was the length of tank. Only 16" should not be a big deal.

Bubble reduction trick:
Find a big kitchen pot with a loose fitting lid. (loose is important - embarrassing goof there)
Heat pot with a bit of water in it to about 90 deg. Mix epoxy in normal plastic container that fits in pot.
Put epoxy in pot, and connect vacuum bagging pump around pot. Wait about 10 minutes.
The heat + vacuum will pull a LOT of the bubbles out.
Only works with slow-set of course.
Beyond that, make sure you have good breather material for vacuum bagging.
 
Part II The Wicked Potion.
In order to achieve life in the modern cavern, a wicked potion must be devised in order to join the water vessel holding the life water.
The challenges of blending the potion are vast. The process had taken many hours of agony, and the moon cycle came and passed. =<

The entire butte joining experiment and process was not photographed due to the "agony" at hand.
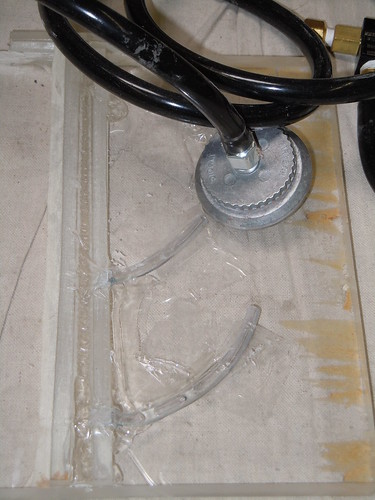
I played around with vacuum bagging using this air compressor venturi.
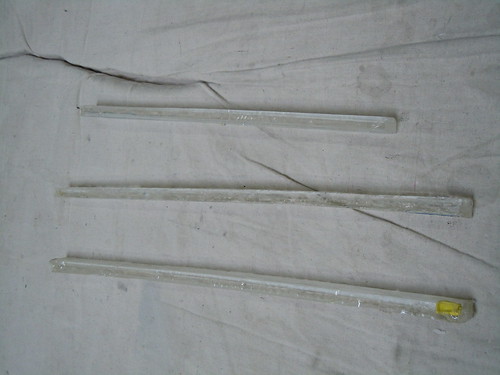
Aquarium air tube and acrylic strips were used in order to have a place for the resin bubbles to go.


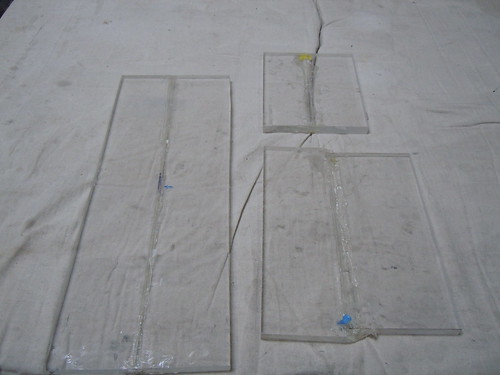
Many experiments were performed in order to get an optically clear joint.


Actual end pieces of the 8' sheets for the front and back of the tank. When doing the bond in reality, the heat produced by the acrylic resin created many bubbles not created in the original samples. This was where the moon cycle rose and fell during the winter.
 
PartII the potion simmers
Winter had passed and spring was on its way. The steel infused brace on its way.

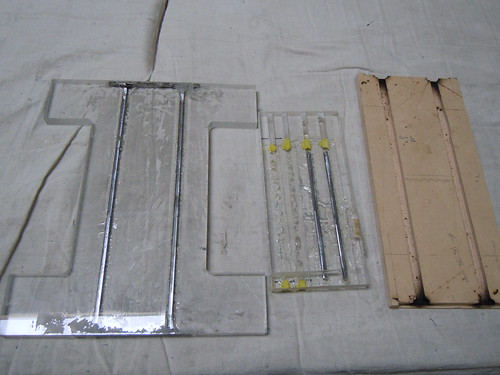
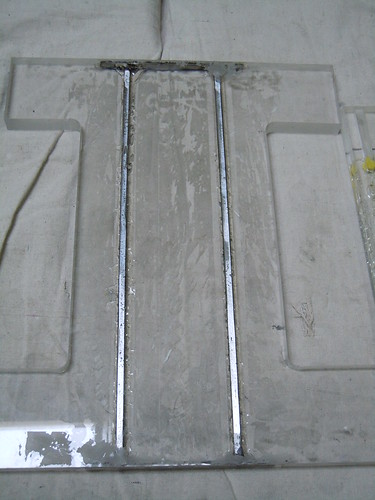
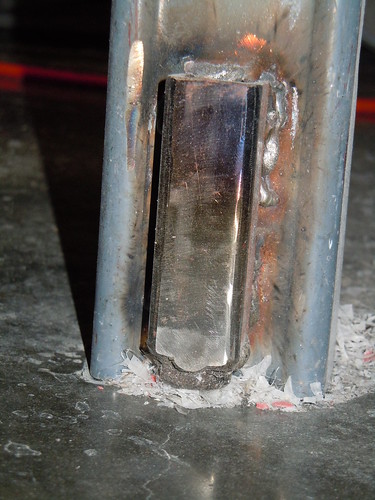
A decision was made to weld stainless steel bars and infuse them into the acrylic sheet.
I was enthused about this idea because I doubt anyone has ever done it.
The original idea was to make the 3 center braces normal width and have the option to drill return holes into the braces.
This would be to keep the structural integrity of the braces long term. (10+ years)

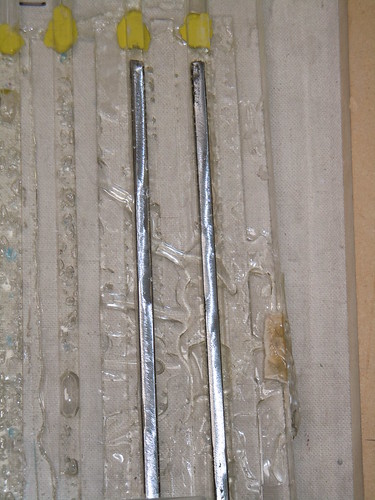
Infusion practice using vacuum bag.

Metal welding jig on rt.

The finished experiment.

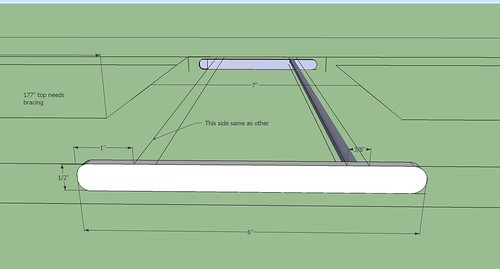
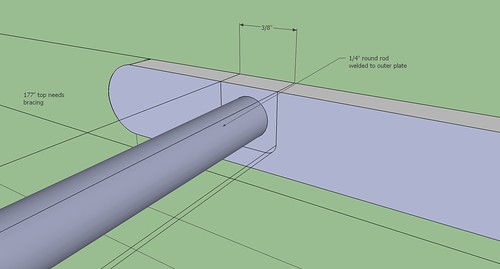
Final design

Using round rod
 
Part III Trecking the swamp.
As time flies and the moon begins to rise.... again!
The trek must evolve to sustain its course.

Here's the boring part, but extremely necessary.
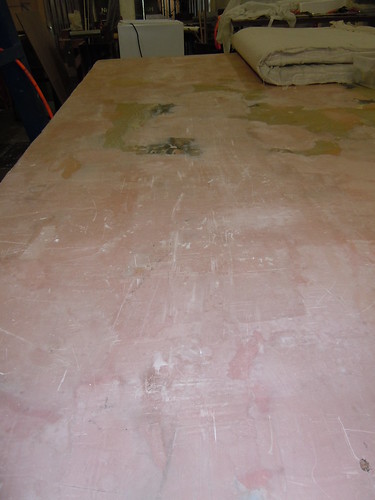
Flattening the table into a plane.
This table is around a five year odysey, but that's another story, not very entertaining at all.
Tables were joined in order to pass the proprietary Vert router over the 3D tank walls.


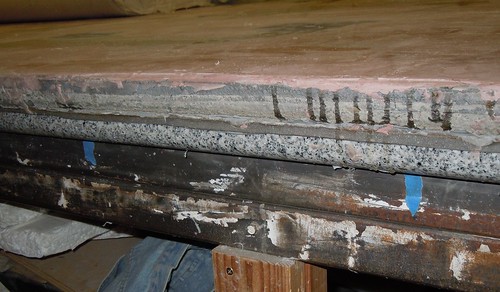
The tables' many layers, tell a story all their own. In order to make an extremely long 5x10' plane, I found out how to accomplish this through trial and error. Spend a lot of money or do what I did!


A leveling screw on the other 3x8' table. This was to create a mostly planar 18' work table.
I had to walk around this table for 2 months, sometimes ducking under it when the path was blocked.
 
Episode II
The mental strain prepping for the looong journey had taken its toll. Time was running out, and Tuberider had to make some kind of progress =(
Sooo... the actual journey was begun, in order to fulfill the dream of a nurturing life cube.

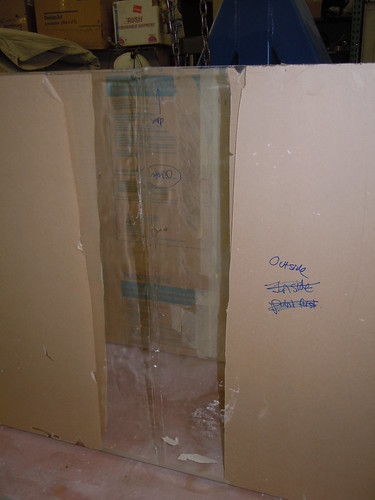
The front panel is joined after several attempts. Two 8' section joined in order to create the 186.5" tank.
The center seam butte joint clarity was debatable. After 1.5 months of experimentation, a compromise with my intense need to seek the best outcome had come to an end.
 
Back
Top