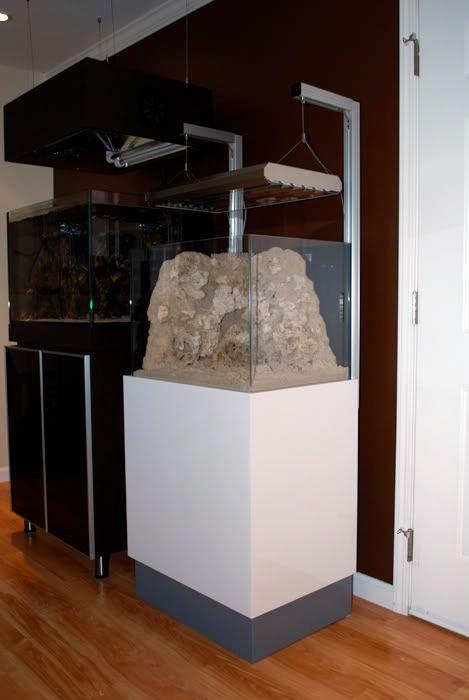
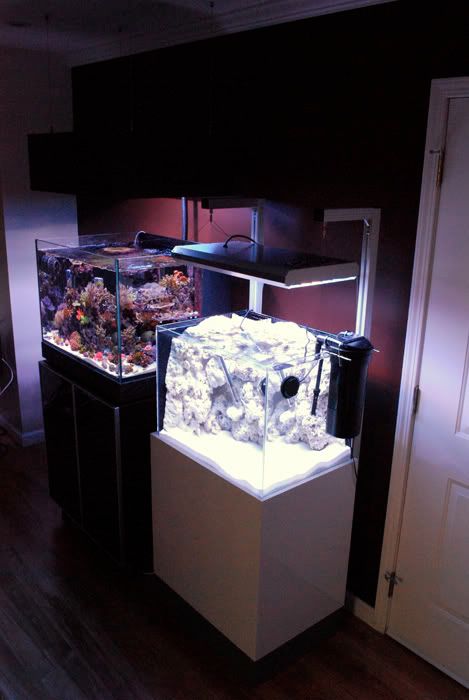
Here’s my new pet project that I’ve been working on. It’s a 30 gallon ADA (24”x18”x18”). I wanted something a little different from my main tank so I decided on doing a foam rock wall for this setup (http://www.bareefers.org/home/node/8264).
Pic of the tank
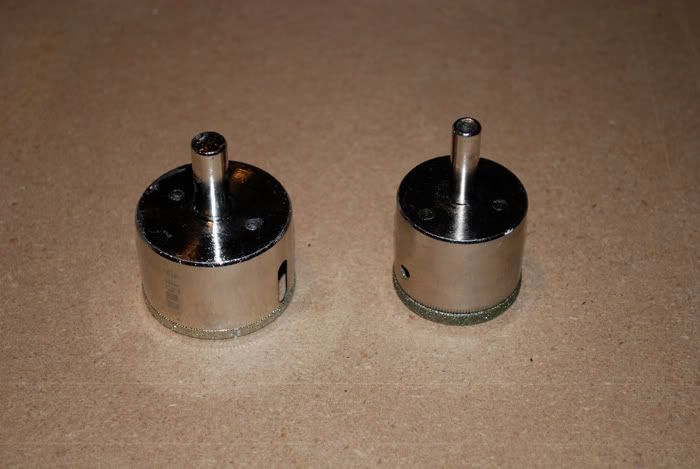
I picked up a couple of these guys on ebay to drill the tank……1” bulkhead for the drain and ¾” for the return. I was a little worried about drilling the tank but it was actually very easy. There are a ton of vids on youtube that demonstrates on how it’s done. Just make sure the glass you are drilling is not tempered.
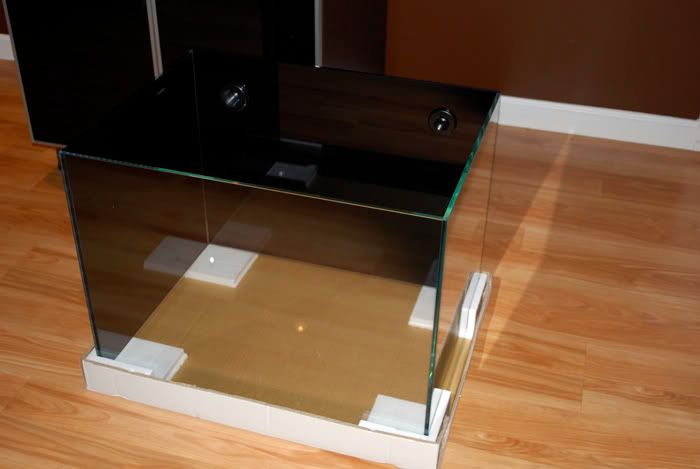
I applied a black background to the left and rear of the tank. It goes on like window tint and is very easy to apply…..just pre-cut to size, spray the glass with soapy water, peel off the adhesive backing, apply and position, then scrape out the air bubbles with a credit card and let dry.
Here’s a pic of the tank with the background on and holes drilled.
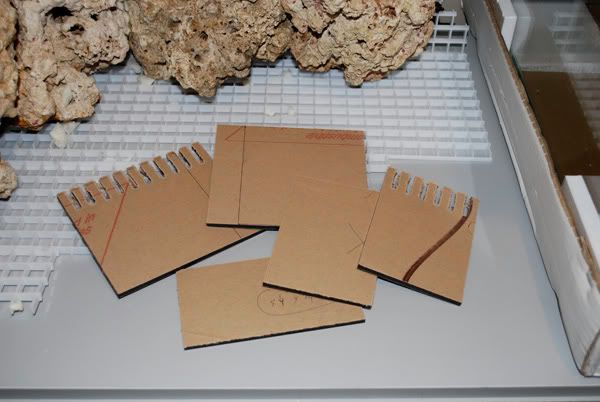
Acrylic for the overflow cut and ready to be glued together
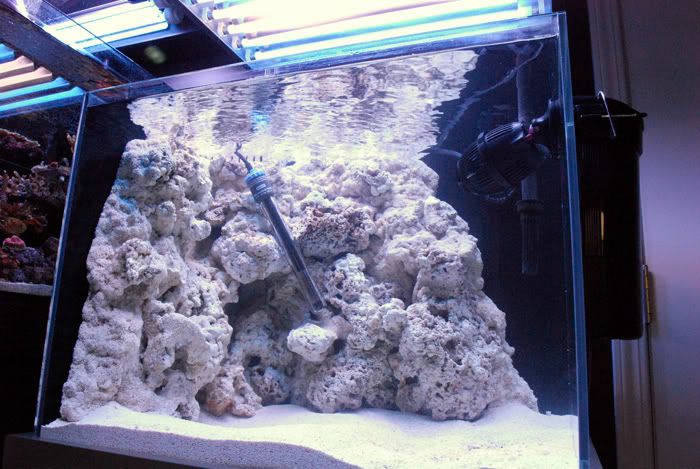
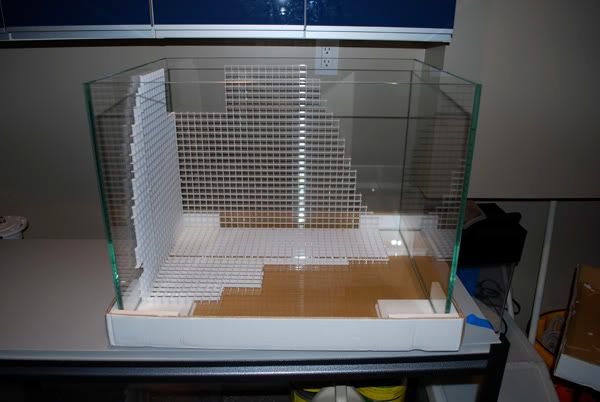
Test fitting the overflow on the rock wall
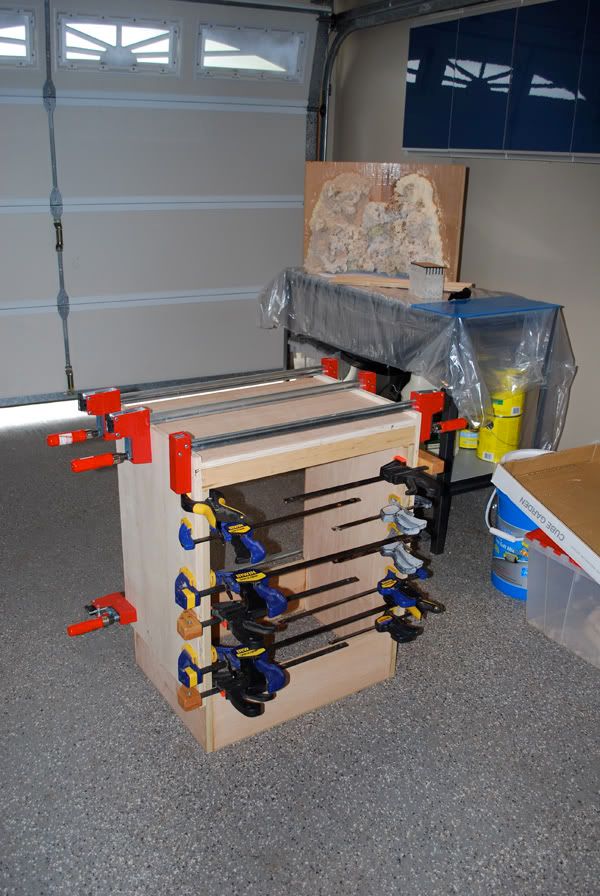
Building the stand. Luckily for me, a buddy of mine have a lot of wood clamps!
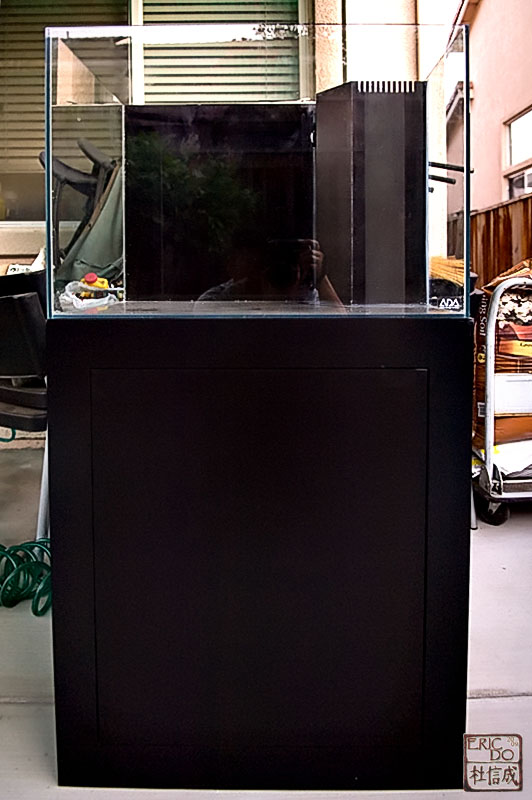
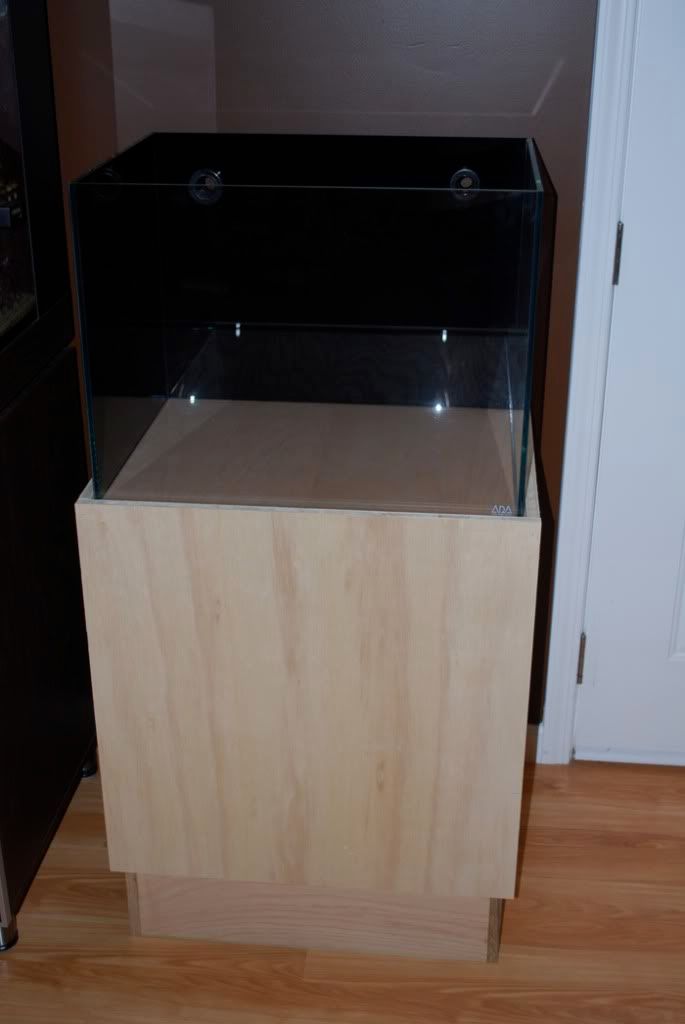
Test fitting the tank on the stand.
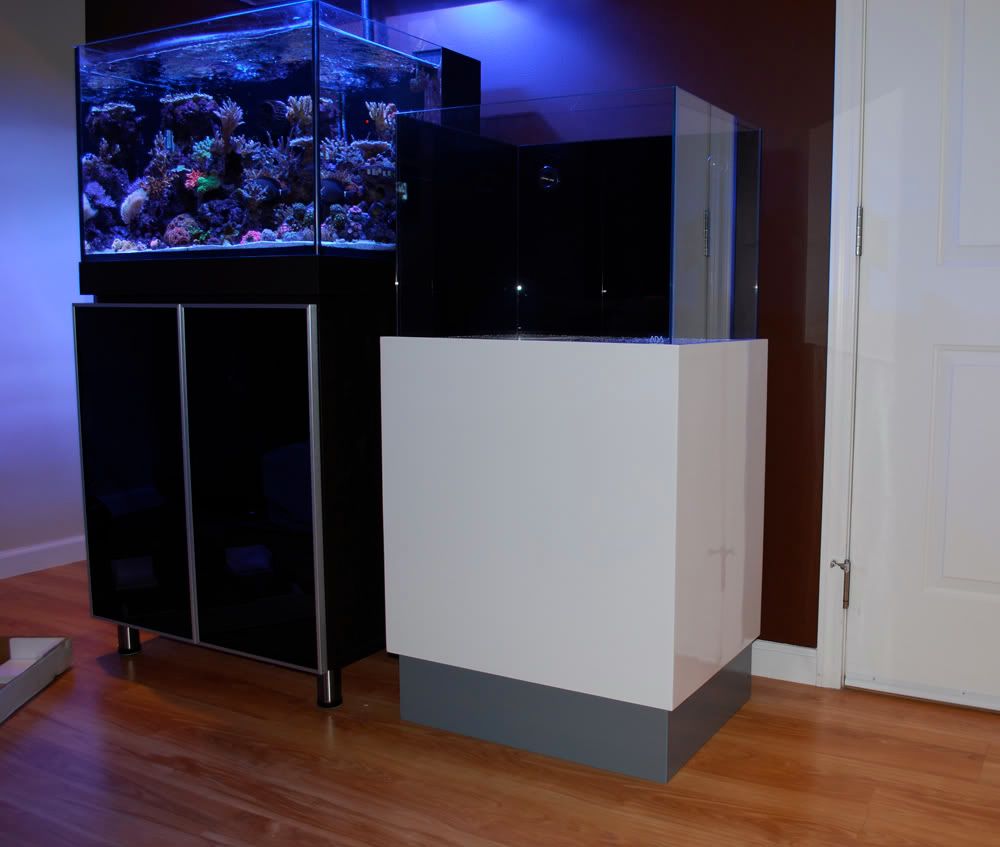
Here’s the completed stand. It’s finished with an automotive paint and clear coat.
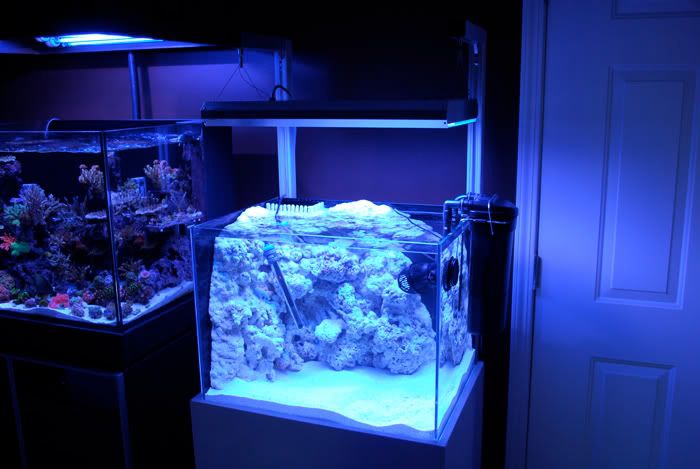
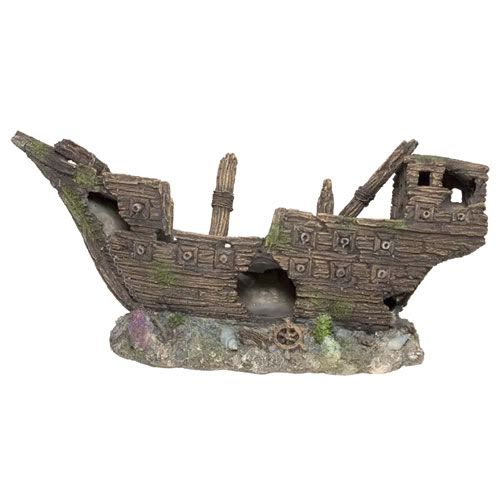
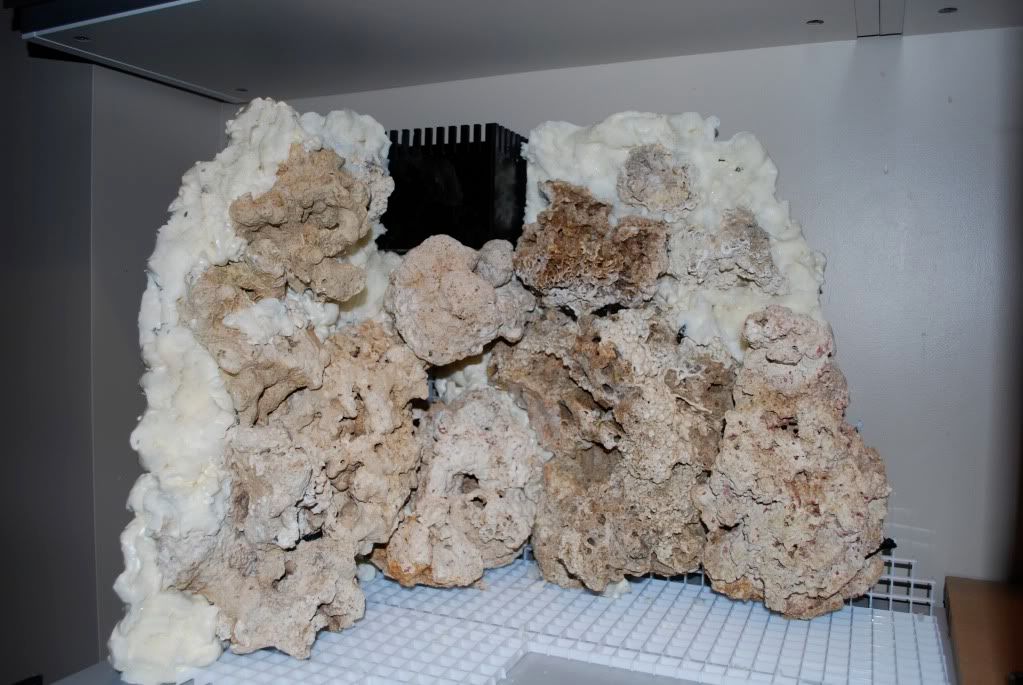
Another test fit for the completed rock wall and overflow box. I still have to do a little more foaming and epoxy work to blend it in. Hopefully it will not be such an eye sore when it's all done.


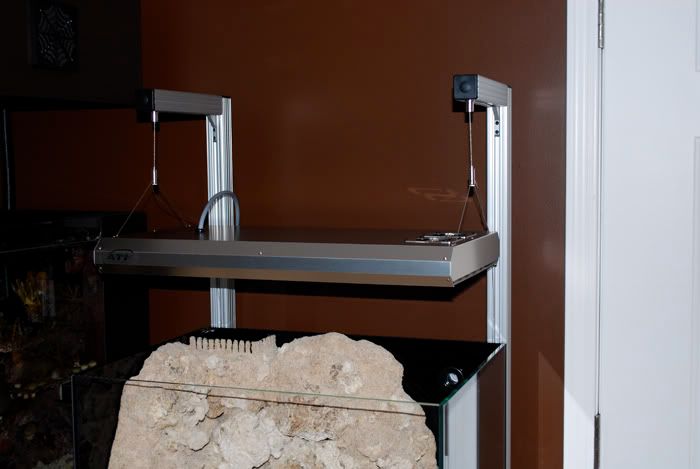
That’s all I have for now. I will be working on the light rack over the next few days and will update as this build progesses.
Pic of the tank
I picked up a couple of these guys on ebay to drill the tank……1” bulkhead for the drain and ¾” for the return. I was a little worried about drilling the tank but it was actually very easy. There are a ton of vids on youtube that demonstrates on how it’s done. Just make sure the glass you are drilling is not tempered.
I applied a black background to the left and rear of the tank. It goes on like window tint and is very easy to apply…..just pre-cut to size, spray the glass with soapy water, peel off the adhesive backing, apply and position, then scrape out the air bubbles with a credit card and let dry.
Here’s a pic of the tank with the background on and holes drilled.
Acrylic for the overflow cut and ready to be glued together
Test fitting the overflow on the rock wall
Building the stand. Luckily for me, a buddy of mine have a lot of wood clamps!
Test fitting the tank on the stand.
Here’s the completed stand. It’s finished with an automotive paint and clear coat.
Another test fit for the completed rock wall and overflow box. I still have to do a little more foaming and epoxy work to blend it in. Hopefully it will not be such an eye sore when it's all done.
That’s all I have for now. I will be working on the light rack over the next few days and will update as this build progesses.
")