Neptune Aquatics

DIY Stand for big 250G aquarium

rygh

Guest
I built my own stand for a normal 75 gallon aquarium long ago.
Decided to do the same for my 250 gallon upgrade.
Loads are a lot higher, so a bit trickier.
This thread should follow the process.

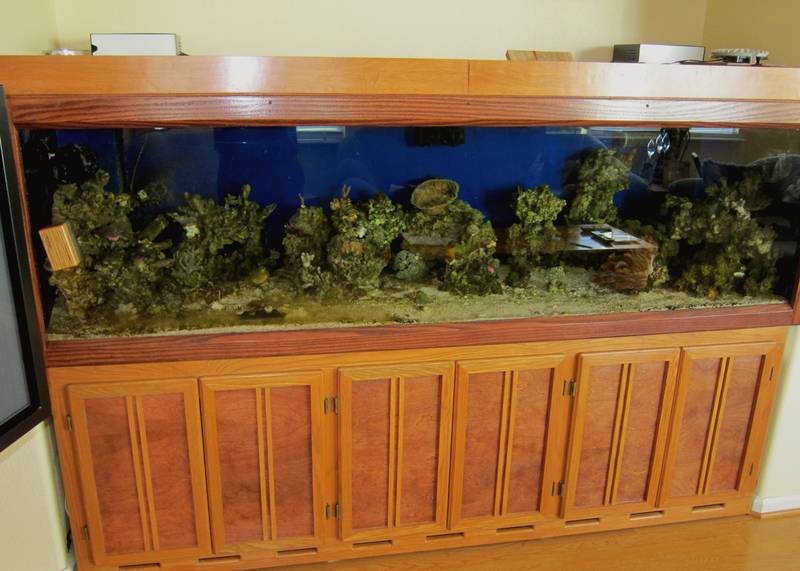
Tank will be 88L x 28W x 24H
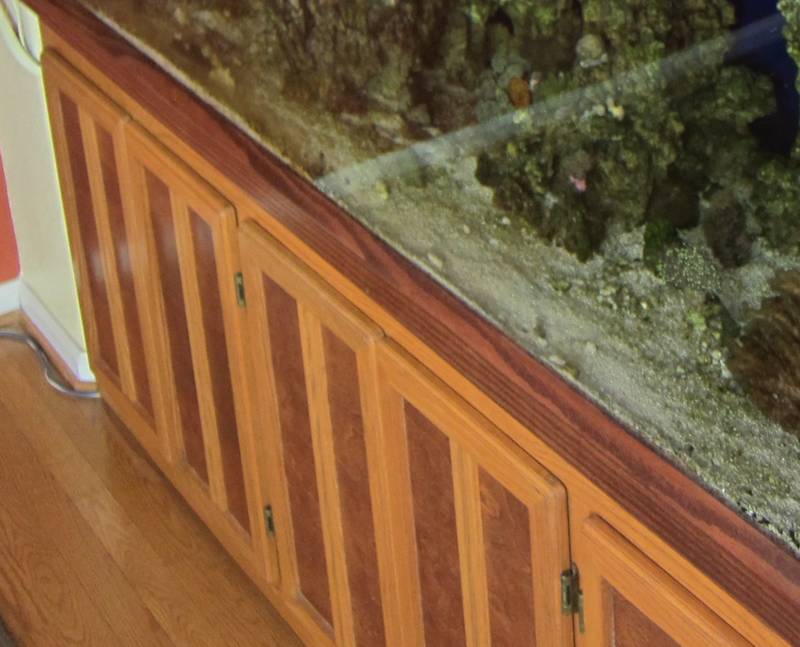
Stand is a bit larger, since it supports insulation and such.
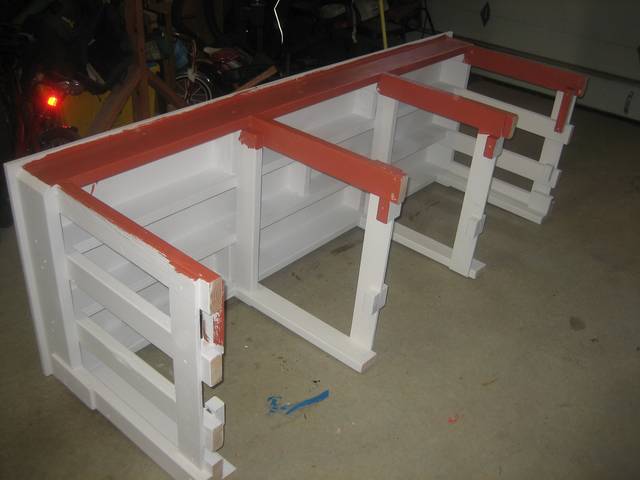
Stand is 90" L x 29" W x 29" H
That does end up with the aquarium being a bit lower than I would like, but I am constrained by the alcove it
goes in, and the shelving above that we want to keep.
Such is life. I was lucky to get approval from the boss (wife) at all.

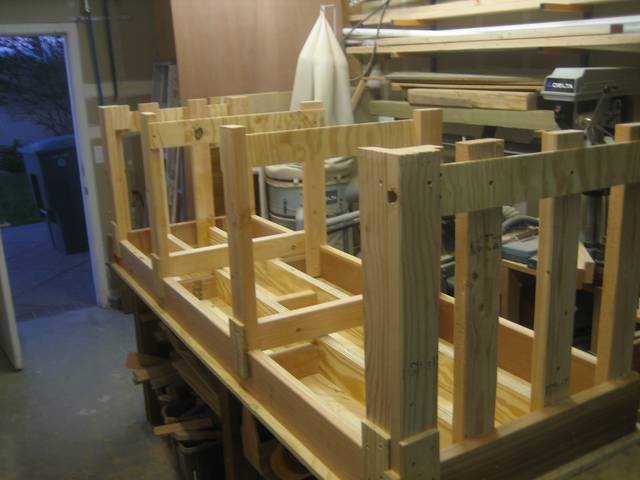
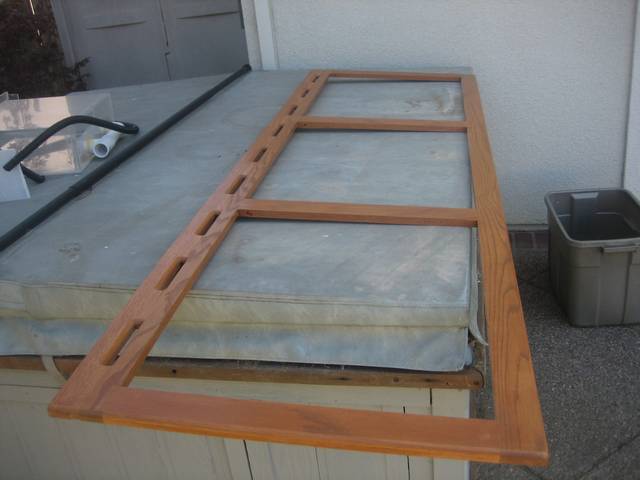
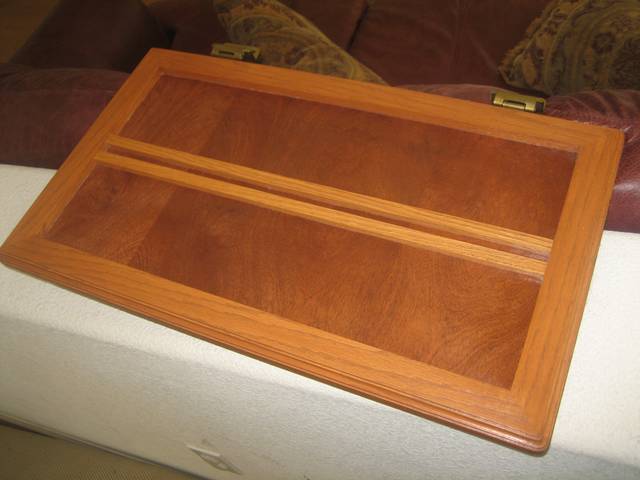
Stand will be entirely wood. I am good at that, no idea how to weld.

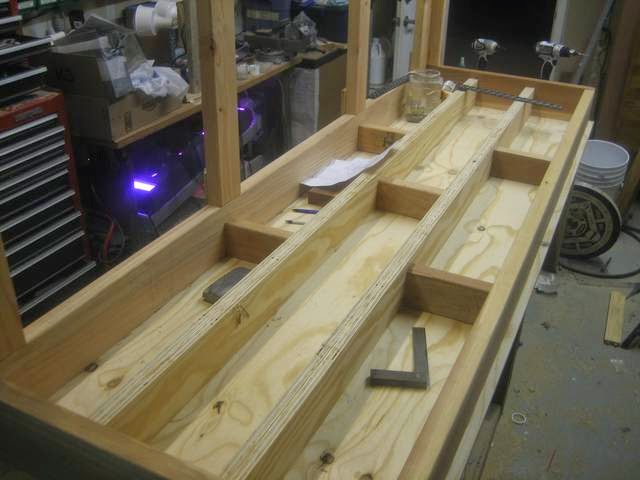
Inner structure will be 3/4" ply top, 4 long stringers, and lots of legs.
One fun thing: I had a fair bit leftover from the 4x8 ply from the top.
I cut that up, glued it together for 1.5" thick center stringers.
Very strong and dimensionally stable.

Target was 3000 pounds, and less that 1/32 sag at any point.
Yes, I even looked up the flex of fir/redwood/etc to make sure.
Way over built, but that is me.

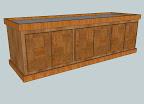
Here is the initial drawing.

 
Here is the top structure.
Upside down on the workbench.
You can see the various supports.

The wood from Lowes was JUNK, but better than Home Depot.
Actually, it looked OK until I put a big straight edge against it. Off by 1/8". Too much.

The solution: I actually trimmed all of the main supports.
Clamped that straight edge to the board, and ran the saw along it, cutting off about 1/4".
Worked great. Accurate to 1/64" Very happy with that.
Well, one slight oops, but a bit of filler... nobody will know.


It has a couple of the legs on as well.

Fun note: That funky purple light is the LEDs from my Turf Scrubber.
 
Here it is mostly painted, lying on the side.

It is brown in front, so that the white will not show around the doors.
Not really needed, but a bit of a perfectionist.
Well, not enough of a perfectionist to paint the whole thing brown though. :p

Again, all of this is invisible, so strength, not aesthetics, are what matter.

Paint is really thick as well. Don't want any rot if there are leaks/humidity.

 
Ok, now for the more fun VISIBLE stuff.

Stained red oak, bit of routing here and there, but nothing fancy.
I thought about fancy molding and such, but like it plain, and don't want to distract from the tank.

Here is the front face that will go on.
It does have the screws/brackets on it, but will not be fully installed until after the tank is in and plumbed.
A lot easier to access things.

 
Here is one of the 6 doors.

These were a bit of a pain to make, but came out nice.
All oak, but a redder stain in the center, lighter on the outside to match the frame.

The picture came out weird though, that obvious line is not normally visible. Something to do with the
flash and the grain.

 
Ok, now an admission : I did not do all of that today. 8)

Been fiddling with things for quite a few weeks now. Months even.
Between work, family, and summer vacations, never enough time for projects.

Current status:
It is almost done.
I need to paint the top of the base more, drill some big holes for the overflow drains, get it in
the house, and then epoxy-level it.
Hope to be done this week. Which probably means next month. :Sp
 
eldiablosrt8 said:
crazy work there..... it is better than the the professional stand i have,LOL

big props cant wait to see the finish product

Thanks.
My goal was to be better than all the mass produced stands out there, but
no delusions that it will beat a serious craftsman.
On the other hand, it is STRONG, something that I really worry about, being only a couple of
miles from the Hayward fault.
 
The hinges are "overlay hinges".
A bit like here : hinge

So the door is outside of the cabinet, not inset at all.
(A lot easier to build)
And a bit of the hinge shows. Personal preference.
 
Quick update:
Top is now painted. Overflow holes are in. But I goofed. I forgot to cut small slots in the back for power head wires.
I drew them on the plywood and everything, but it was late at night, and I happily painted over the lines. :Sp
Minor, but I was hoping to move it into the house today. Need to cut+prime+paint. Maybe Wed.

Then the fun of leveling it. Our floor is not even close, and it has 12 legs.
And with that weight, little wooden shims are a bad idea.
I will use my old epoxy-leveling trick. Stay tuned.

I also need to glue on the 3/4" Styrofoam on top. Trivial task, but messy when trimming.
 
Stand is DONE
:party:
Came out great. Very happy with it.
Wife is on a trip with the camera, so patience on final pics.

I hit a bit of a snag in that one of the 2x6 beams warped a bit over a couple of weeks.
Must not have been quite as dry as I thought. Or maybe the paint.
So the final result was off by 1/8" in spots. GRR.
But I had a pretty easy fix.
I glued the 3/4" Styrofoam on, then simply sanded that down to make it flat.
Sands real easy. Extremely messy, but easy.
I then painted the foam with primer, to keep the little pieces from flying around.
 
Oops, neglected this thread a bit. Forgot to show the end product.
It came out great. I am very happy with it.
A bit hard to capture the correct color though.
With lights on, stand looks too dark:
rygh_t1.jpg


With lights off, and camera flash, stand looks too light:
stand_5.jpg


This is probably the most accurate color representation:
stand_6.jpg
 
Back
Top