Reef nutrition

Mohamed's 57G Illuminata

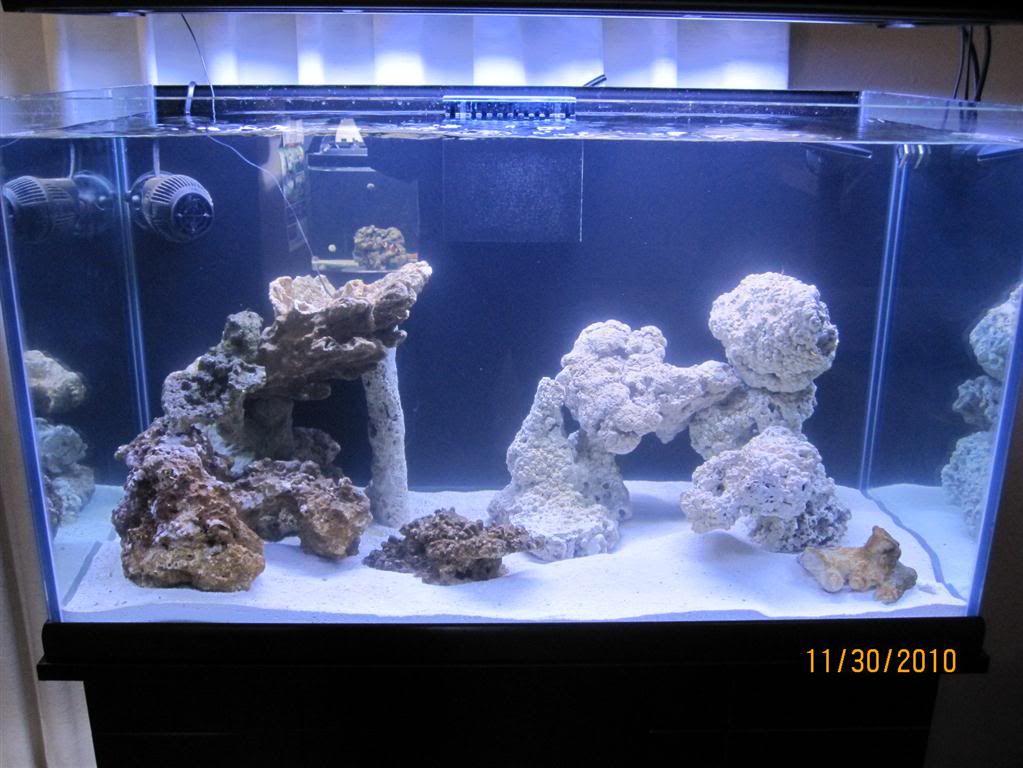
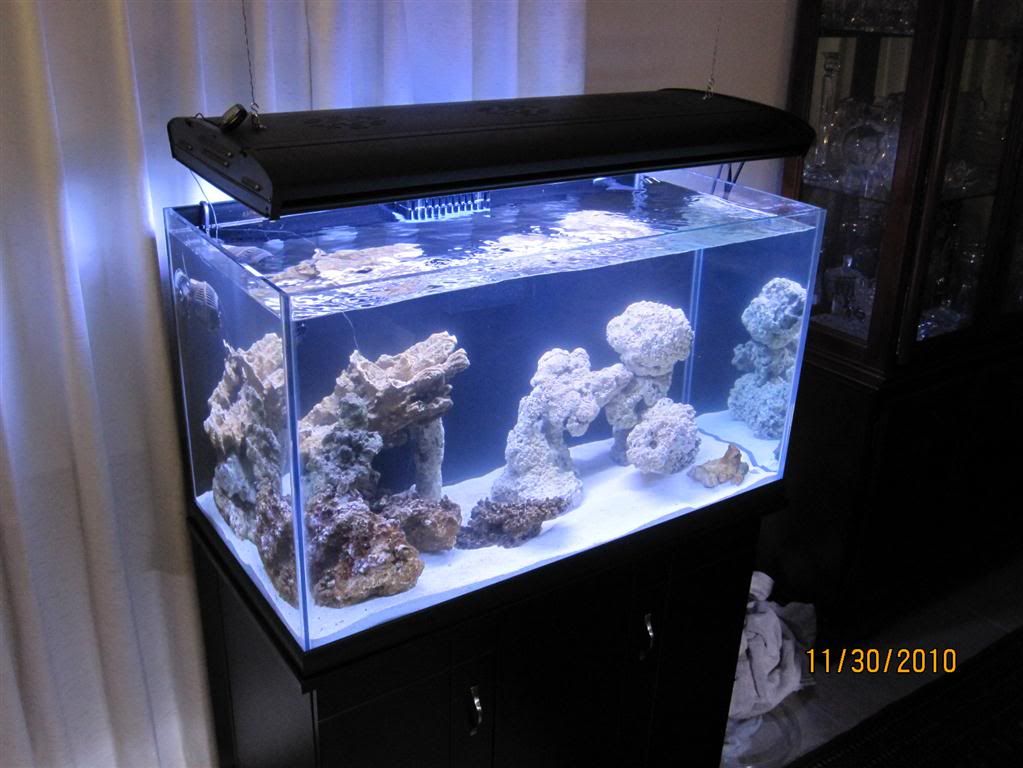
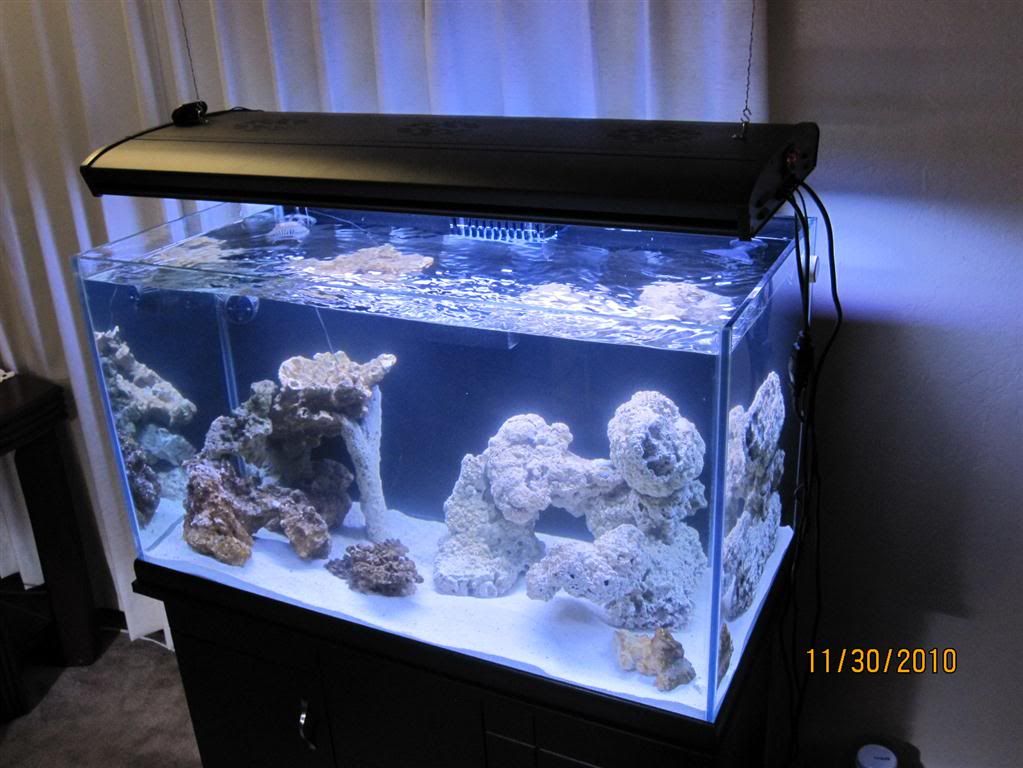
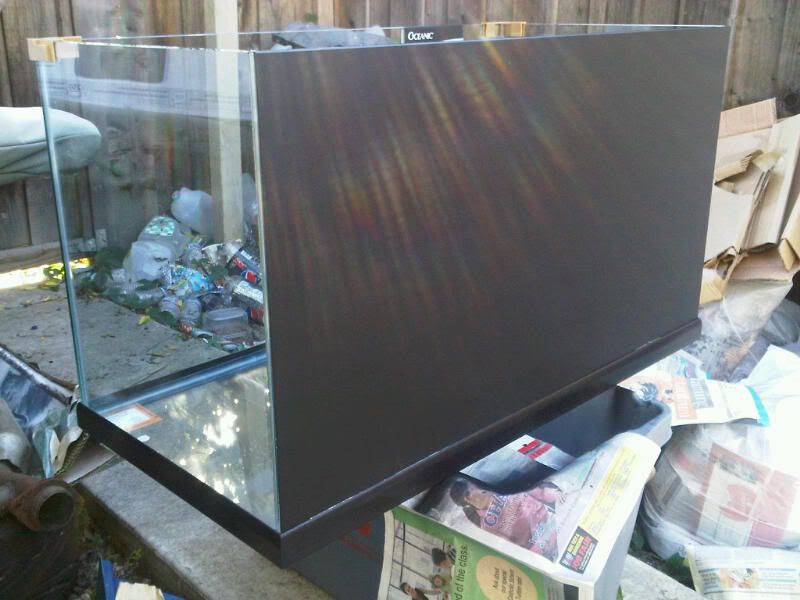
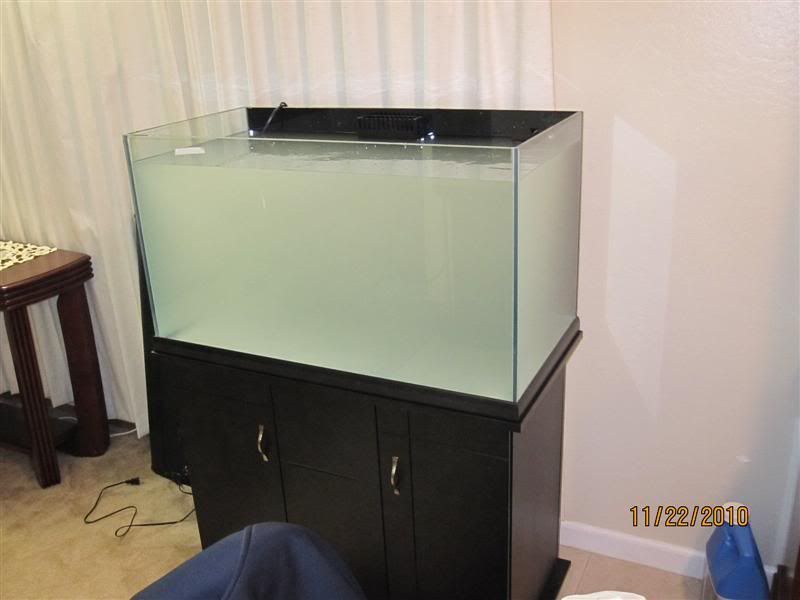
So about 2.5 months ago I saw the rimless illuminata at Neptune and just loved the clean look.

I miss the beauty of a nice clean reef aquarium but don't miss the headaches. My plan is to keep things simple and hopefully self sufficient. After a bit of thinking and some research, here is what I'm starting with.

Tank:
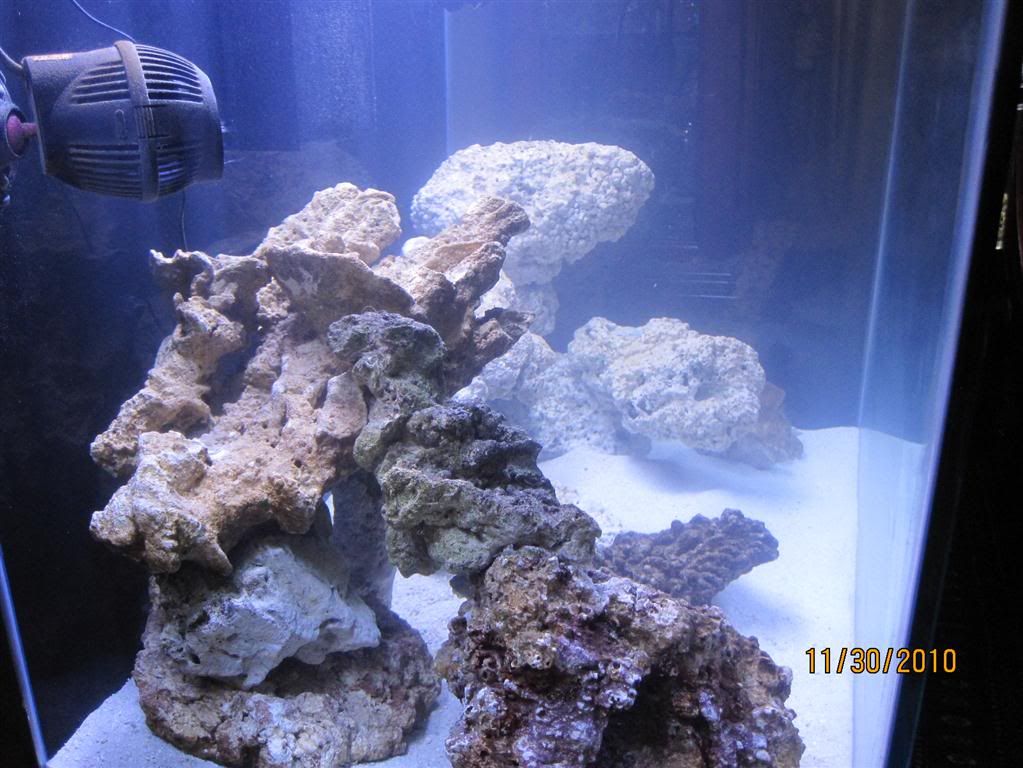
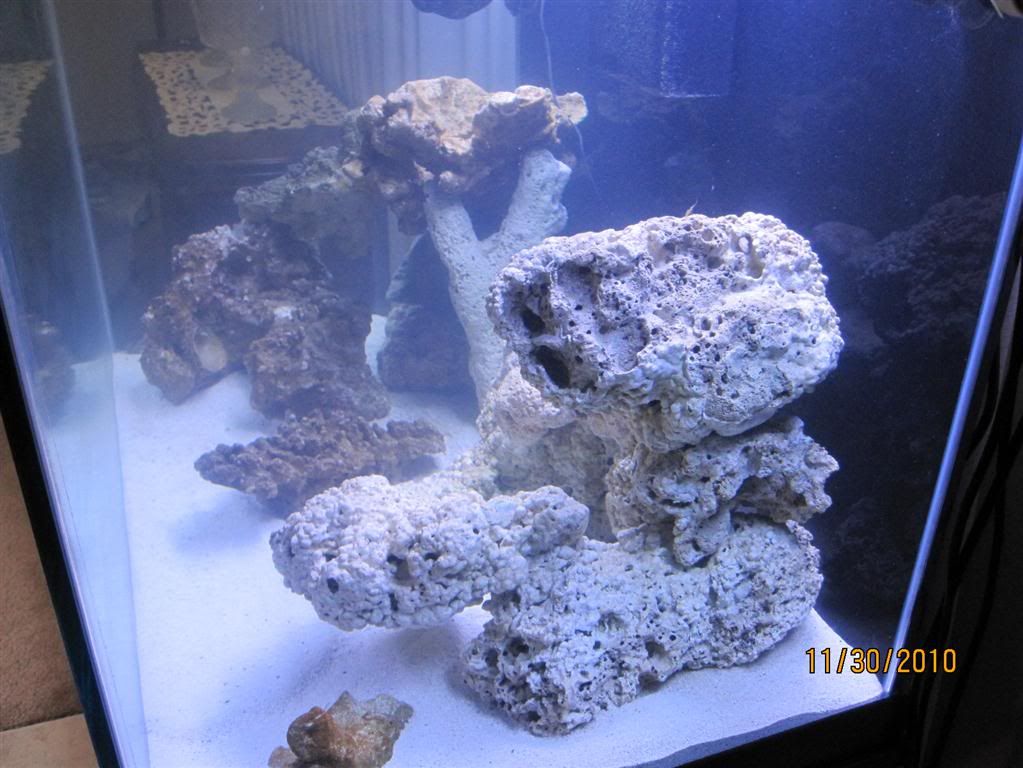
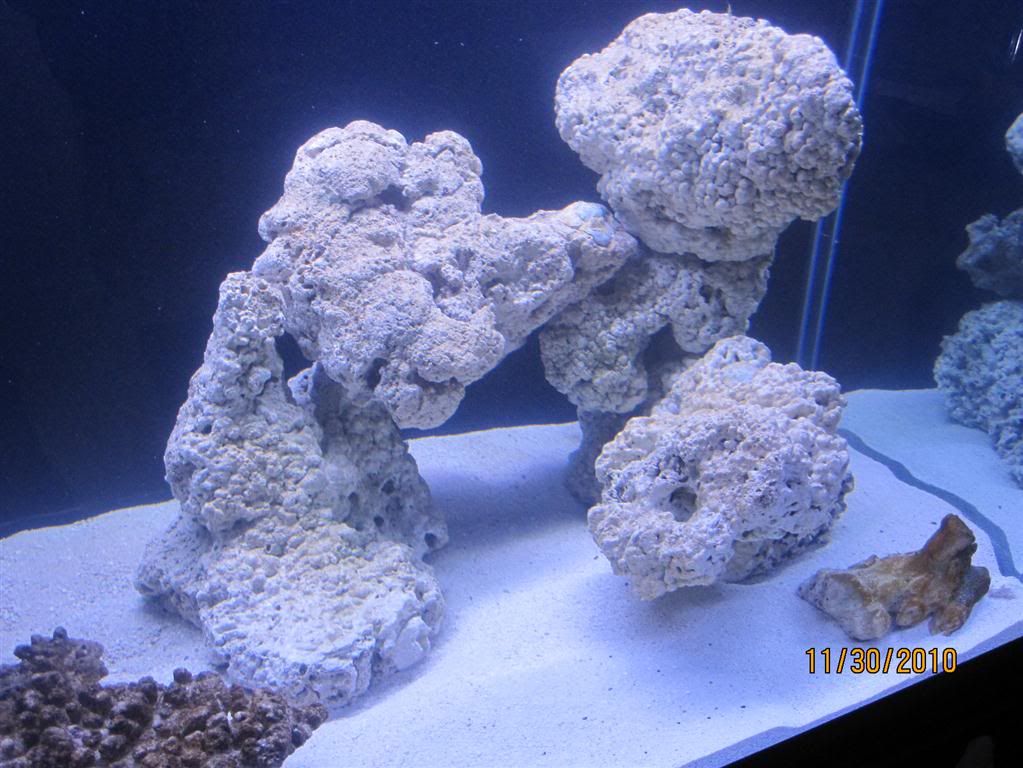
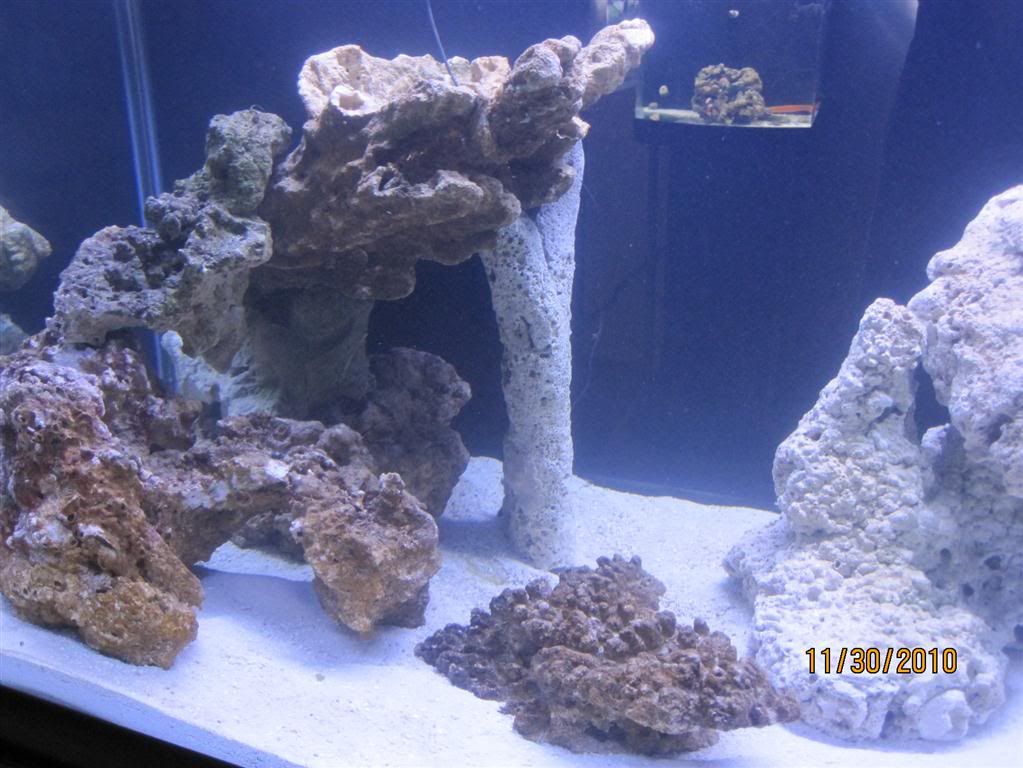
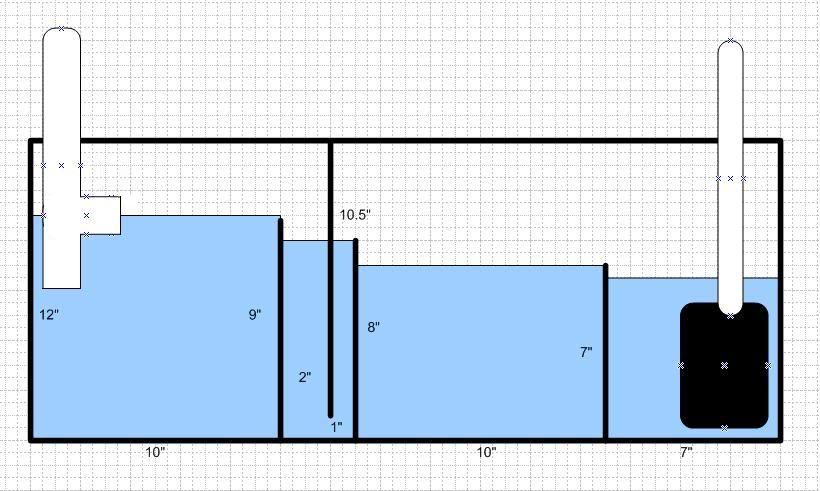
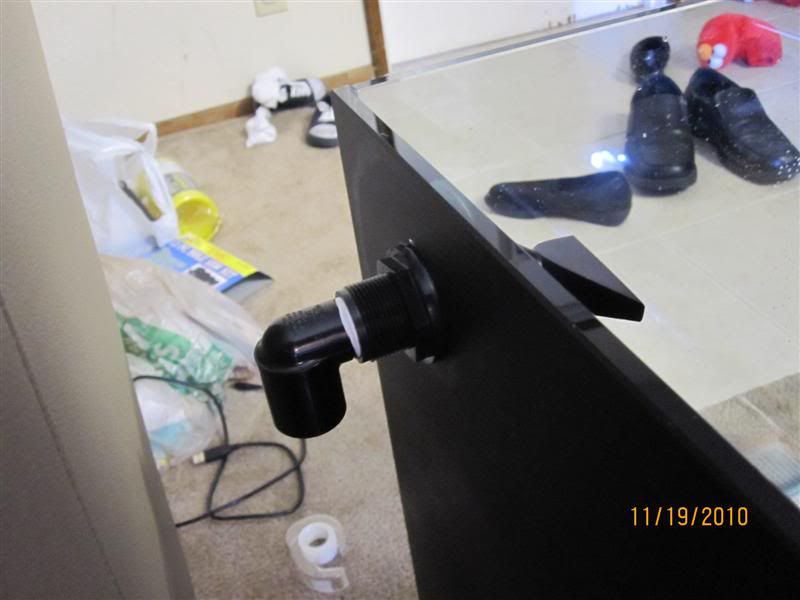
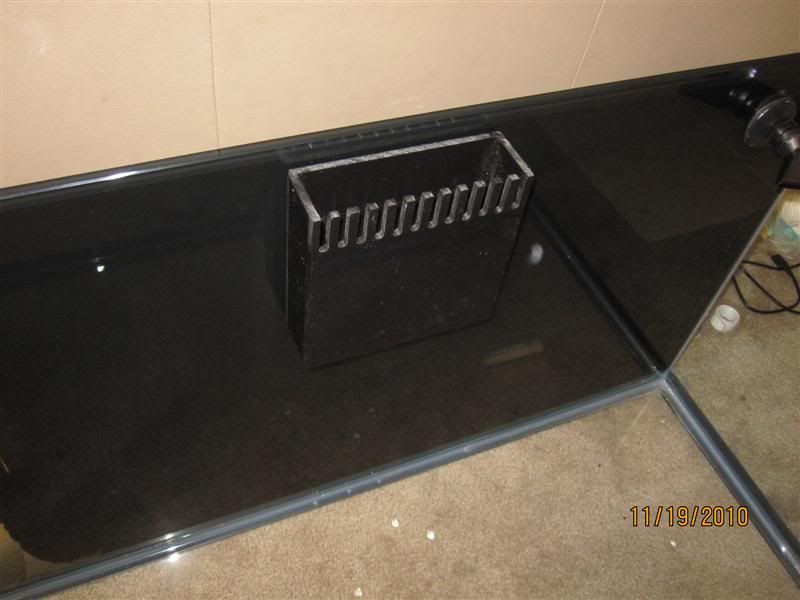
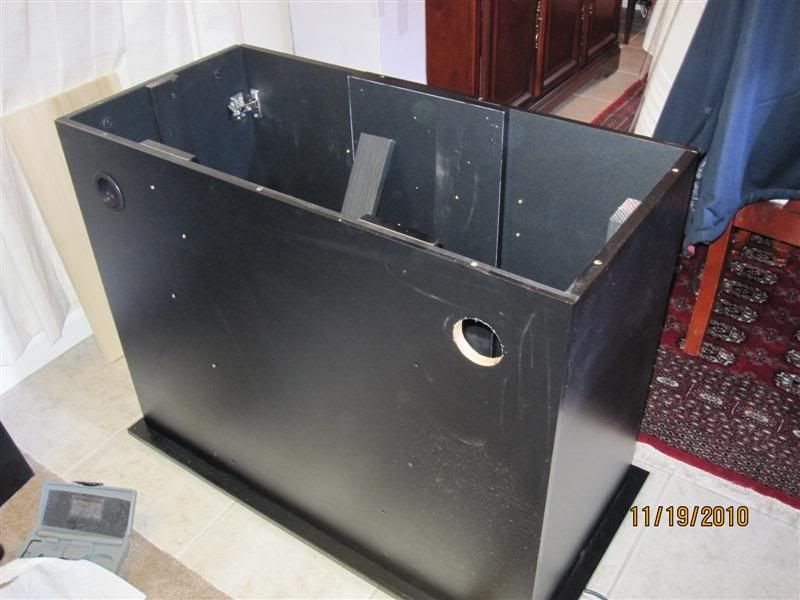
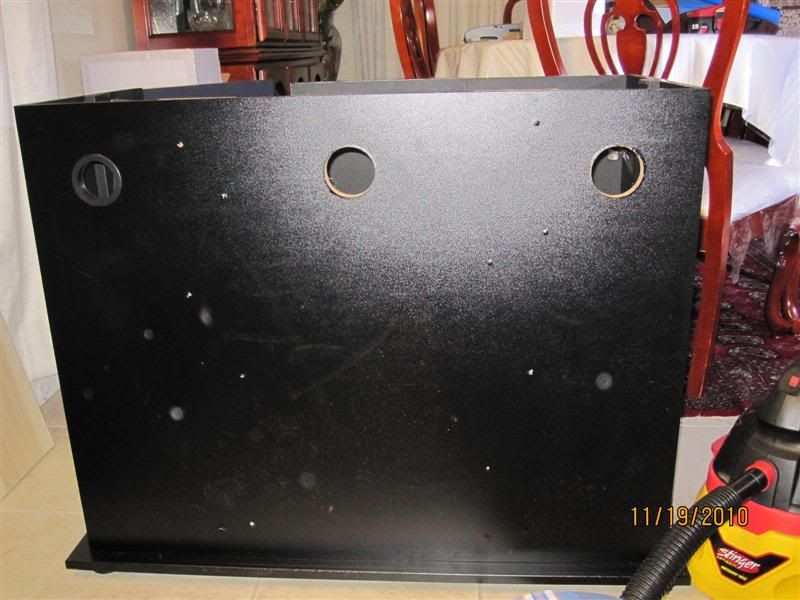
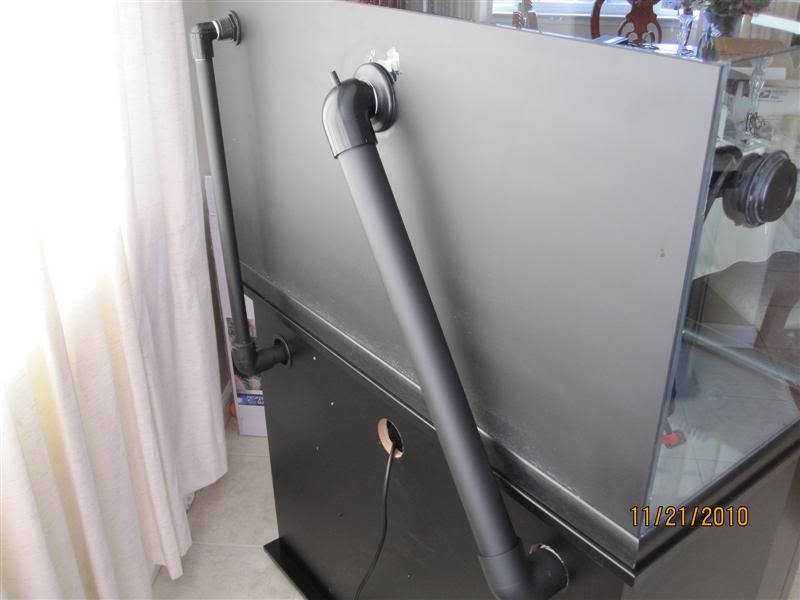
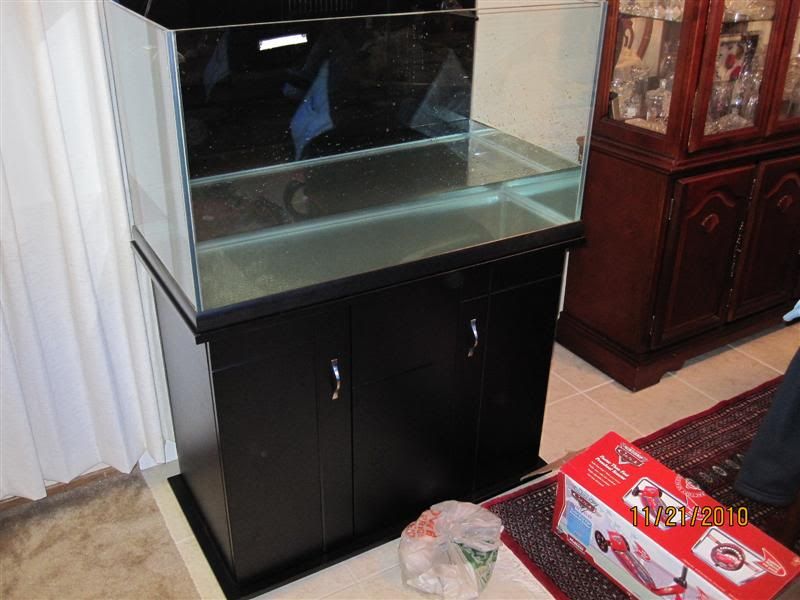
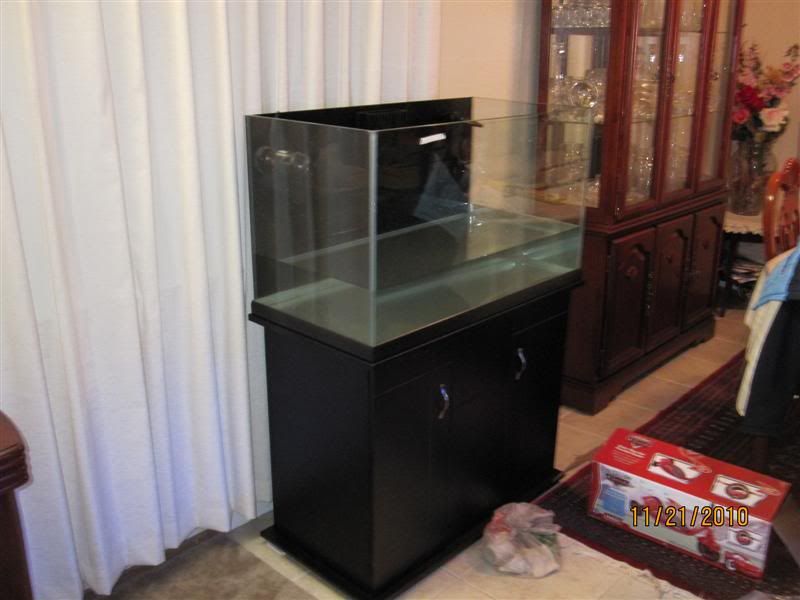
- 57G Oceanic Illuminata (non reef ready).
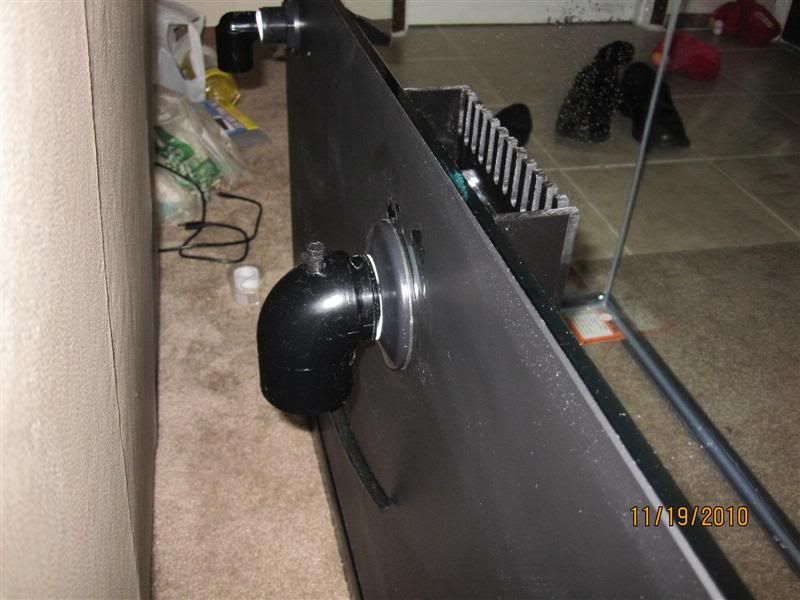
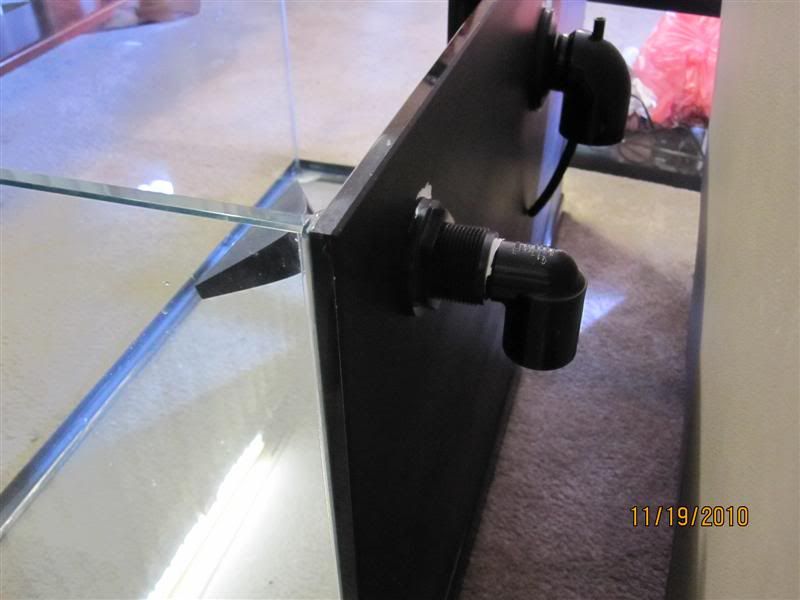
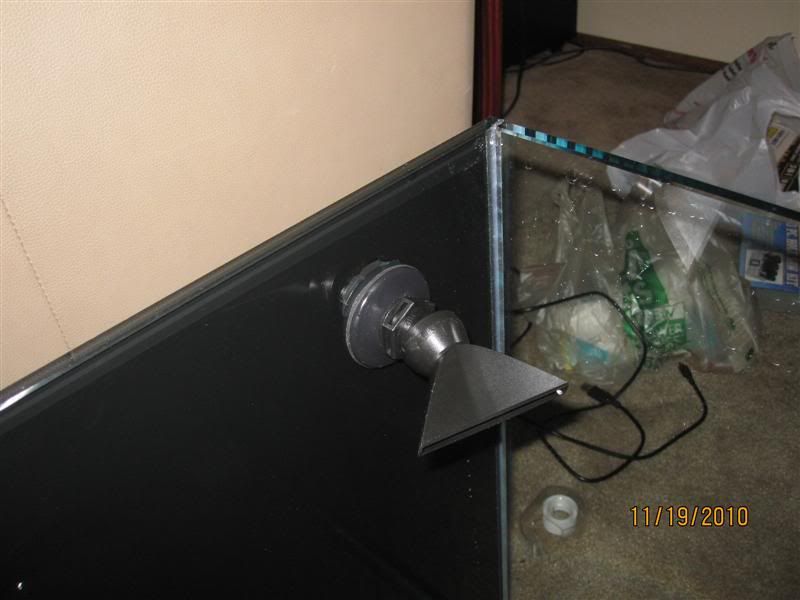
- Glass holes 700gph overflow.

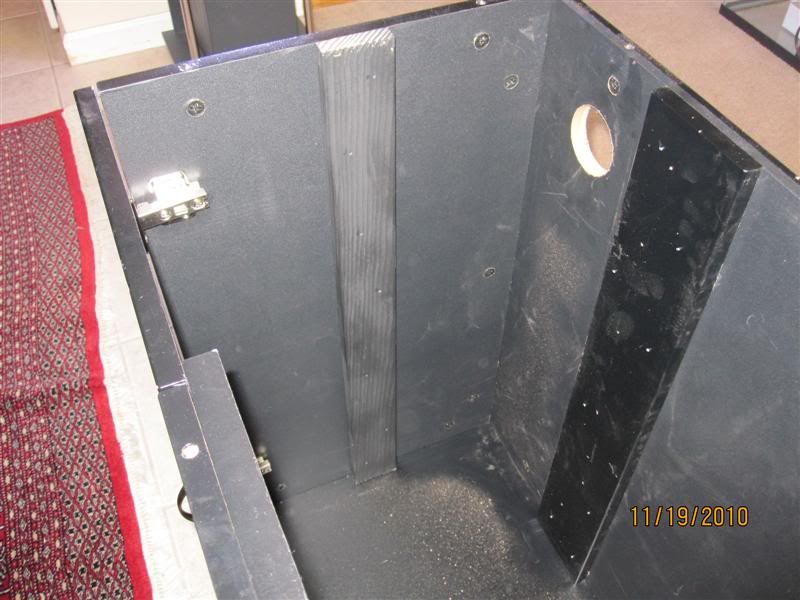
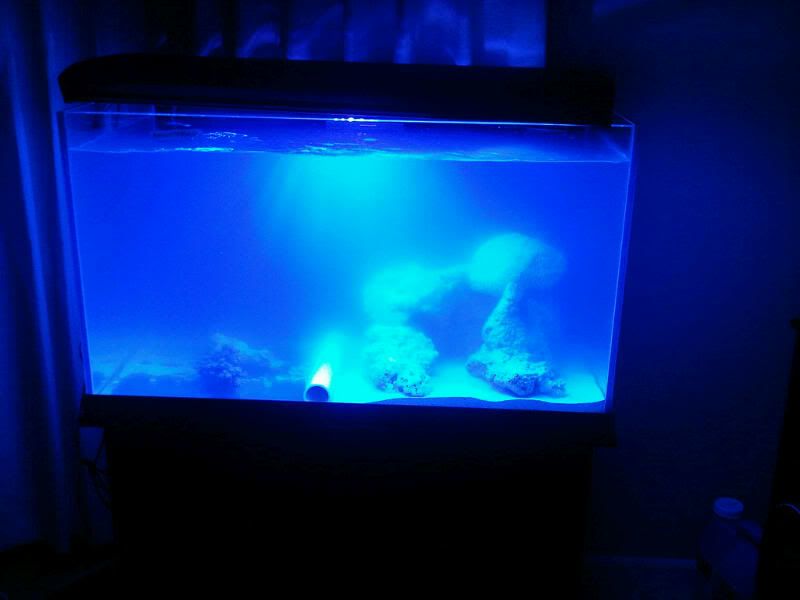
Skimmer / filtration:
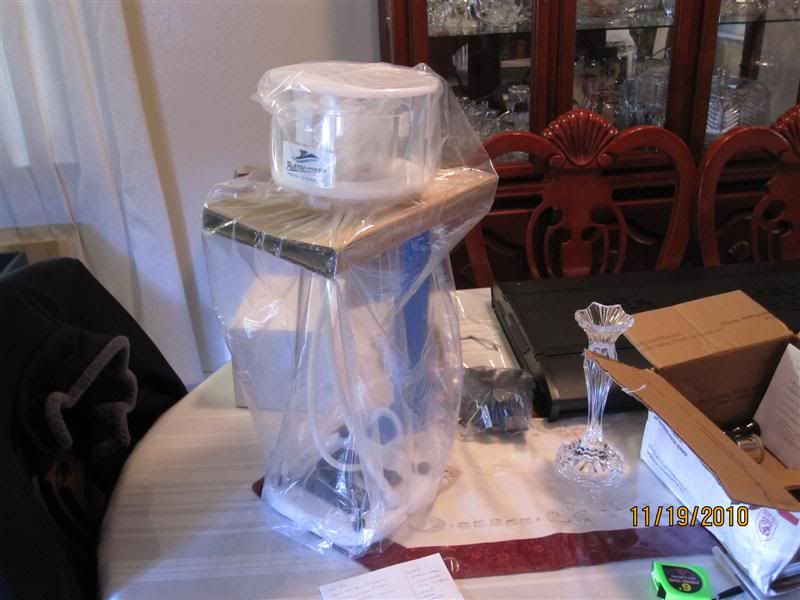
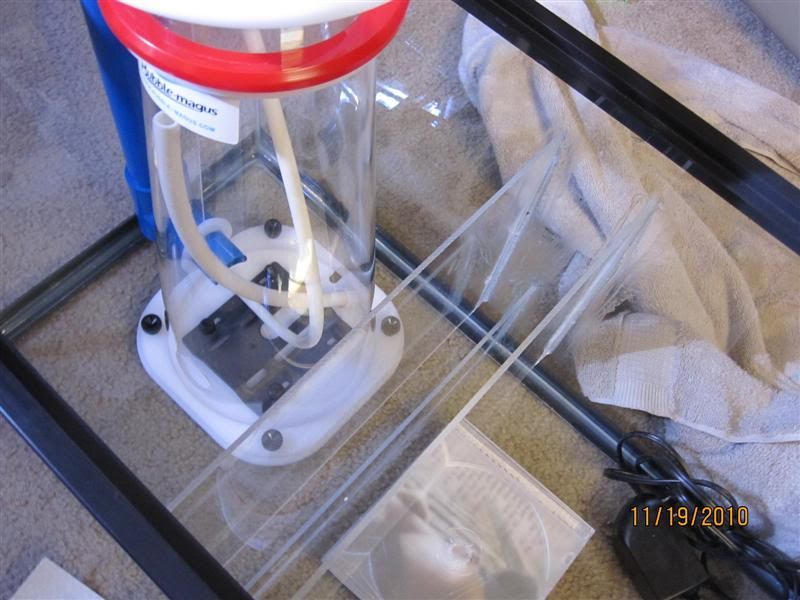
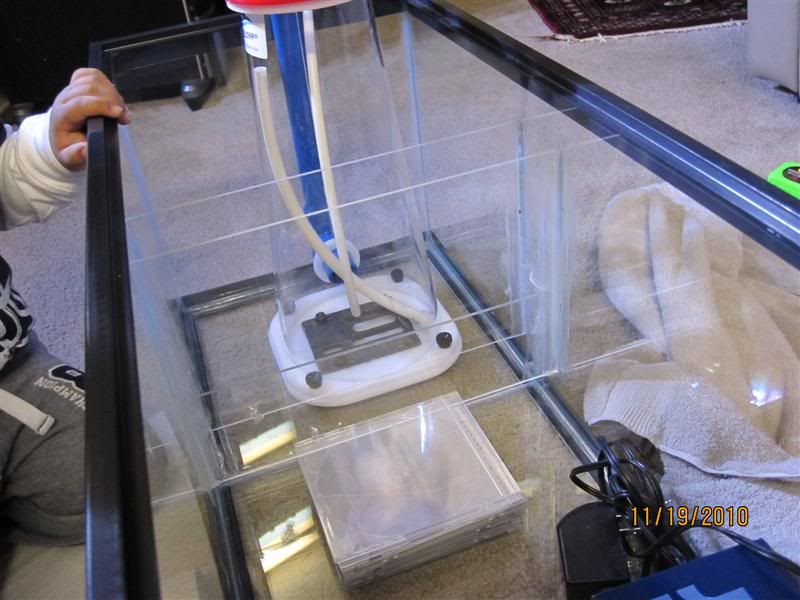
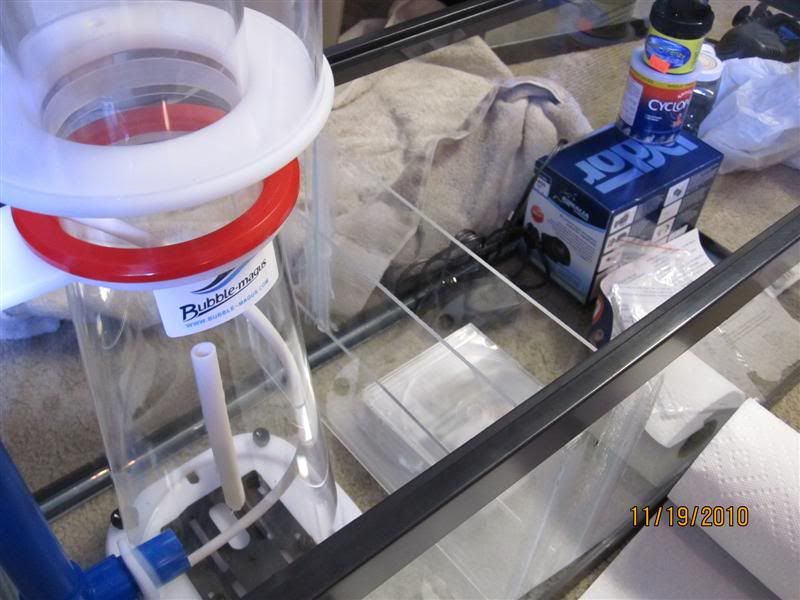
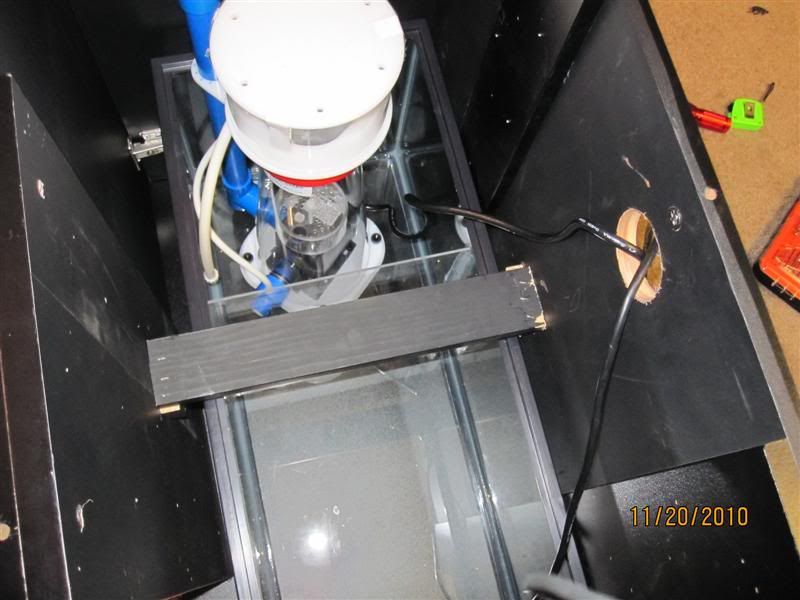
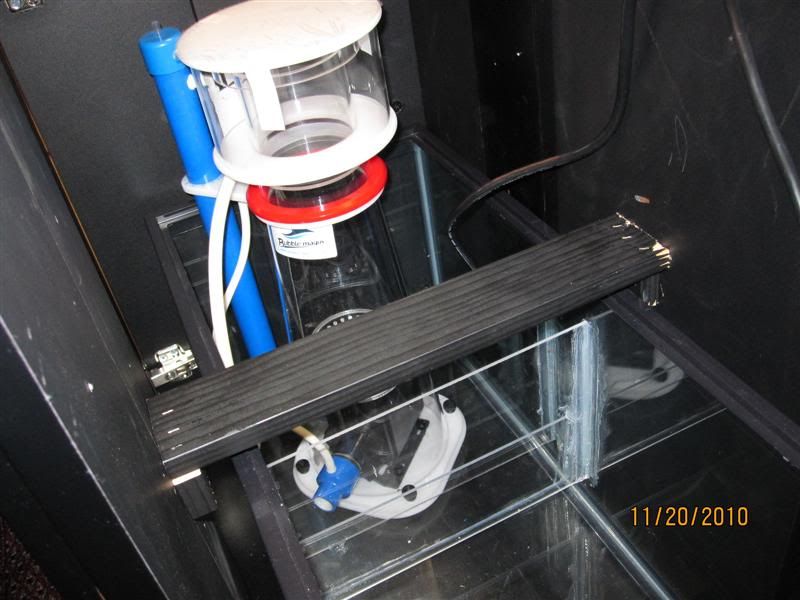
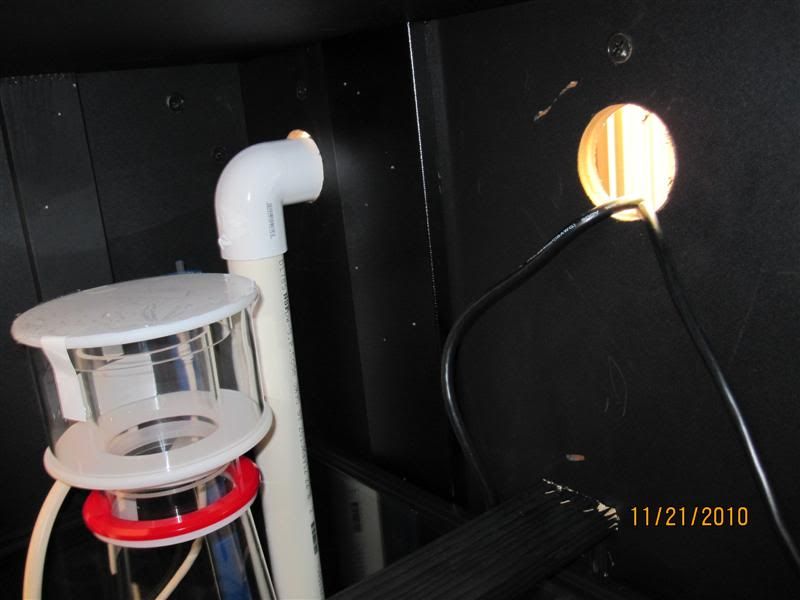
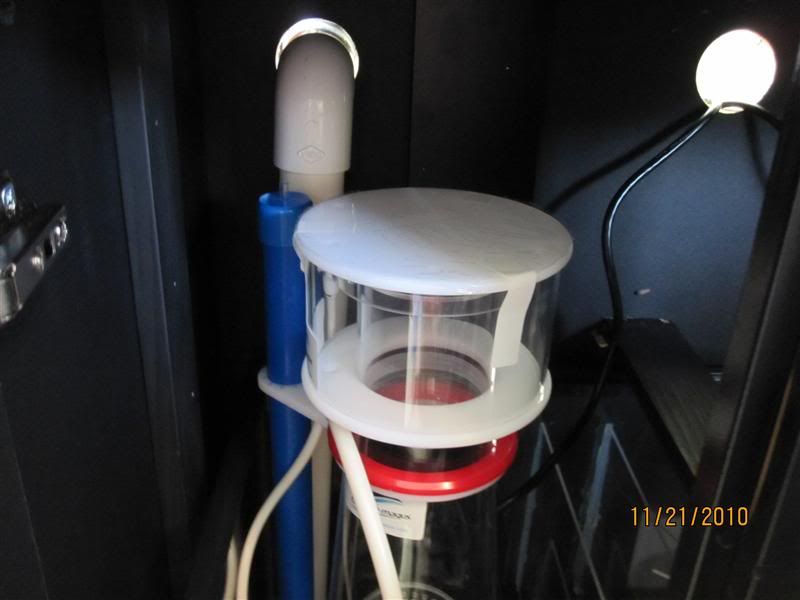
- bubble magus NAC7.
- Phosban 150 reactor with GFO and carbon.

Flow & return:
- 2 x Hydor Koralia evo 1400s run on a wavemaker program.
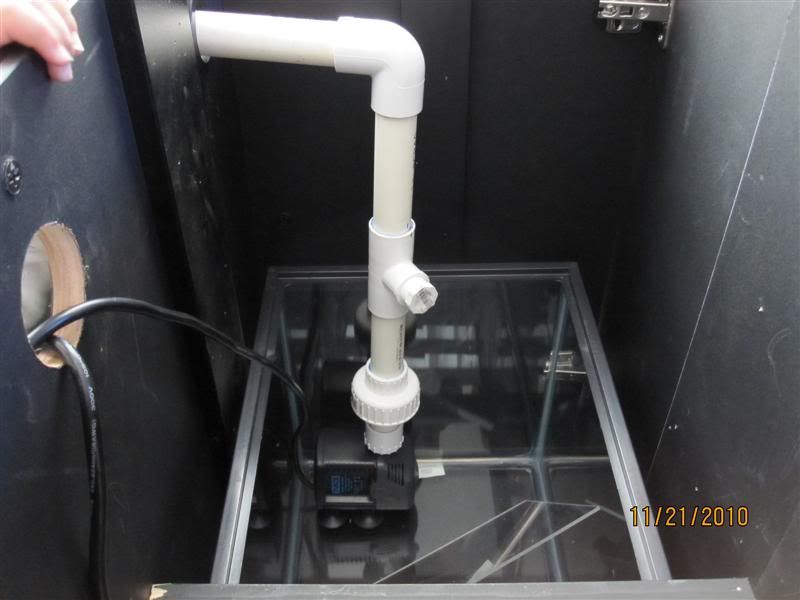
- Eheim 1048 return pump.

Regulation:
- Digital Aquatics lite controller
- 200W titanium heater
- Simple fan for cooling, hopefully don't need a chiller with the open top.
- 5gal reservoir and spectrapure pressure switch for top off.

Lighting:
- Hanging pendant with a single 250W HQI XM 20k bulb, 4x39W T5HO (2xATI blue special, 1 KZ fiji purple, and 1 blue plus), and 8-LED moonlights.


I ordered the tank and stand from Lucky Ocean in the city.
 
Tank and stand arrived a week later for me to pick up.
IMG00297-20101113-1459.jpg


I couldn't do anything for about a week because of work and rain. came sunshine, i went out to the backyard with a can of flat black and went to work. I was very diligent with the painter's masking tape and covered every surface all the way around with newspaper. I didn't want to risk getting any hint of paint on the front or side glass. The results came out really good.
IMG00304-20101114-1409.jpg
 
a day later, my overflow and return kit arrived. I gotta say, drilling glass is extremely nervy stuff.

Here are some pics of the overflow and return installed. I chose to do center on the overflow for aesthetics. i drilled a hole for the return as well, will look a lot cleaner than running over the glass IMO.
IMG_0801Medium.jpg

IMG_0802Medium.jpg

IMG_0803Medium.jpg

IMG_0804Medium.jpg

IMG_0805Medium.jpg
 
So this tank is in my living room. My top two priorities are the following:

1. Keep it as quiet as possible. I don't want to hear it over the kitchen fridge.
2. Very clean all enclosed setup with a single cord exiting the stand.

My stand dimensions are 36 x 18 x 30. I chose to start with a 20L for a sump.
IMG_0806Medium.jpg


The stand i'm using is a fairly inexpensive and made out of MDF. I went ahead and bought some 1x4, painted it black and cut it to size to build extra support inside the stand. BTW, pneumatic nail guns are some of the coolest tools to have for a job like this.

What looks to be scratches and scuffs are just dust marks. The front and back are already double walled. I added the 1x4 doubling on the left and right walls.
IMG_0808Medium.jpg


Next came drilling the stand for cables and plumbing. The back is fully enclosed which i like. This will help keep things quiet too. There was one hole drilled from the factory. I drilled two more using a hole saw drill attachment. The right and left holes are for plumbing, center hole for the electrical wires.
IMG_0809Medium.jpg

IMG_0818Medium.jpg
 
Here is the new bubble magus NCA7 that i bought from neptune. I was planning on using the 3+ initially then Robert talked me into the bigger one which I'm glad I got.
IMG_0811Medium.jpg


My lights arrived in the mail. I went with the Oddysea pendant. Yes, i know its cheap... but the recent reviews have been really good and was pleasantly surprised when it came in. Off course I'll be changing all the crap bulbs to quality stuff.
IMG_0810Medium.jpg
 
A friend talked me into fabricating my own baffles for the sump. Initially I was a little intimidated since I've never worked with acrylic before but it turned out to be pretty straight forward.

I came up with some baffle measurements and made a run to Tap plastics.
IMG_0812Medium.jpg


First chamber starting from the left will be for the skimmer. Second chamber is for the macro and then third for the return. Baffles now installed.


IMG_0813Medium.jpg

IMG_0814Medium.jpg

IMG_0815Medium.jpg

IMG_0816Medium.jpg
 
I want to use a 5-gal jug as a top of reservoir to be placed right on top of the sump. I built a simple shelf ontop of the sump that is nailed into the stand walls. The shelf is about half an inch higher than the sump lip so it's not physically touching.

IMG_0819Medium.jpg

IMG_0820Medium.jpg
 
The plumbing started. My plan was to paint all the external PVC black such that it blends in behind the stand. I added a T with a 3/4 female and plug after the return for future reactor(s), and accessories. Return piping is 1" reduced to 3/4 at the tank inlet.
IMG_0824Medium.jpg


After all the pieces were cut and dry fitted, I took the external pieces to the backyard for a nice coat of spray paint. All the mating surfaces were taped to ensure proper adhesion of the PVC glue.
IMG_0825Medium.jpg

IMG_0826Medium.jpg

IMG_0827Medium.jpg

IMG_0828Medium.jpg


Overflow and return plumbing mounted and glued in place.
IMG_0830Medium.jpg

IMG_0831Medium.jpg

IMG_0832Medium.jpg


I'm really happy with how the black turned out.
IMG_0829Medium.jpg
 
more progress...

Now it's time to fill up with water. I borrowed all the jugs in addition to the 4 I had.

IMG_0852Medium.jpg


Went and filled up with Santa Clara tap water, jk RO water from the store by my house and started dumping it in the tank.

IMG_0851Medium.jpg


IMG_0853Medium.jpg


Go go blizzard. Salt mixing with a powerhead in the tank.
IMG_0854MediumMedium.jpg
 
I let the water mix for a couple of days until it cleared up and I got the salinity just about where i wanted.

A gentleman on RC offered some dry rock that he had laying in a bucket in his garage for a while. I picked up the rock which was about 25-30lbs along with a 25lb bag of live sand and got to work with the aquascape. I wanted to keep the sand bed pretty thin since I like the sand look but am not a DSB fan but one bag was certainly not enough. So the follow on plan was to grab the sand (another 25lbs) from my 12G nano which I had running. That was going to come later. for the time being i worked on only "half" the tank by placing a pvc tube as a divider down the middle. Discovering the world of a power drill and acrylic rods was a big help with the aquascaping. I also threw in there a piece of live rock from my nano to get the cycle going.

I contemplated doing a couple of conduit poles for hanging the light fixture but went with a straight and simple doube anchor / two 50lb rated frame wires straight from the ceiling. Lining up was tricky since I wanted to drill right the first time.

IMG00309-20101123-0102.jpg
 
A few days later I found a guy who was tearing down his 350gal FOWLR so I stopped by to pick up some live rock. He had a nice collection of big and nice looking pieces. Half an hour later I left his house with another ~35lbs. I got home and 2 hours later after fiddling with the drill and acrylic rods I had this. I am pretty happy with my artwork :p B)

This is how the tank looked like two days after transferring the sand from my nano and putting in the additional rock pieces. The nano had another 15lbs or so live rock and those mostly went to the sump. These pictures are now a week old. I'll update with new ones soon. That's all for now.

IMG_0892Medium.jpg


IMG_0893Medium.jpg


IMG_0894Medium.jpg


IMG_0896Medium.jpg


IMG_0897Medium.jpg


IMG_0900Medium.jpg


IMG_0901Medium.jpg
 
so my tank has been running now for just about 6 weeks and i did a water chemistry yesterday. I finally got the kits I ordered online, so this is the first time i test parameters other than salinity. i have also been dosing blindly by "feel" over the last few weeks.

Sg:1.023
PH:7.9
Mg:1100
Ca:480
Alk:11
phosphate:0

I need to raise the Mg to 1350. I also want to bring up the sg to 1.026.

Not too bad!
 
Very nice job. It looks so professional and well thought out. Love the aquascaping, you've got great taste on the look and the rocks you chose, it's very unique.
are you concerned about the sump volume, or more specifically, not enough volume in the sump? any overflow issues or bubble issues? My only thought was getting a taller tank for the sump, but that's because I have a too small sump in my setup and I have overflow problems. :D
 
Thanks for comments. I did try to think this through and am pretty happy with the setup.

Part of having everything fit inside the stand lead me to keeping things really compact. I didn't opt for the taller sump for two reasons. The fist was to allow taking the skimmer out for service which I can do now and to be able to fit a good size top off reservoir in there that could last a week or so. I had to do some careful calculations to give me the following.

1. make sure the skimmer sits in a stable 8" of water like I want.
2. Provide enough silent waterfall action to consume all the micro bubbles.
3. Make sure everything fits, return pump, heater, reactors, etc with decent submersion and without touching any surfaces to avoid resonance and noise.
4. Make sure there is enough room in the sump for back filling when the return pump is turned off.

Ive attached my design below.

The sump holds around a true 18.7 gallons with the water being at the bottom edge of the bracing. While the sump is running it will have around 12 gallons in there and with the tank off, I get around 4 gallons siphoned back. So just about 2.7Gallons to spare which is a decent safety margin.

A couple of things ive done in the design is use an open T for the return pipe instead of a reverse durso with the exposed side of the T running at the water line. That way the water crashing happens inside the pipe and the bubbles escape quietly through the T with no elevation chance. The first baffle over under channel is twice as wide as the under over allowing the water to flow half as fast, both to keep things quiet and give chance for the bubbles to rise. Inversely,it speeds up to twice the speed on the under over to accelerate the bubbles up and allow the ones still there to pop before the next chamber.

All in all , it works really well. Dead silent operation and zero micro bubbles in the display. I'm also not running a monster return since there is no reason to in my opinion. Flow is handled by the Koralias, not the return.

sump.jpg
 
Time for an update.

Tank has been running really well. After much thought and research, I started Vodka about 6 weeks ago and MB7 a week ago. To put it in simple terms, I am "shocked" by how well this regiment works if done right. I've done this hobby for a while and have never had such a clean tank.

This is how the parameters have been over the last several weeks now.

Ca:440-460
Alk:7-8.5
Mg: 1500
temp: 78-79
Sg: 1.026
Nitrate and Phos: 0
 
Back
Top