got ethical husbandry?

kinetic Reefer 170

kinetic

Supporting Member
Officially back in the hobby. Hopefully for a good long time. I think it's probably good to start a tank build thread here rather than scattering it across all the forums.

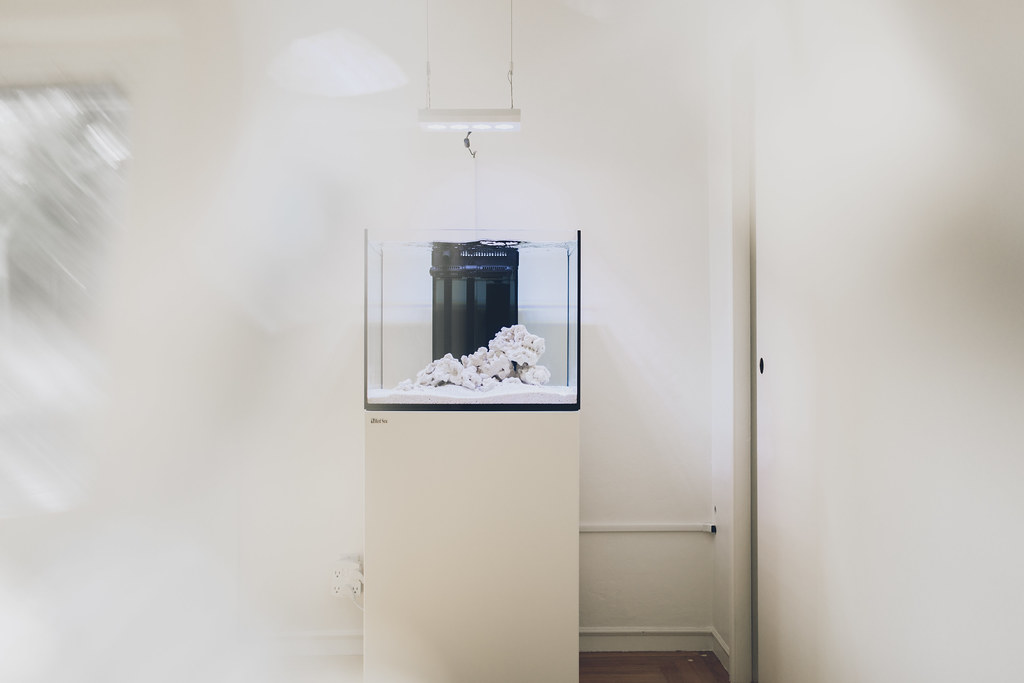
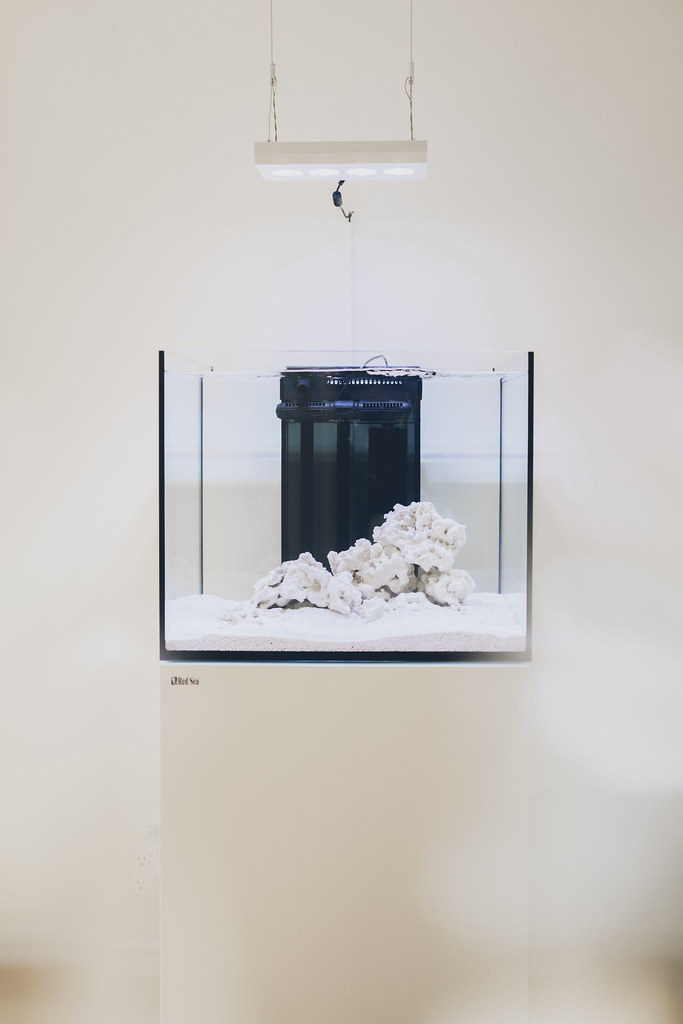
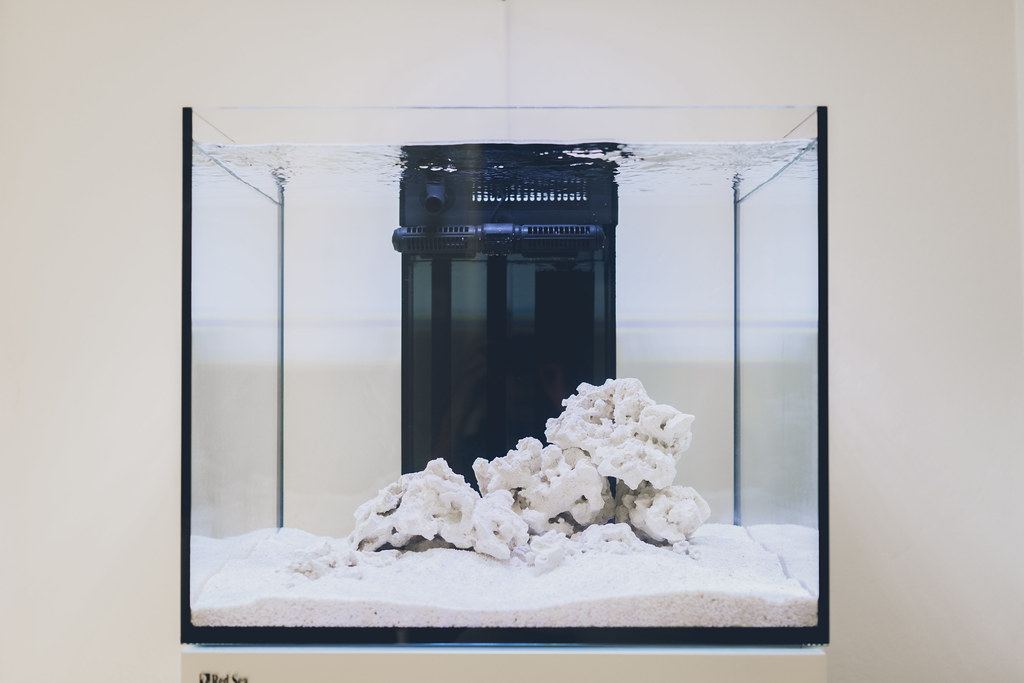
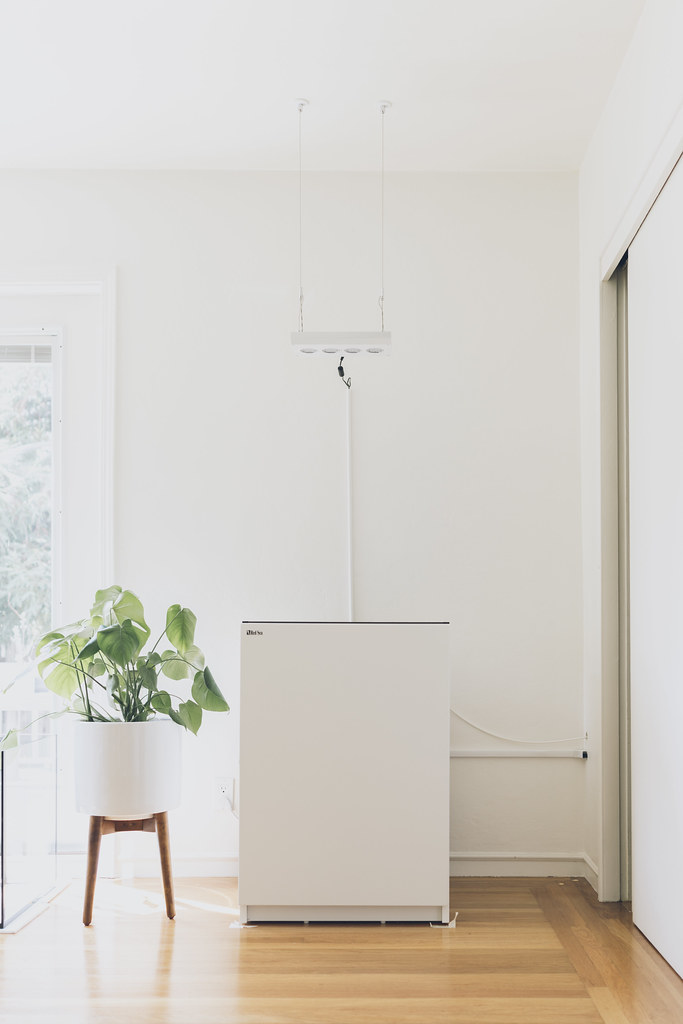
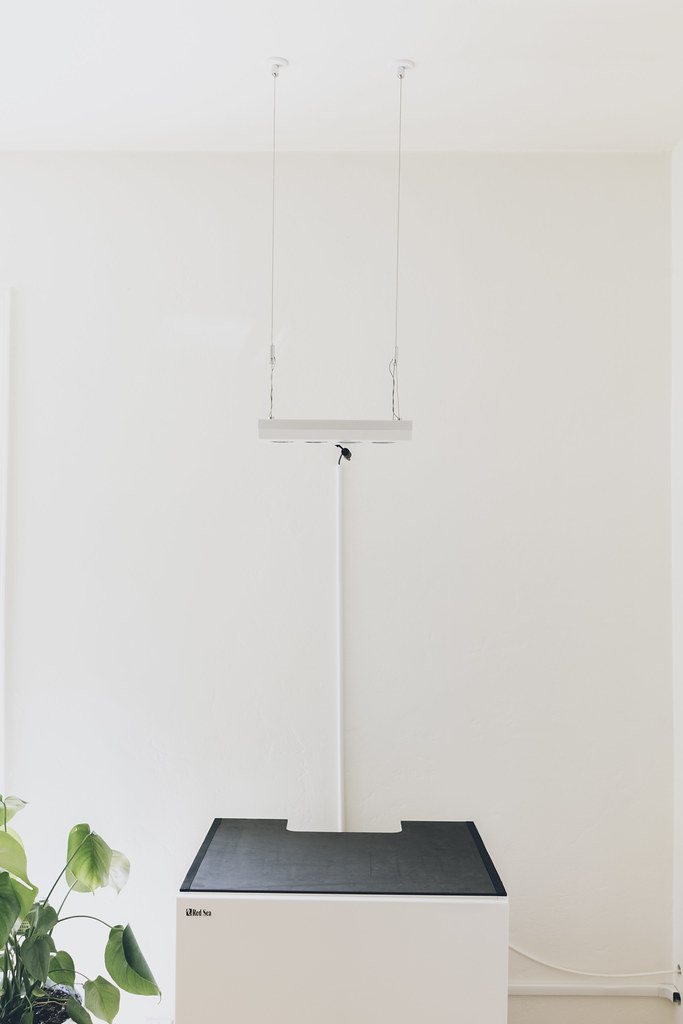
Current FTS (August, 2018):

42164653810_4f033912aa_h.jpg


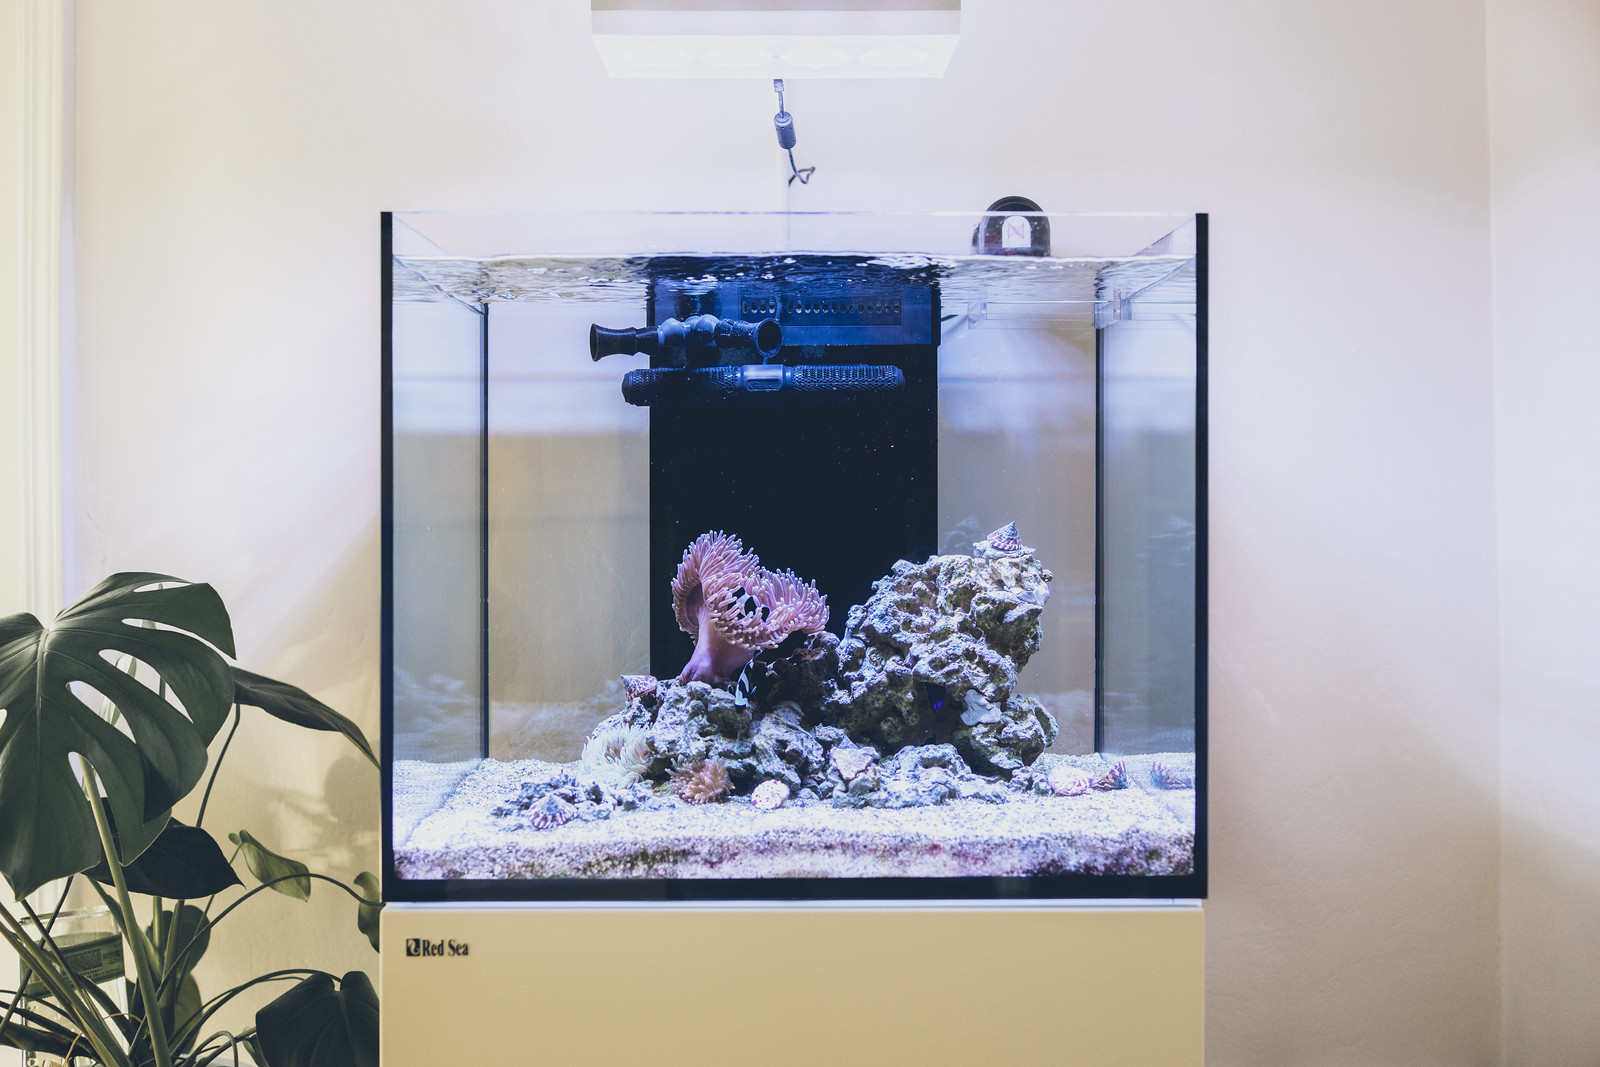
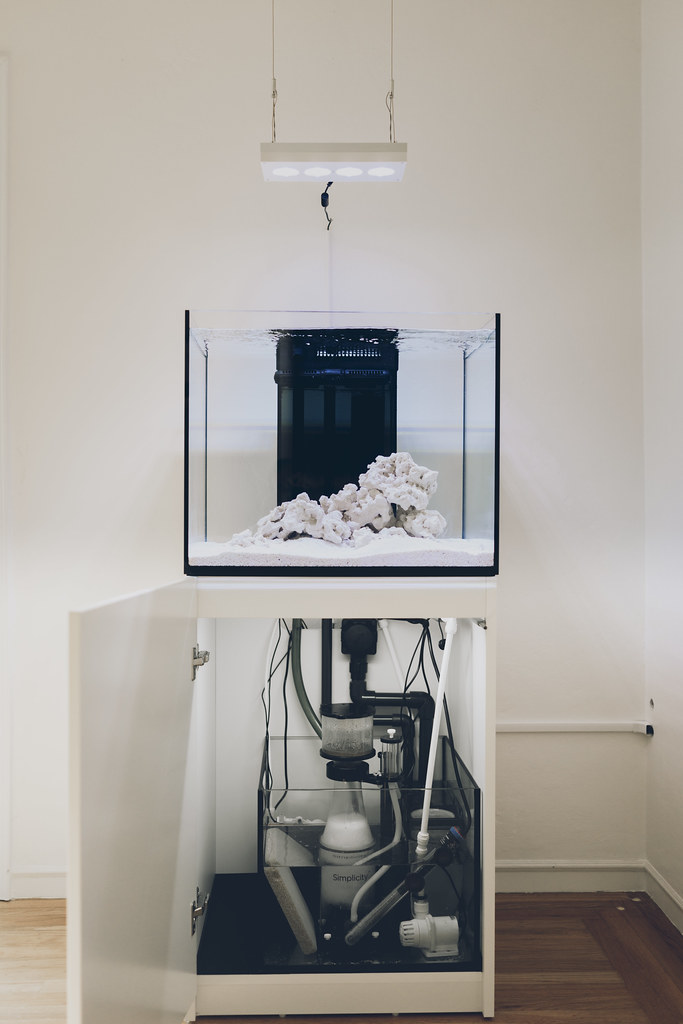
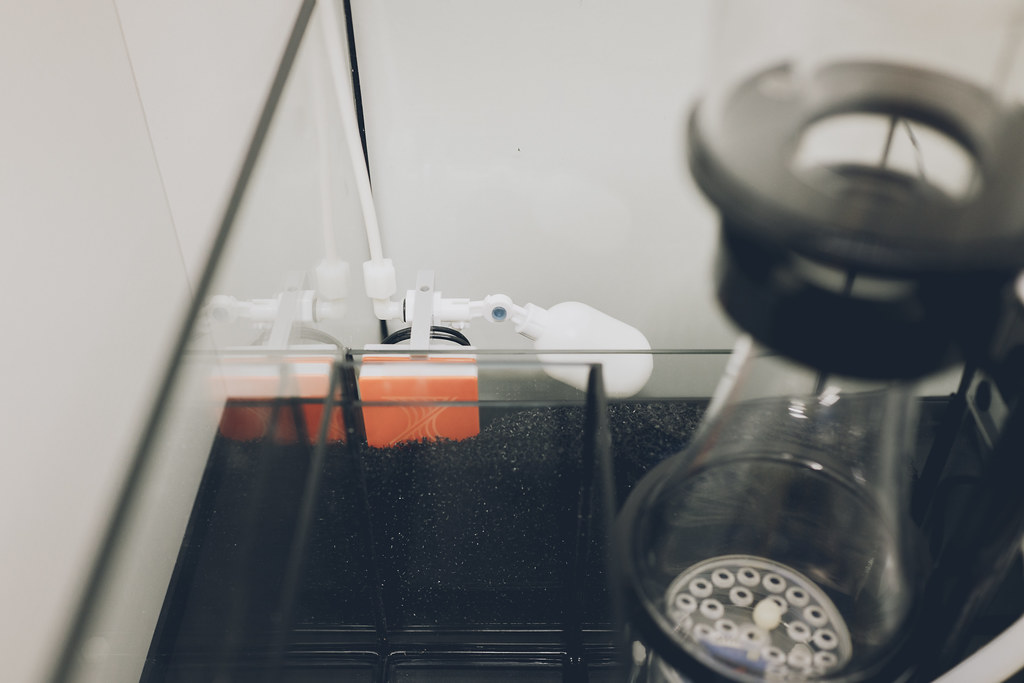
System Equipment Details:
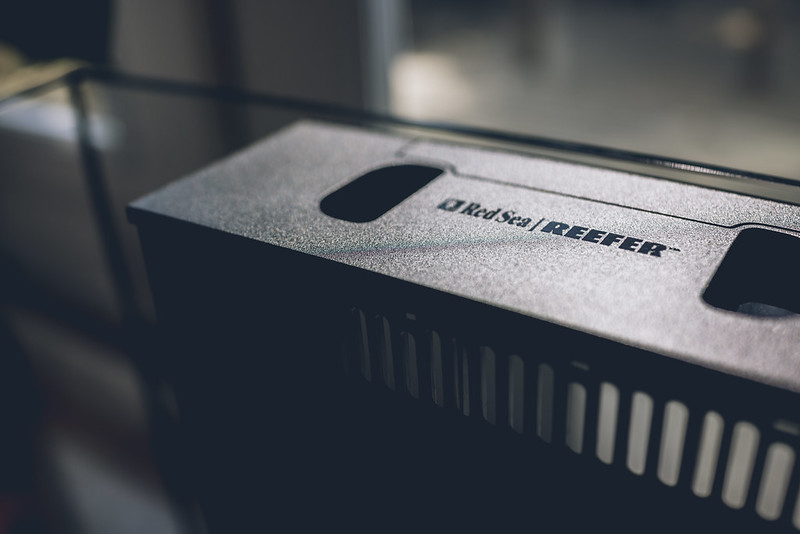
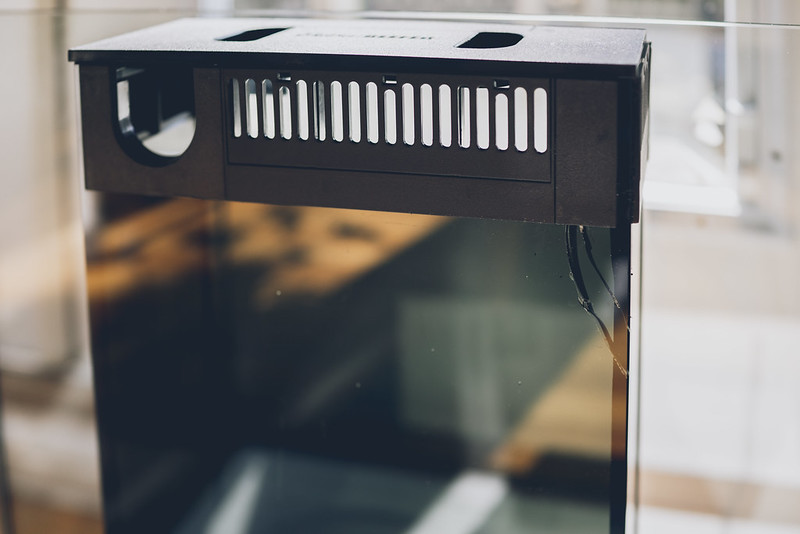
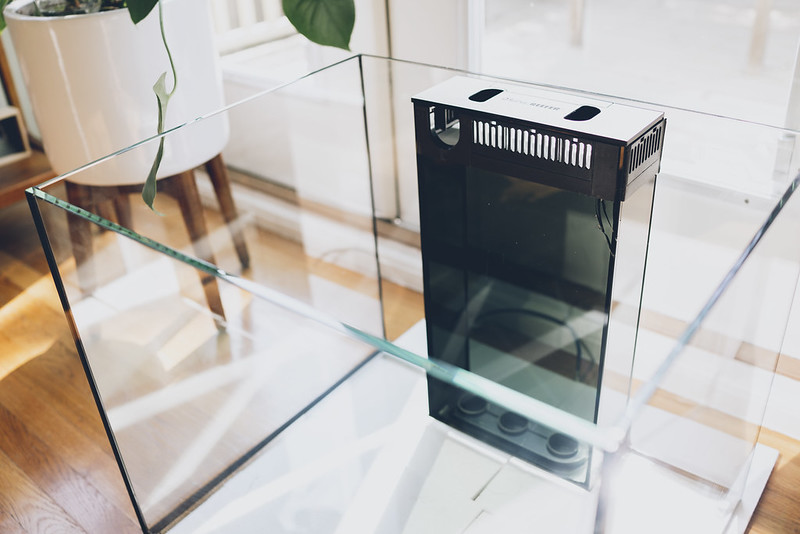
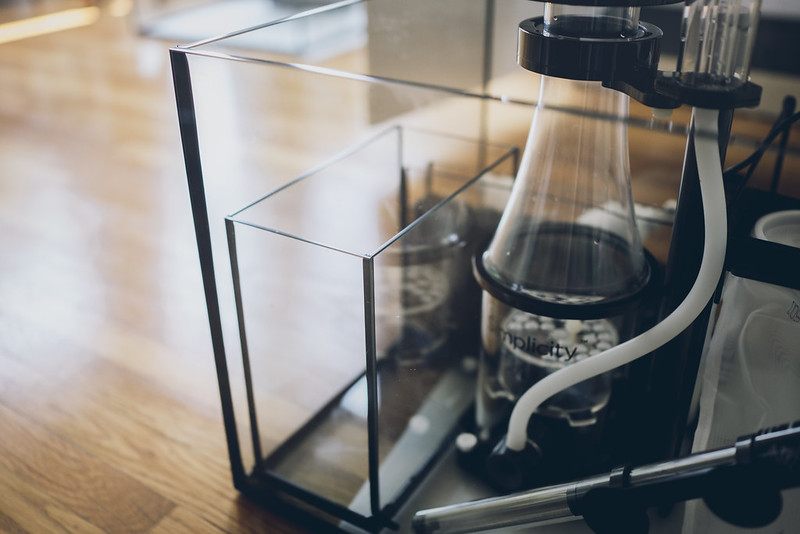
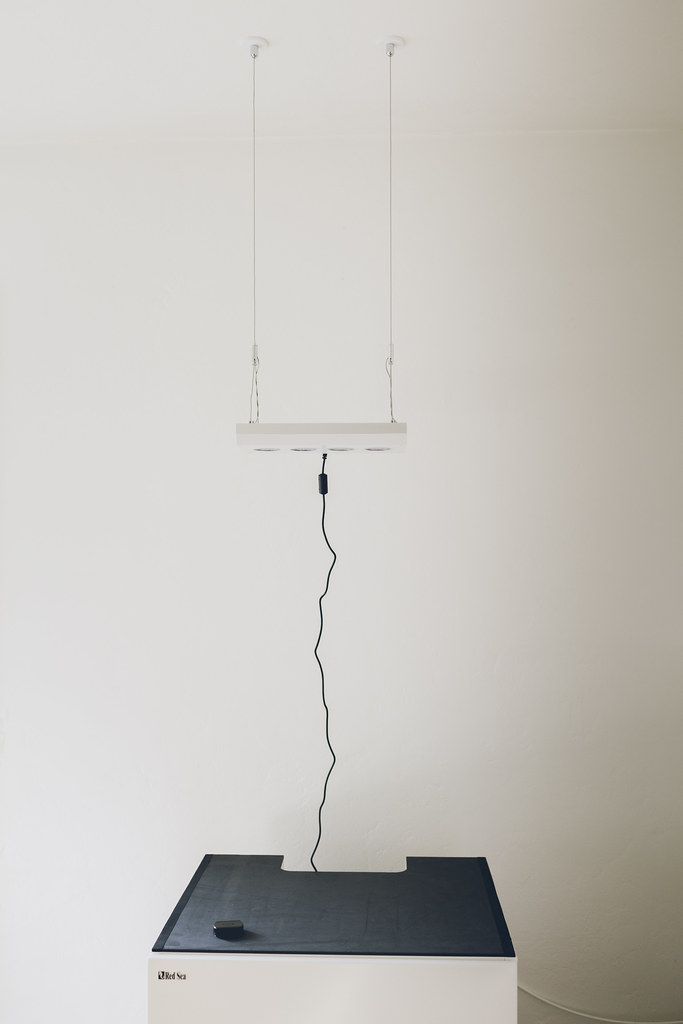
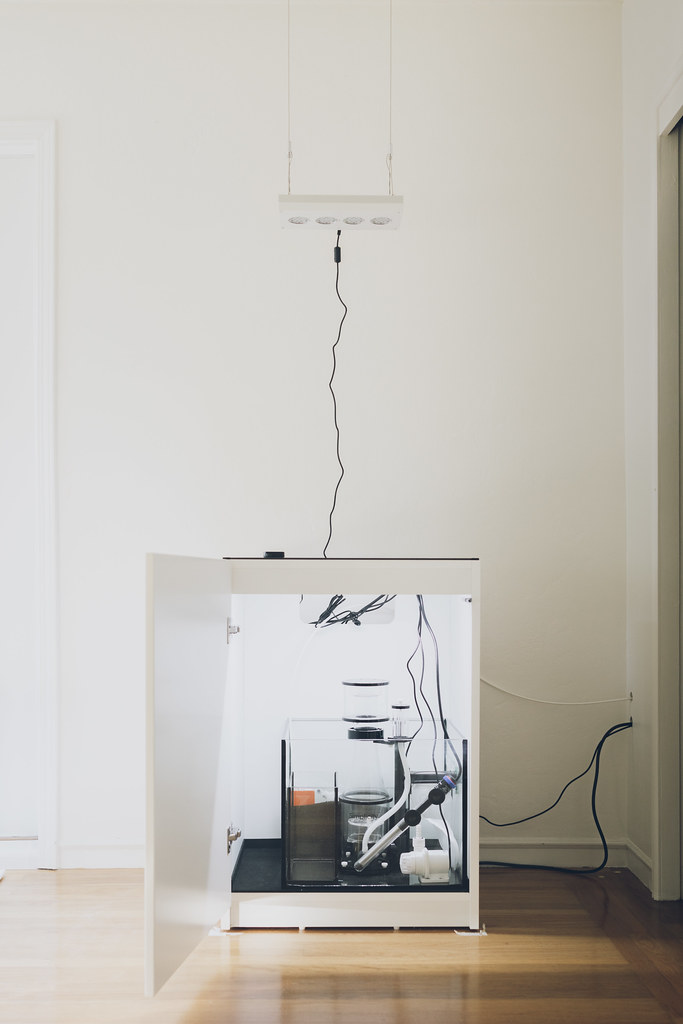
  • Red Sea Reefer 170 (white)
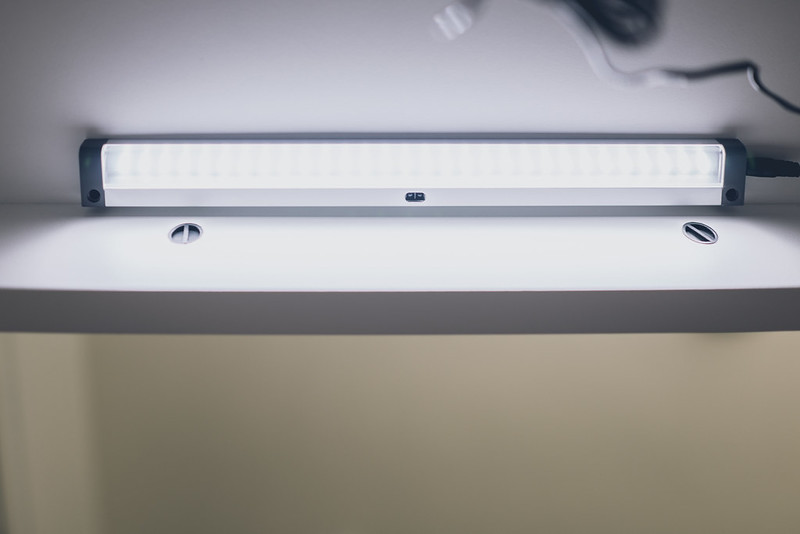
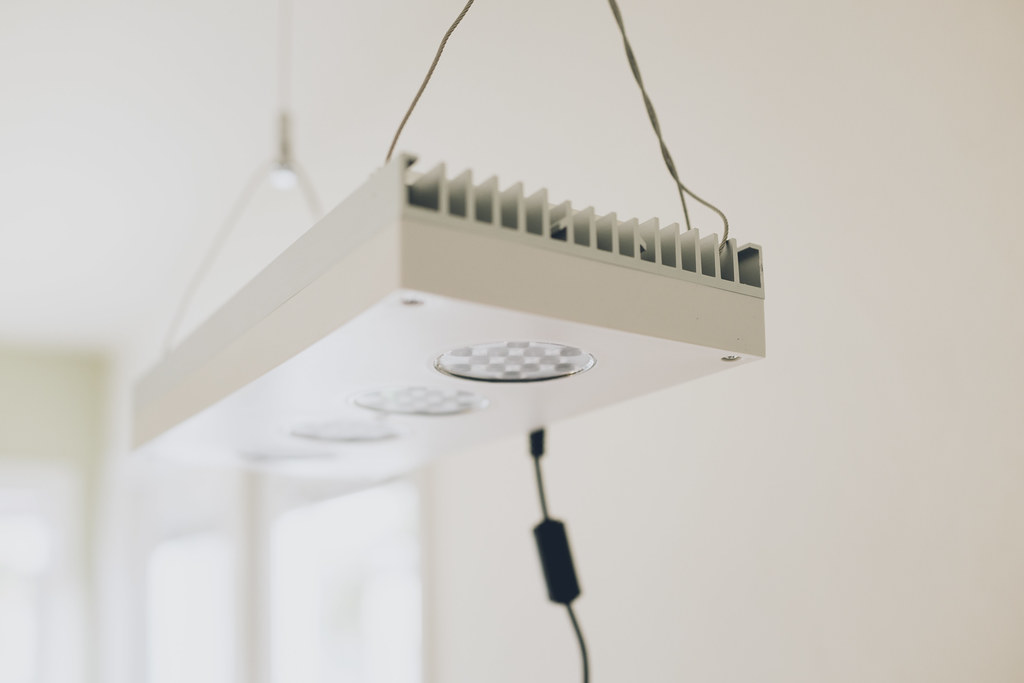
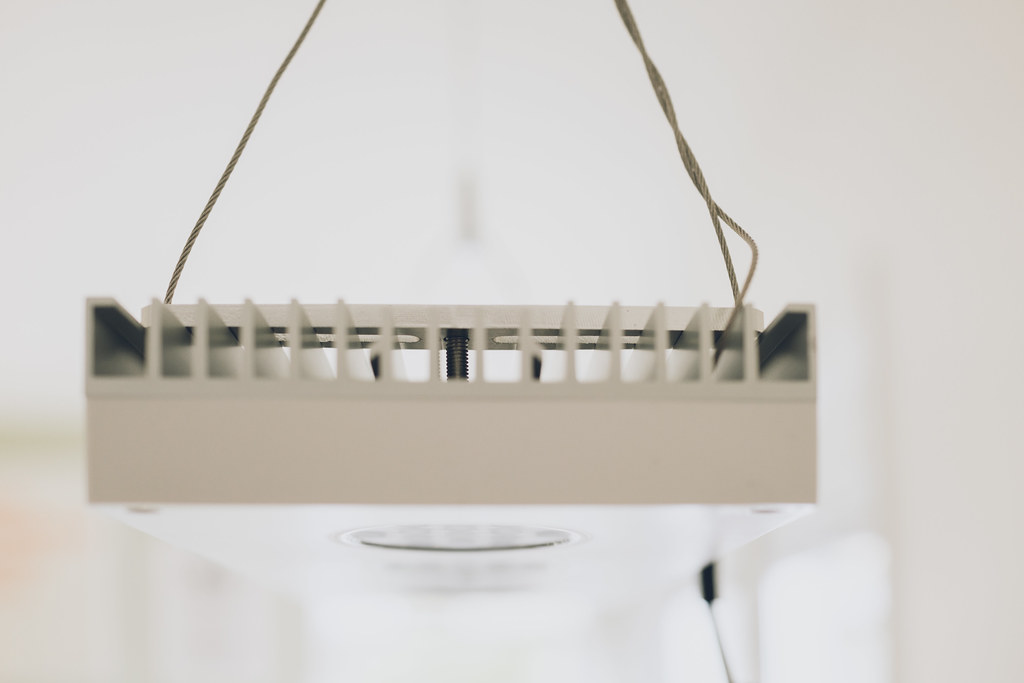
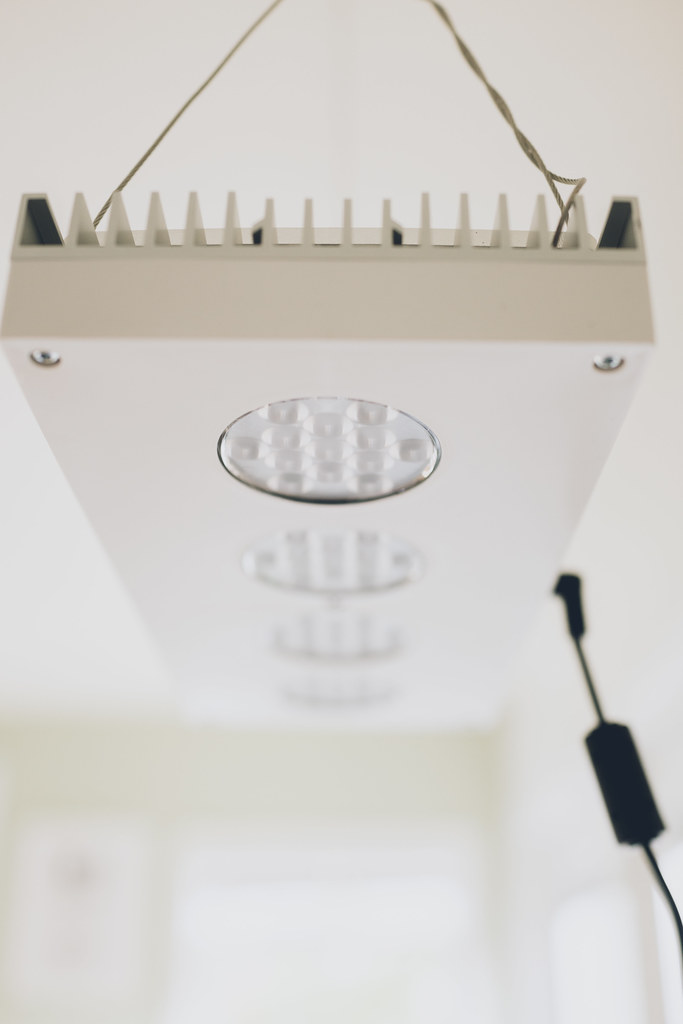
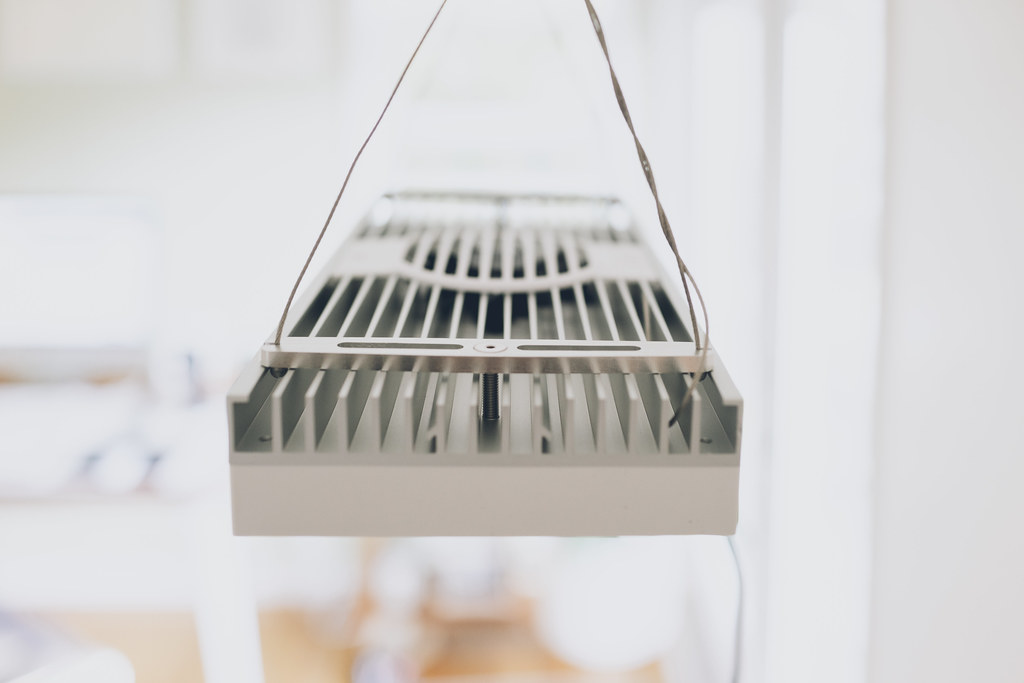
  • Hydra 52 HD LED light (white) w/ hanging kit
  • Reefi Uno
  • NYOS Quantum 120 Skimmer
  • Reef Octopus Varios 4 Return
  • Reef Octopus Varios 2 Accessory pump
  • TECO 1/10 hp chiller
  • Eheim Jager 200 watt heater
  • Neptune Apex Jr. controller
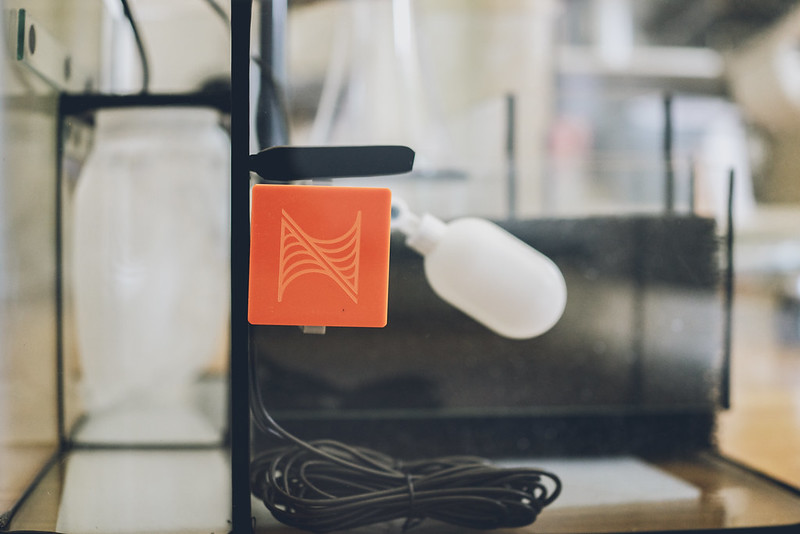
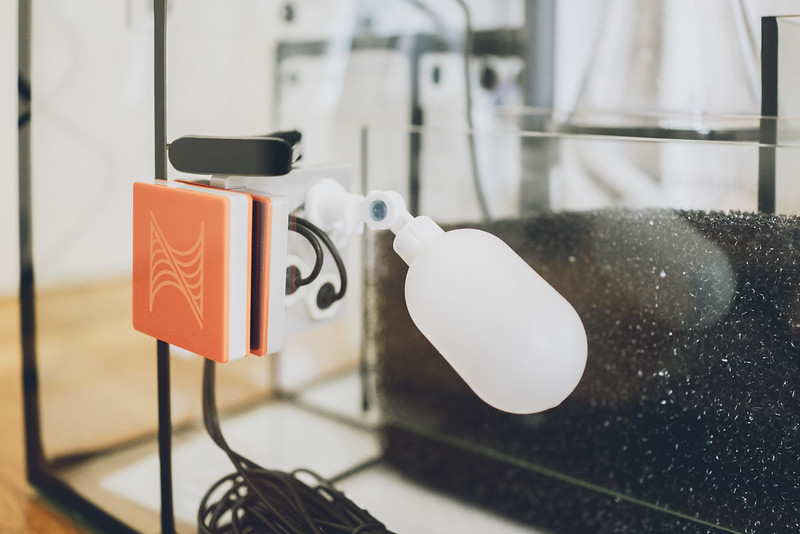
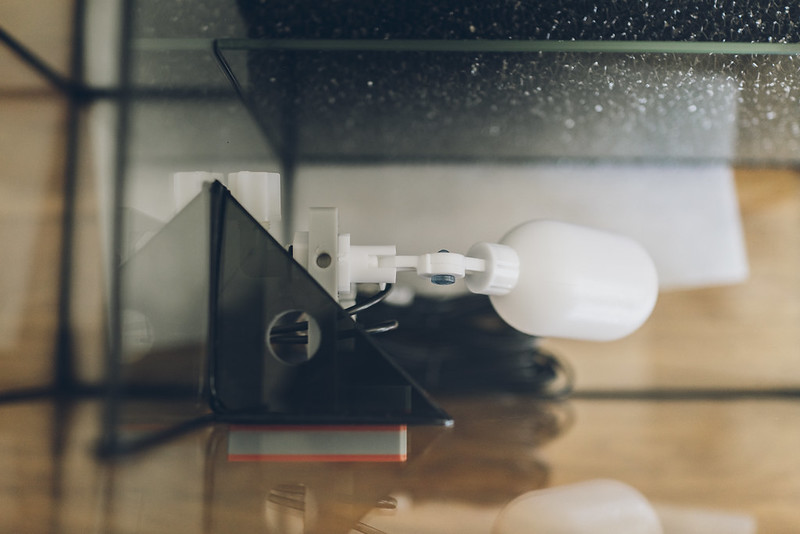
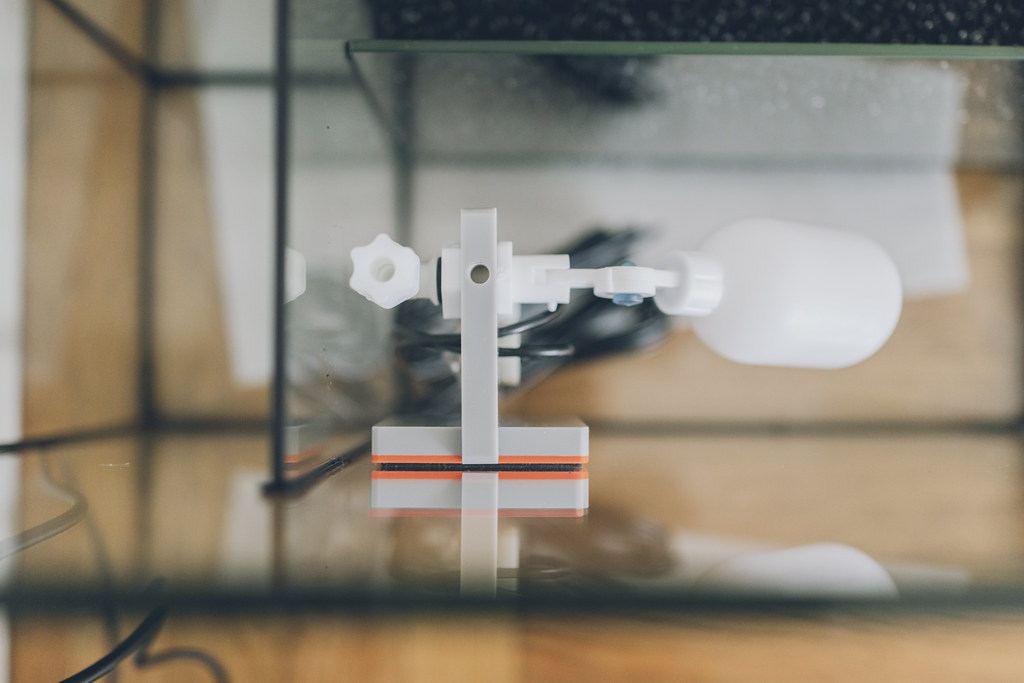
  • Neptune ATK for topoff from LPDE 5 gallon reservoir (Araven colorclip airtight food container, bpa free)
  • American DJ power strip
  • MaxSpec XF230 Gyre
  • Nero 3 (2)
  • BRS Mini Reactor (BRS ROX carbon)
  • AquaUV 8watt UV Light (currently off, but still attached to tank)
  • Airmaxx XL algae reactor (custom with aluminum heatsink and fan)
  • AirWaterIce Typhoon III RO/DI
  • Apex VDM, DOS (2), ATK, FMM (for ATO auto-refill), Feeder, EB4
Supplements:
  • Aquaforest Reef Salt
  • Aquaforest 1+, 2+, Reef Minerals (mg is so high from salt)
  • Hikari AcroPower -- 1ml / in the evening
  • NoPox (2.5 ml / day)
  • 2-Part (Alk/CA at 26ml/day)
  • Brightwell Chaetogro - 3ml/day
System Contents:
  • 10 lbs dead key largo rock from marcorocks
  • 30 lbs of tropic eden mesoflakes
Livestock:
  • H. Magnifica (Ritteri) Anemone
  • Rainbow BTA
  • Vossen Ocellaris hand picked (male)
  • Sustainable Aquatics fancy-white ocellaris (female)
  • ORA Orchid Dottyback
  • Chromis Viridis
  • Sunset Montipora (mini colony)
  • Shades of Fall (mini colony)
  • Red Robin Stag (frag)
  • Pearlberry (frag)
  • BC Battlestag (mini colony)
Cleanup Crew:
  • Trochus Snails (4)
  • Cerith Snails (6)
  • Scarlet Hermit (1)
  • Zebra Hermit (1)
  • Black and Orange Hermit (1)
 
Last edited:
I've been updating on other forums, so here is the whole digest of what I've done so far:

Here's the display tank on the floor. It's beautiful, but unfortunately came cracked. Red Sea is sending me a replacement, but with the hurricane aftermath, it's unlikely it will be here anytime soon.

36551636960_fac29b9133_c.jpg


36551634320_8c6866c6fa_c.jpg


36776590082_df392203dd_c.jpg


36551624590_e0732efb32_c.jpg


Close up of the cracks:


36776607082_93f3dbecb5_c.jpg


36776609812_e114287c37_c.jpg


36776603502_7500636821_c.jpg


Dry rock cycle:
Started August 26, 2017
  • 15 lbs Key Largo from marcorocks
  • 1x MarinePure BioMedia Plate
  • Aquaforest Reef Salt (probably could have used something even more basic)
  • RO/DI from my AirWaterIce Typhoon III
  • Dr. Tim's Ammonium Chloride (40 drops) and 4 oz. of Dr. Tim's One and Only (added over the course of 3 days)
  • This is all in a 18 gallon Rubbermaide Roughneck tub
Initially I think I may have overdosed the ammonium chloride, even though, according to directions, I should have been way under. Took about 5 days to finally drop down to maybe 2.0ppm. I did a 80% water change anyway in the tub and got it down to 1.2ppm. I've been maintaining somewhere between 1.2 and 2.0 now since. Now on week 2!


36757504542_5ec40fbb98_c.jpg


Ran my new Simplicity 120 DC skimmer in a bath of RO and vinegar for a few hours. I rinsed it off in RO/DI afterwards.


Here is the skimmer and heater in the sump:

36157139273_3f6dff5abb_c.jpg


Build quality for the skimmer is pretty nice, though rough around the edges. The acrylic / plastic feels sturdy.

36965954375_dde86f4468_c.jpg


The cheesy sticker sucks. Photographs badly. Simplicity needs laser etching or something:

36794889922_acdd089ba2_c.jpg


Got the Neptune ATK system to replace the stock one. I eventually razor bladed off the black triangle piece that held the stock float valve in place to give more space. But you'll see later on why this doesn't work either.

36794895262_ffbfd0bb02_c.jpg


36794900332_deaf95edd6_c.jpg


The original ATO float valve hole almost looks perfect for a temp probe... but flow might not be good here:

36794907032_e2aa663091_c.jpg


I put the ATO reservoir into the skimmer chamber. I'm probably going to just plumb the drain of my GFO/Carbon reactor into this little 1.5 gallon area and let it overflow. I'll use it as a refugium, and maybe put a little angler fish in there and spot feed him daily =)

36130820874_124f748b64_c.jpg


I added a LED strip into my cabinet (Eshine 12" LED). You can wave to turn it on, but I can't for the life of me get it to turn off without cutting power:

36130822854_3db14c6703_c.jpg


Here is my AI Hydra 52 HD. Took a few tries to find the right hanging kit. I happened to need to drill right up into some ceiling joists, so I didn't need the alligator anchors and just used some strong wood screws. I was able to almost put 30% of my body weight on it and it didn't budge, so I think I'm good. Black power cables everywhere are ugly, but keep scrolling to see a good fix for that.

36261770713_1b71d79fa9_b.jpg


36261767273_083380fc17_b.jpg


36261764073_19df9af2fe_b.jpg


36261760743_3739c12cb0_b.jpg


36261756873_0b3d55ba6c_b.jpg


Sump in the stand:

36678855630_d6ea7567bf_b.jpg


Used a neat bungee chord thing that quick releases from a round adhesive piece that I stuck to the top. It doesn't hold too much weight, but works for these cables. I'll clean them up later once plumbing is in. Those two "L" brackets used to hold my ADJ power strip, but I took that out of the cabinet and mounted it behind the tank. I just left those brackets there just in case I needed them for something else.


36678851640_5861d6fc00_b.jpg


And here's a shot of the sump without the triangular ATO mount. I cut it out using a razor blade:

36261778513_954282b611_b.jpg


And I had to actually mount the ATK sensor/valve thing on the opposite wall against the baffle because the magnet couldn't fit with the sump in the cabinet:

36678854040_dd5faa194e_b.jpg


And lastlhy, just today, added cable raceways to hide as much of the black cables as possible. Still need to wrap the last bit of black in some white neoprene sleeves. Then I'm going to paint the raceways to match exactly the wall

Preview before paint:

37112995295_72f8bc0ae8_b.jpg


37112993585_97bb181354_b.jpg


That's it for one massive update. I'll post more as it comes from now on. Thanks for reading!
 
Looking forward to the progress

Hope my Display Tank comes soon so that can happen ;)

You're picture taking skills are amazing!

Thanks! That's my world. All my friends are photographers. I shoot commercially if not just as a hobby. And my company is focused on photography tech innovation.

A magnifica is going to take over the whole tank.

Yup. I think that might be all I'll have haha. I'm considering plumbing a 55g sump externally to take on bioload...
 
Just plumbed my 3/4" barbed chiller to my 1/2" Mur-Lok BRS Mini reactor. It wasn't too bad. A little hair drier action and the vinyl tubes and adapters were in place. Unfortunately the mur-lok tubing is so rigid and curled up. No amount of hair drier action could straighten them out. Any tips?

I'm actually short about 2 feet of mur-lok 1/2" tubing. I'm going to pick some up tomorrow and do a sump leak test + plumbing test.

Another piece of progress is I setup my ATO reservoir. It's fed by a 50 foot 1/4" tube that I pulled under the house through the crawlspace and through the floor that starts from my RO/DI in the laundry room to this side of the house. There's a float valve in the 5 gallon reservoir that will shut off automatically when I'm refilling the reservoir. I then just close the line with a ball valve when it's done. The float valve is there so I don't need to constantly monitor it.

I added a neptune optical sensor at the bottom of the reservoir. I plugged it into one of my Neptune ATK sensor ports (it has 4, and uses 2 for the ATK sensors), and I hope I can control it with my Neptune Apex Jr. that's aquabus'd to the fluid float controller thing. This sensor will tell me when it's time to refill my ATO reservoir. I was going to get fancy and put a solenoid on it to automatically open... but that's too much right now.

Pretty excited. 2 more feet of mur-lok and I'll be all ready for the display tank!
 
Too late now, I hope you don't have any rodents under the house. It's best to put stuff like your 1/4" line inside a pvc conduit to keep them from chewing on it.
 
Beautiful build. Why did you choose the 170? From the looks of it you have plenty of room.

Thanks! Originally I was going to cram the tank into the corner of my living room, but then decided to shuffle my home office around and this was a much better spot. I've always been a fan of tanks that have A LOT of wall space around it, makes it feel less cramped. That being said, yes, I do realize I could still have a lot of wall space going for even a 36" or 48" long tank. The Reefer 250 would have been a good one. I almost decided to switch it out, but:
  1. Red Sea can't even get a replacement DT tank to me right now because of hurricane problems
  2. I eventually want a Red Sea Reefer Peninsula 500, or similar. So I'll hold off for a bigger tank until that becomes more of a reality.
Use a heat gun? I've been able to separate pvc fittings with the gun, just something I wondered before if it was possible.

Yeah, I was using a little hair drier. I guess I could go hotter. It's just weird to keep bending it with my hands. I wonder if I can use like a rigid stick and zip tie it to the stick while heating it up.

Too late now, I hope you don't have any rodents under the house. It's best to put stuff like your 1/4" line inside a pvc conduit to keep them from chewing on it.

Good point. I don't (currently) have any rodents down there. But if something happens, I guess it'll be time to go spelunking again.
 
You know it's plumbing time when:
  1. You start by purchasing twice as many fittings, elbows, and feet of tubes/pipes than you know you need
  2. You end up needing about 200% more than you thought you did
  3. You purchase twice as many of everything again
  4. Repeat...
I decided to use the nice little 1/2" mur-lok piping that BRS reactor came with. It's like PVC (almost, at least it's like the flexible kind) but you can use beautiful push connectors and not need to worry about glue and inhaling a bunch of nasty junk, and it's never permanent. Problem is I can't get anything I need locally, so everytime I need more I need to order from BRS. Their free shipping is like a week... so it looks like I'll be done plumbing my reactor/chiller in about 5... years.
 
Closest Lowes is 15 miles away. I have 2 home depots within like 3 miles of me, and at least that many Ace hardwares.

I guess I could drive all the way out to Lowes... kind of tough since I only (think) I need a couple feet of tubing and elbows.
 
Good news, RoadRunner transportation called today and said my tank is going to be delivered on Wednesday! The window of delivery is basically 12 hours long haha. I guess I'll just camp out at home all day.

I am still working on plumbing (just waiting for BRS to send me all the mur-lok items) and noticed that the return hose on the tank is actually 5/8" and not 3/4". My return pump is 3/4" barb. Is it safe to heat and stretch the 5/8" vinyl tubing to fit over the 3/4" barb? Or should I do something like fit the 5/8" tube into a 3/4" tube and use that like a reducer?

I could also buy a 10 pack of reducers on amazon, but that costs an extra $11 that might not be worth it.
 
The day has come, the replacement tank arrived on Wednesday morning. After a VERY close inspection, I took delivery of the tank. It came with the plastic overflow top too (which I thought it would not). This tank was not cracked, though quite a bit dirtier inside (cobwebs, dead moth, dusty). Not a big deal, quick vacuum and towel + water, it was cleaned up.

The finishing touches:

  1. Plumbed the drain pipes and return
  2. Hooked up the return pump (which was being used to cycle my rock in a tub)
  3. Fitted the Maxspect Gyre XF130 to the overflow (fit perfectly, a little snug on the drain silencer, but otherwise good)
  4. Put in the rock
  5. Started the slow process of filling with RO/DI from my RO/DI unit (75gpd, with quite a bit of distance traveled to the room with the tank)
  6. Put in sand I rinsed like crazy. I had initially rinsed it with garden hose water for 2.5 hours. Then I rinsed it with the water from the tub that was cycling the rocks. Just a little at a time, multiple times. Pretty sure it diluted the tap water out (which was treated and left for 2 days anyway), and got the sand crystal clear. Added the sand to the tank, and zero cloudiness. horray!
  7. The rest of the cycled water I had left, I put into the sump, and it actually filled it almost perfectly.
  8. Marinepure plate that was cycling with the rock was also placed in the sump.
  9. Finally the tank was full. I turned her on and somehow no major leaks. Maybe I killed all the cycled bacteria with just RO/DI water? Who knows. Then I just mixed the salt right into the display (Aquaforest Reef Salt). Not sure if that was the best idea, but it worked great. NO residue at all anywhere. Pretty cool! I actually over dosed the salt, and spent most of the next day dumping out water and replacing it with more RO/DI. But as of today, it's perfect 35ppt.
  10. Dosed ammonium chloride to just under 2ppm, dumped a new bottle of Dr. Tim's One and Only, and now I wait. (by the way, Dr. Tim's Ammonium Chloride bottle says 4 drops per gallon, which is way over 2ppm. I tried with 1 drop per gallon, and it hit 2ppm easily. So if you're using it, don't do 4 drops per gallon. Heck, go under at like 1 drop per half gallon to start just in case).
What's left:
  1. My chiller (TECO SeaChill TR10) has these two shutoff valves for the input/output. They are complete crap. The tops just started spouting water out of them. So I took the chiller off the line and am now waiting for replacement elbows from TECO. So no chiller for now (not a big deal).
  2. My Neptune ATK FMM module starts beeping warning alarms after 5 minutes, and I can't figure out how to control it independently of my Apex Jr. So I hooked in the Apex Jr. into the aquabus, but I can't seem to connect to it with ApexFusion unless I do a (laborious) firmware upgrade. So I still gotta do all of that. Ugh. Any tips would be great!
  3. My Maxspect Gyre is brand new, yet the left impeller (marked A) runs opposite flow of the right impeller (marked B). WHAT? The right side has flow coming in from the bottom, out from the top. The left one is the opposite. No matter what mode I put the stupid thing in, it's opposite. I don't know... Contacted CoralVue with all the details, and they want photos. So I gotta deal with that too.
  4. And lastly, just gotta wait for this to cycle. The whole hiccup with Dr. Tim's ammonium chloride didn't really get me the head start I was hoping for. So oh well! I'll probably wait until mid october or early november at this rate to introduce a CUC if anything.
Here are some photos. The weird glare fuzzy stuff in the photos is me holding up two wine glasses on both sides of my camera lens. Just messing around a bit with the reflections (it's not some cheesy filter or effected added in later).

37107624461_14e727da6a_b.jpg


37107622471_15a2f75dd5_b.jpg


37107620391_edf0e34729_b.jpg


37107617871_3eeb1aaf53_b.jpg


Sump / cabinet shots are in. I kept things pretty simple inside. All controllers and electrical are mounted on a marker board behind the tank in a 5.5" space between cabinet and wall. Also the 1/2" mur-lok tubing goes out the back, down through the floor, and back up into the closet on the right where my BRS Mini reactor is with activated carbon (and soon the Chiller once I get the replacement elbows). So it's really clean. The ATO reservoir is also in the closet, and plumbed through the floor. You'll notice a cable raceway, that's for the Apex PMUP, the chiller power cable, and an extra Neptune Optical Sensor (that will let me know when to refill the ATO reservoir, still have to set that up). I was going to try to route those cables through the floor too for extra cleanliness, but those cables were mostly too short.

37107615551_c0e928e42d_b.jpg


36852068400_8955061de3_b.jpg


All photos taken on a Sony camera, used Priime app to edit (https://priime.com)
 
  • Like
Reactions: JVU
Back
Top