You are using an out of date browser. It may not display this or other websites correctly.
You should upgrade or use an alternative browser.
You should upgrade or use an alternative browser.
Leemar Starphire 290
- Thread starter Kmooresf
- Start date
Thanks everyone. I am very excited to get it up on the stand and see just how crazy BIG this thing is. ")
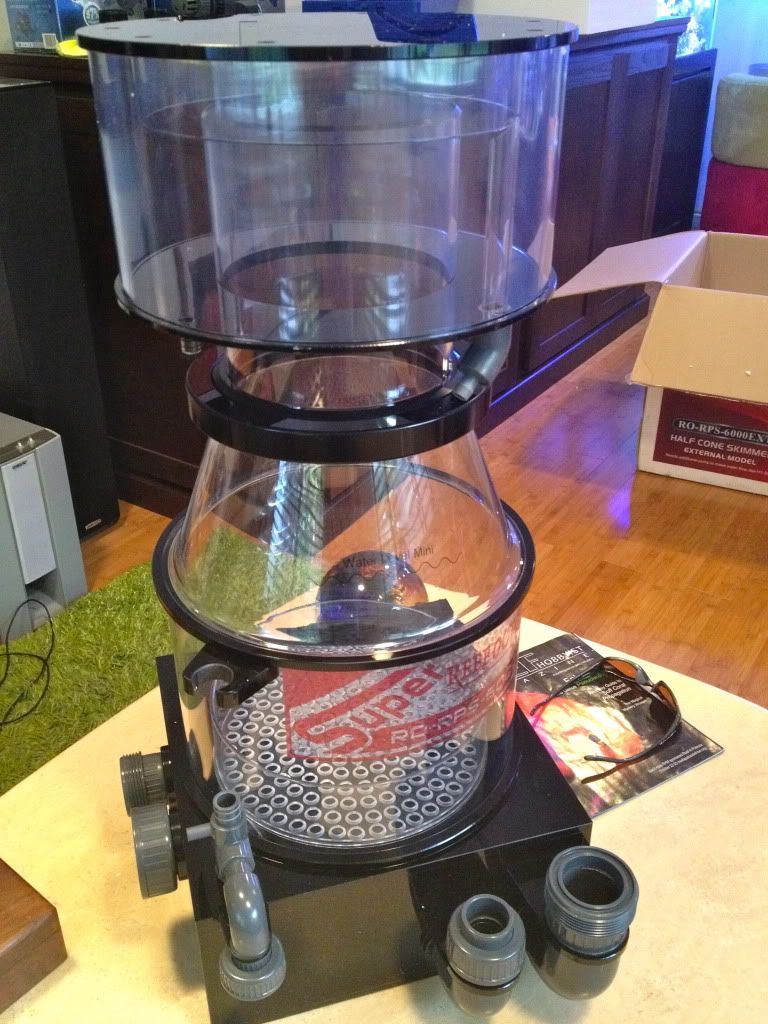
Got my plumbing today, got the SRO 6000 external skimmer. WHAT A BEAST!!! Really nice lookin skimmer. Got my Waterblaster 5000 dual return pumps and the 3000 for the skimmer return. Gonna try to get some of the initial plumbing started tomorrow on the sump, as well as get the skimmer together. Lot's of last minute details popping up. This is the fun part. :bigsmile: Trying to think of everything I can get done before the stand is set FOREVER!! LOL!
I'll keep ya posted.
Thanks John! I think I might need that luck! LOL!
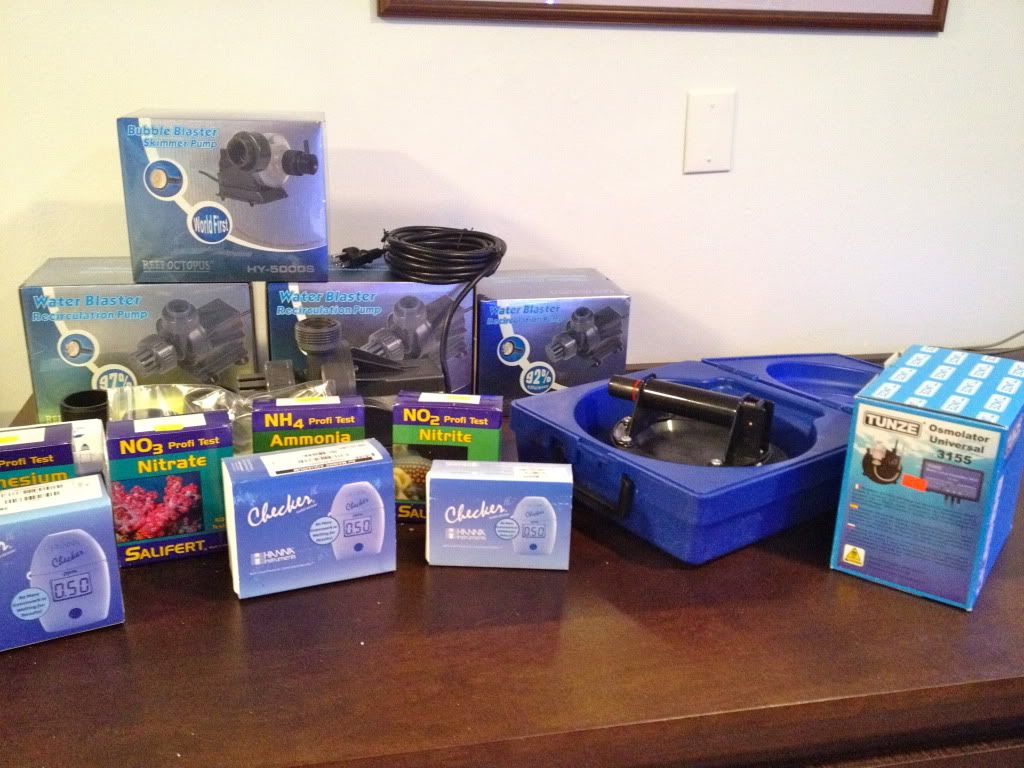
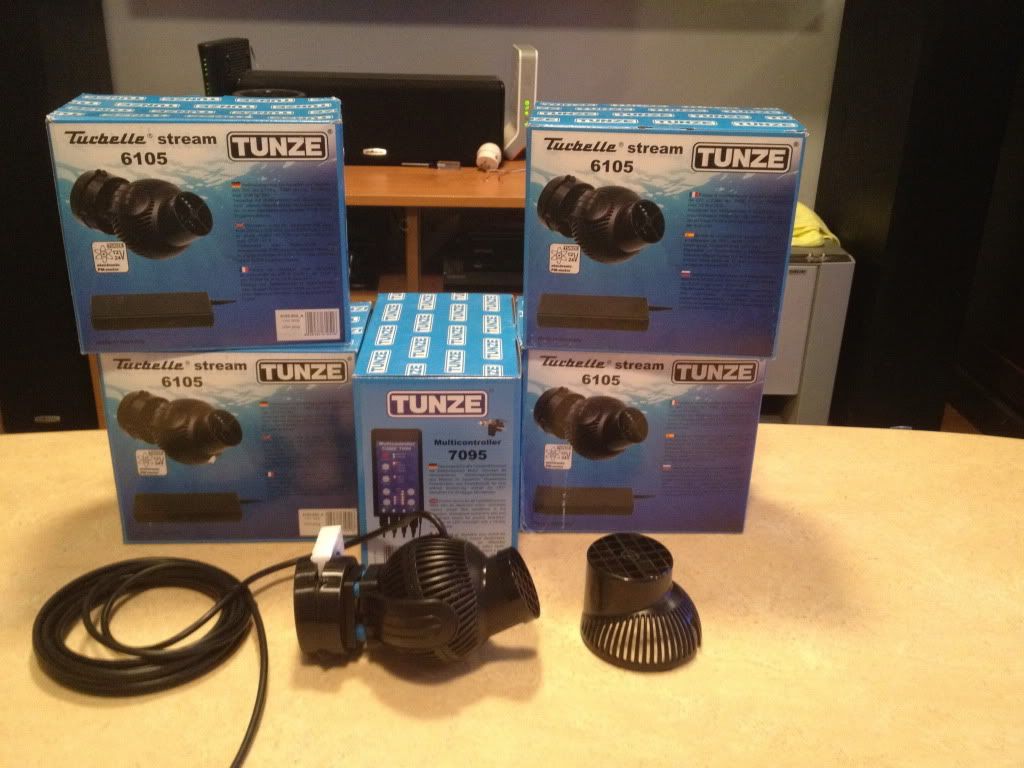
TOYS are HERE!!!!! :bigsmile:
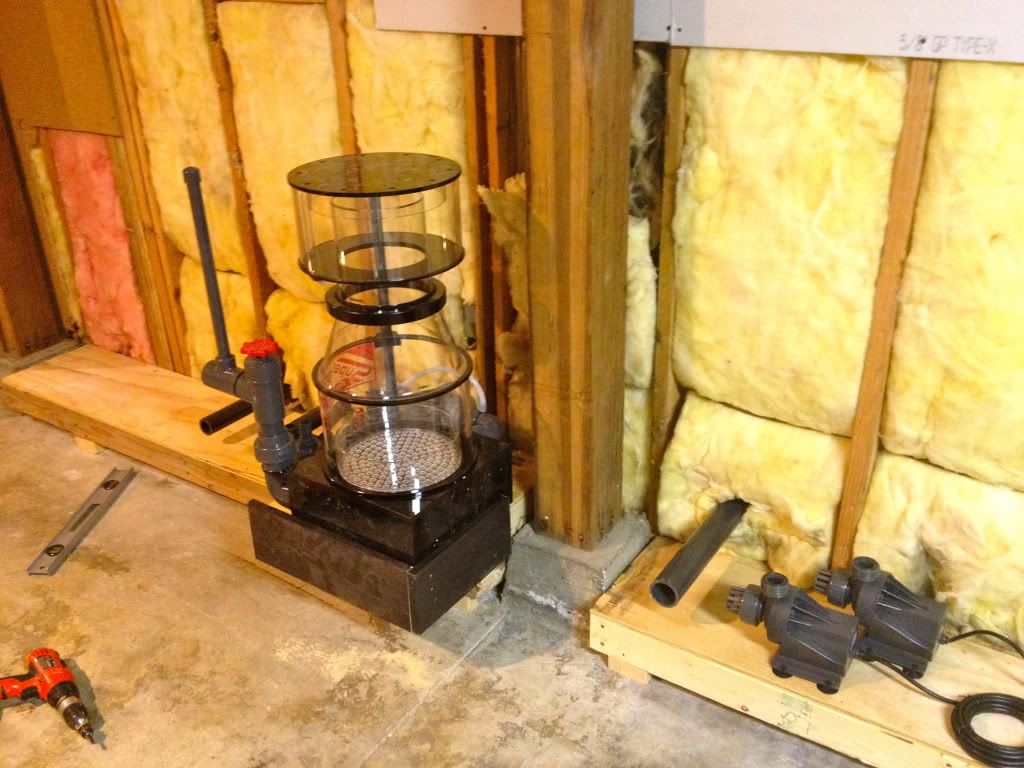
Skimmer is a beast! Can't wait to get it running.
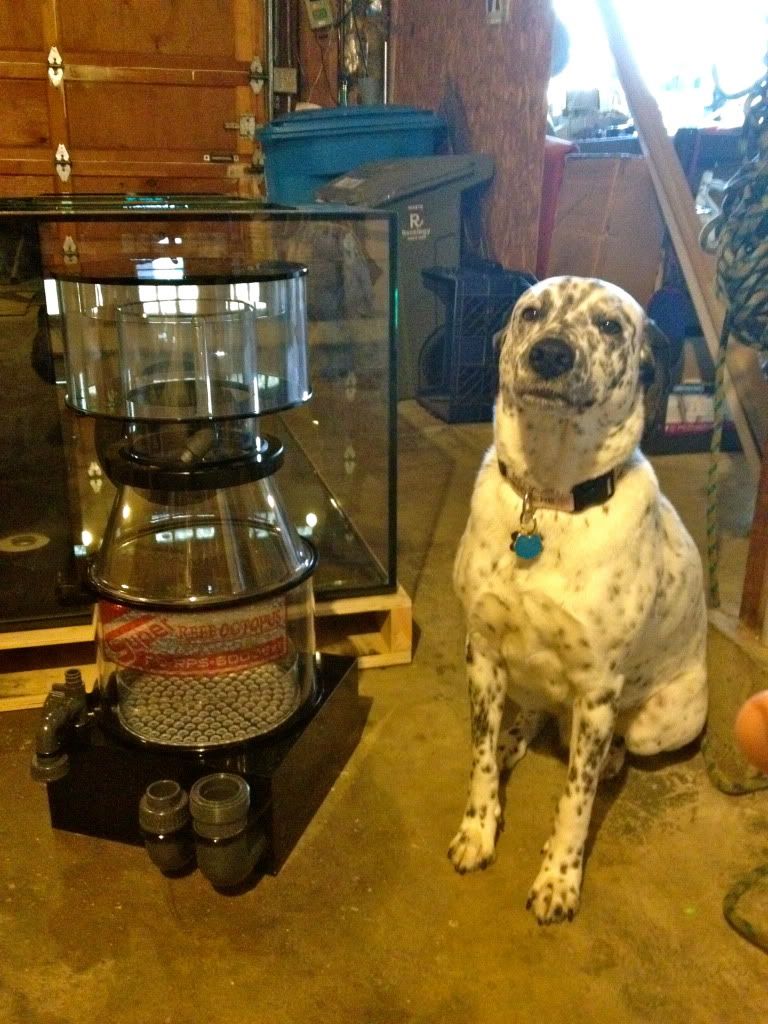
Size reference.
Skimmers new home! The lowest water level should match the level of the sump.
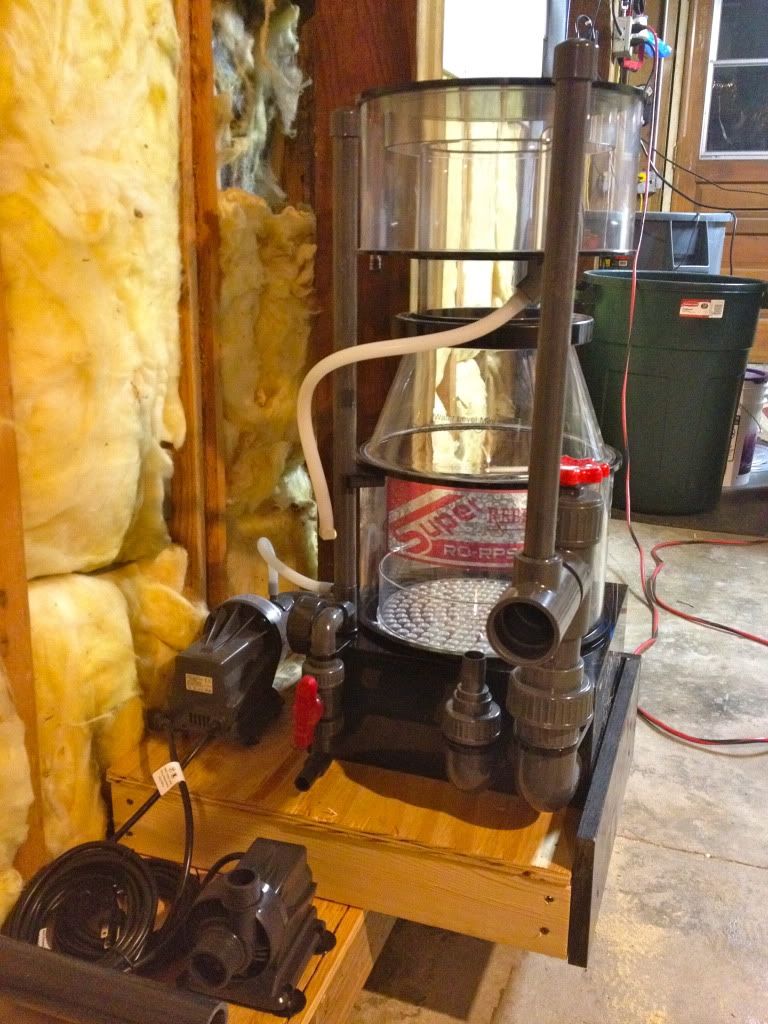
Rough idea of pump placement. Got the bulkheads set and plumbed from the stand and the stand put back together. Hopefully I haven't forgotten anything, cause after tomorrow that stand isn't going ANYWHERE!
Still waiting on the Tunze pumps.....prolly be here tomorrow. Lot's of other little things to do. Little by little.
TOYS are HERE!!!!! :bigsmile:
Skimmer is a beast! Can't wait to get it running.
Size reference.
Skimmers new home! The lowest water level should match the level of the sump.
Rough idea of pump placement. Got the bulkheads set and plumbed from the stand and the stand put back together. Hopefully I haven't forgotten anything, cause after tomorrow that stand isn't going ANYWHERE!
Still waiting on the Tunze pumps.....prolly be here tomorrow. Lot's of other little things to do. Little by little.
Excellent idea's guys. Thank you. I will look into a way to put some kind of pan / water protection in there. Robert also suggested a drain hole in the bottom. It would drain right onto the concrete, so it's all good.
Sooooooooooo................
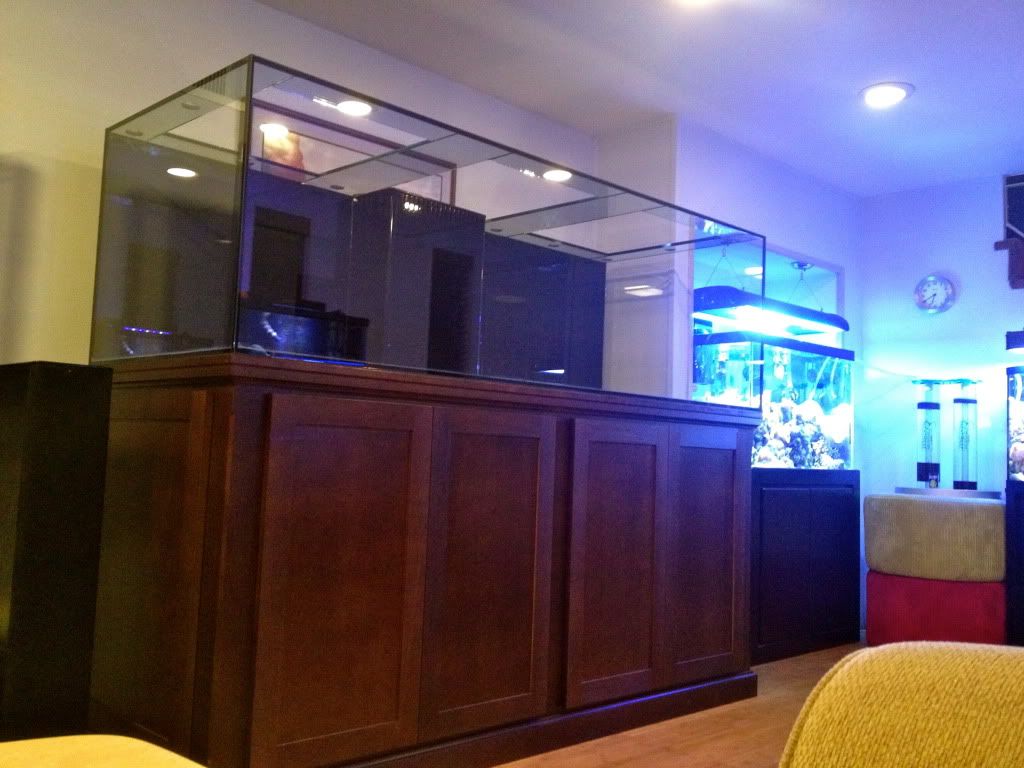
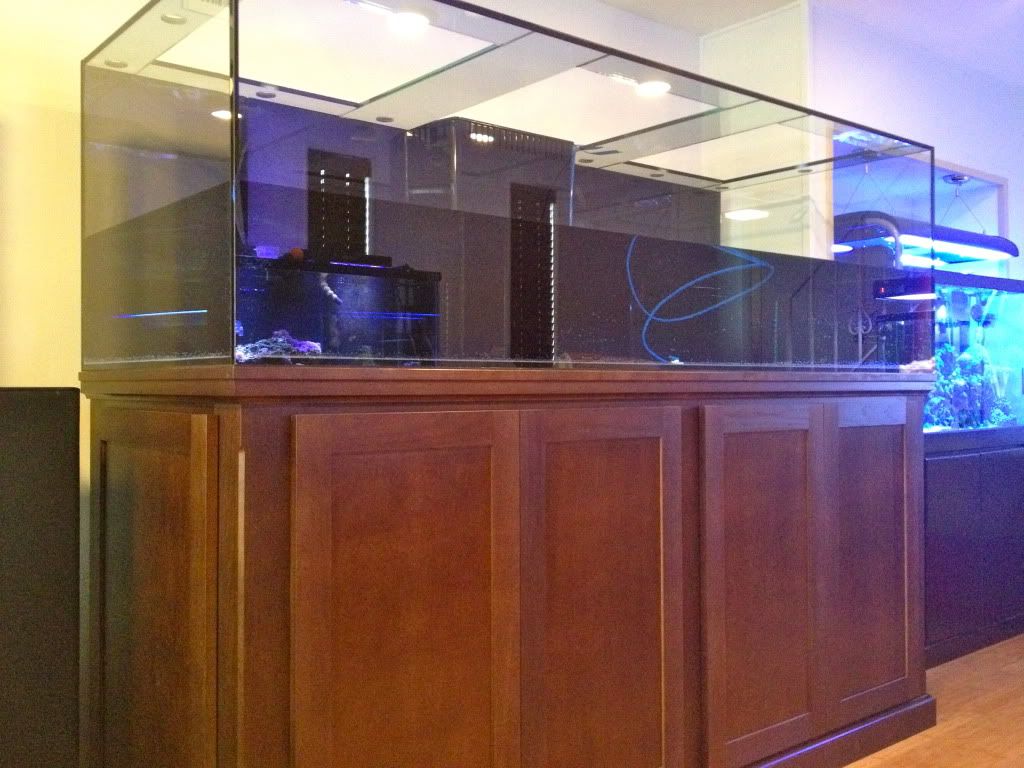
The tank is ON THE STAND!
Today went so smooth. We rented a 1000 lb rated Genie lift and it was PERFECT!
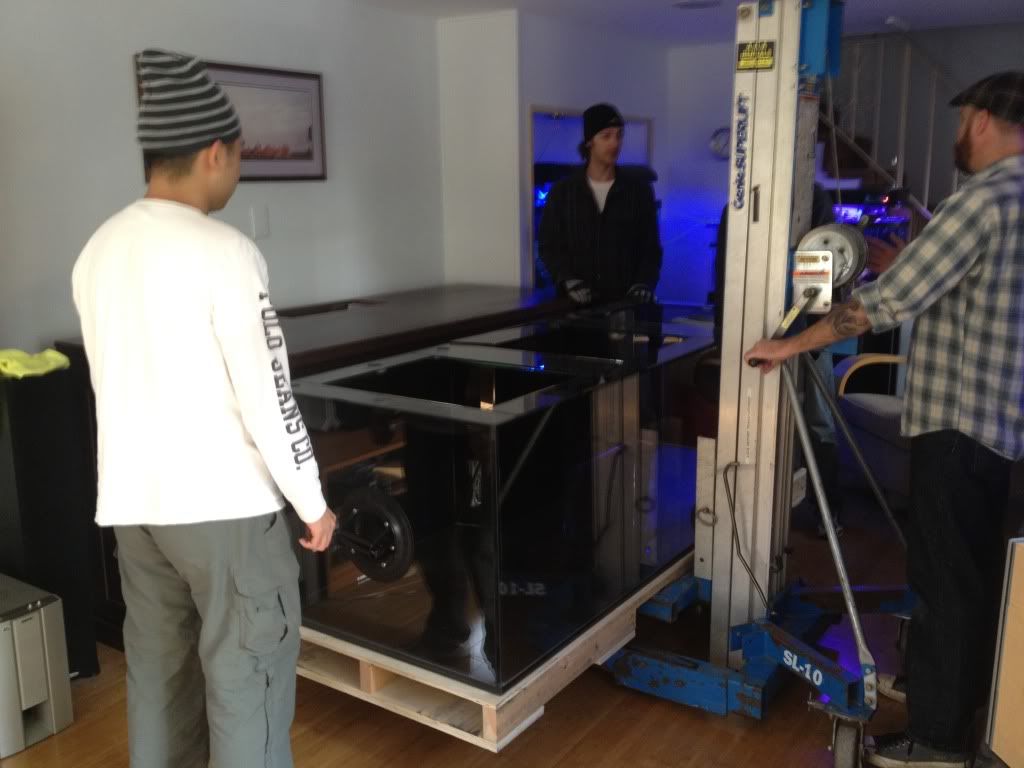
We were able to raise it up to the 40" level with the stand and just slide it over. I had 7 people on hand, but could have done it with just two.

MONEY!!
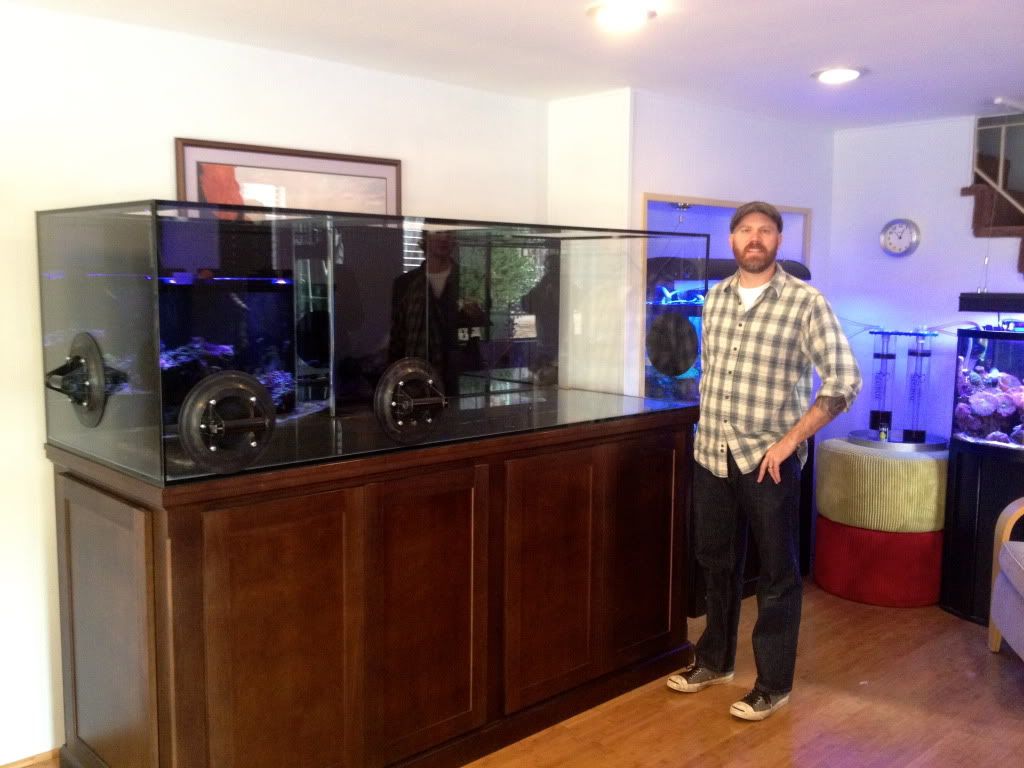
Look at all that space!! Can't wait to get the rocks going.
View from the couch!!!!
Oh, and the Tunze stuff is HERE!!!!!! GREAT DAY today!
Sooooooooooo................
The tank is ON THE STAND!
Today went so smooth. We rented a 1000 lb rated Genie lift and it was PERFECT!
We were able to raise it up to the 40" level with the stand and just slide it over. I had 7 people on hand, but could have done it with just two.
MONEY!!
Look at all that space!! Can't wait to get the rocks going.
View from the couch!!!!
Oh, and the Tunze stuff is HERE!!!!!! GREAT DAY today!
Thanks Icon, I have been sitting on the couch for a couple hours now just stareing at it. LOL! Looks SO amazing on the stand. I am kind of overwhelmed at the moment. WHERE DO I START???
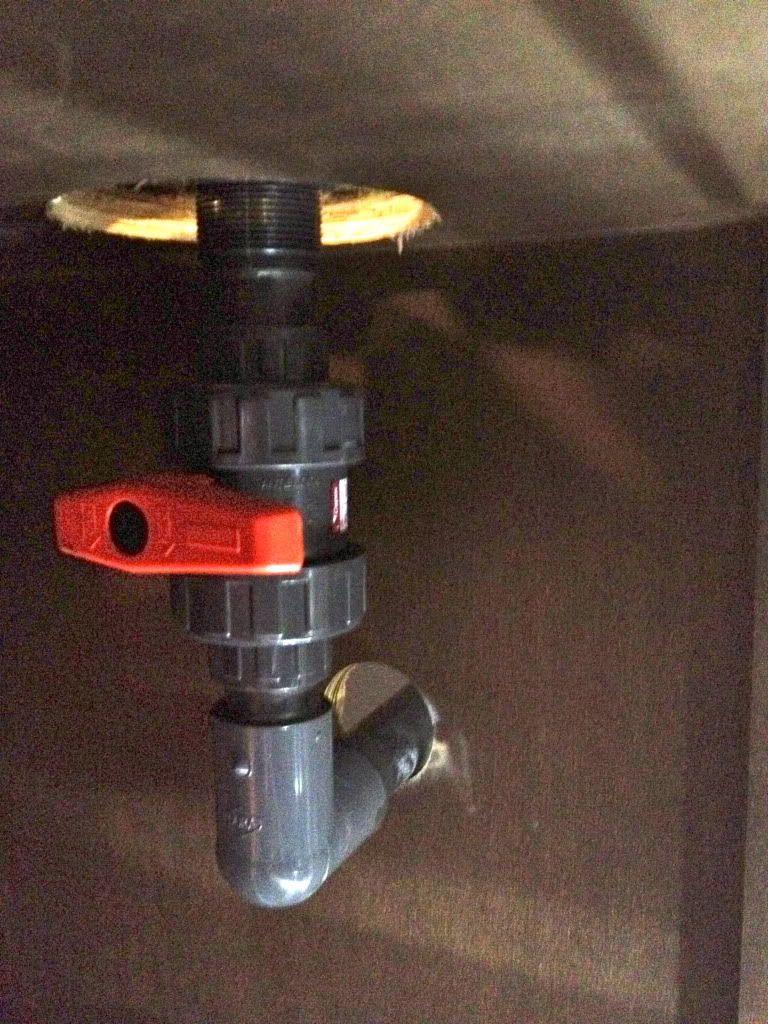
Well, actually I know where to start. This tank has a drain hole to the left of the overflow for easy water changes and to drain the tank. I will plumb that first tomorrow so I can start putting water in it as a leak test. I wasn't quite sure where the hole would be, so I didn't pre-drill the stand or wall for that. So it will be a bit tricky trying to line it up. Once that is done, I will start putting back the sheet rock and make the final holes for the return lines and for electrical cords. I would like to keep all the plugs on the back wall for easy access and off the floor.
The Tunze pumps are SWEET! The cords are SUPER long, so they will reach with ease. I was all stressed out because the bracing on this tank came pre-drilled for cord control, and the electrical box on the Tunze cord won't fit through them.........However I was surprised to see they have it so there is just a small box (plug size) at the end of the cord that plugs into the larger box. RAD! I was tempted to throw a couple of the pumps in the 110 and watch the wave action, but I am refraining. If I concentrate on getting this one finished I could have water in it in a couple days. :bigsmile:
I just want to post the tank pics......OVER and OVER! LOL! I will behave though.
Kensington Reefer
Supporting Member
K
Since old and new tanks are so close...I see an easy transition. Your tank is going to look awesome!
Since old and new tanks are so close...I see an easy transition. Your tank is going to look awesome!
drdoolittle
Guest
WOW.. impressive setup!!! very nice, keep up the great work.
Thanks Ed, and thanks again for the use of those cups. Those things are MAGIC!!! LOL! Way cool. Thanks everyone. Water is in the tank! Been filling it since yesterday and we are over half way.
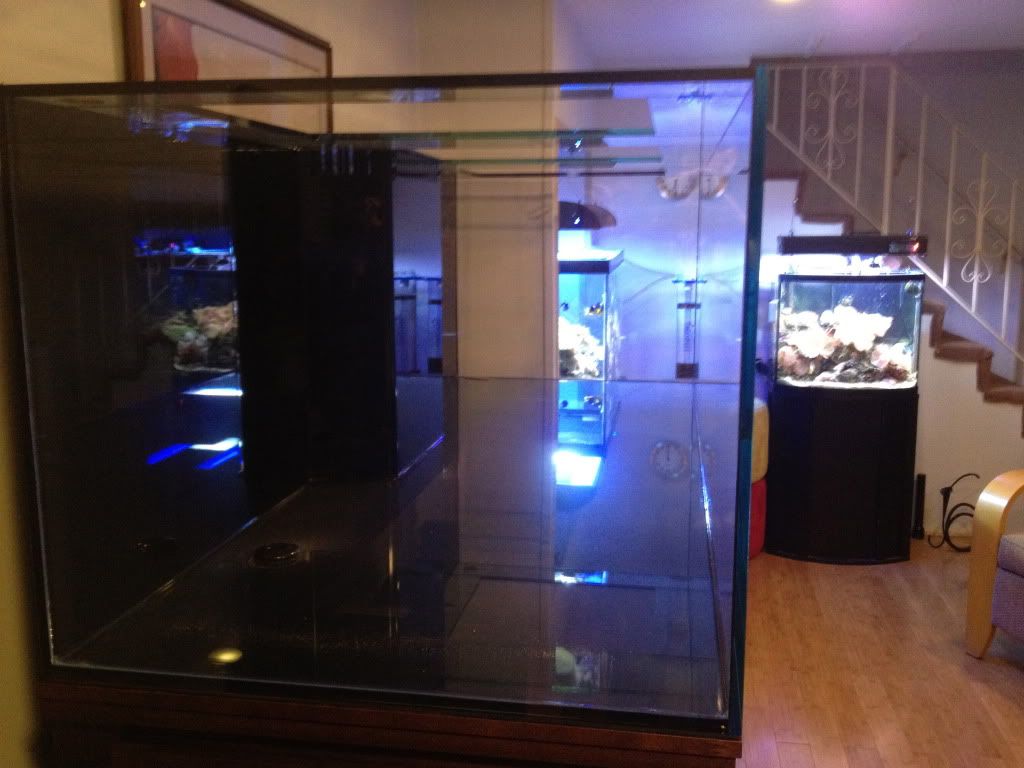
There is a drain in the main part of the tank. Had to get it plumbed first so I could start adding water. A little off on my hole placement. :~
No leaks yet!!! The more I work with this tank, the more I love it. Really nicely done. I hope my luck will continue.
There is a drain in the main part of the tank. Had to get it plumbed first so I could start adding water. A little off on my hole placement. :~
No leaks yet!!!
The more I work with this tank, the more I love it. Really nicely done. I hope my luck will continue.
Kensington Reefer
Supporting Member
K
I understand the need to put water in there, but if that's for leak testing, straight tap would work.
I understand the need to put water in there, but if that's for leak testing, straight tap would work.