got ethical husbandry?

Mike's Machination

Got sand?
Sump-Sand_zps02f75f92.jpg


So was looking at this pile of sand in the sump and can't for the life of me think how that can only be about a third of an inch deep, now i know it will flatten out, and the calculation I did was just a rough one based upon the volume of the buckets the sand was in pre-cleaning, but that looks like an awful lot of sand. Then I started thinking about my calculation of the buckets and realized I was off by a factor of pi! So I should have at least an inch thick sand bed which is perfect for what I want, enough for any tiny critters to burrow in, enough for any "roots" of any macro algae to burrow in, some traction for any crabs I may put in, not so deep I need to worry about stagnant areas getting anerobic. Think I'll eventually put a cucumber or two in there, last time I had one it was so cool watching their mouth chomp down sand and seeing clean white sand blocks pooping behind them :D

Next up, get me some Aquavitro Salinity so I can start mixing some water and start the cycle down here, then cover with a tarp so I can work on the stand above it without worry of sawdust or other crap falling in.
 
So here's what yesterday was all about
Stand-Beginning_zps6b5173e2.jpg

Making sure each and every part of the base of the stand was level, in multiple directions, a little more effort was required because the floor itself has a slope to it, but I wanted everything vertical to be perfectly level so all the force was going straight down, let an earthquake deal with adding lateral forces on the stand! *knocks on wood*

Unfortunately that's the only picture I have of the base, my camera was doing funky things again with the later pictures that I took after I finished all the legs and the base frame, something odd where every other line of pixels was overly bright (guessing it's an old camera that's telling me it's about to retire itself).

Here's a tiny bit of a picture I cut, just to show what I mean (very inconvenient!)
Picture2_zpsda694d37.jpg


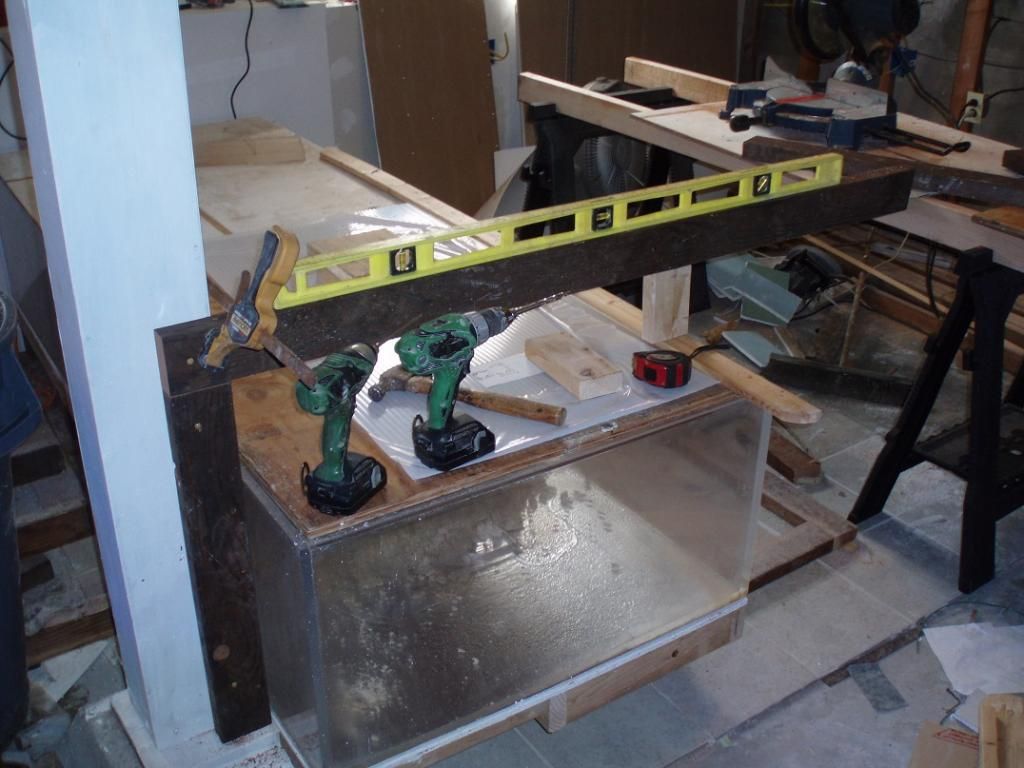
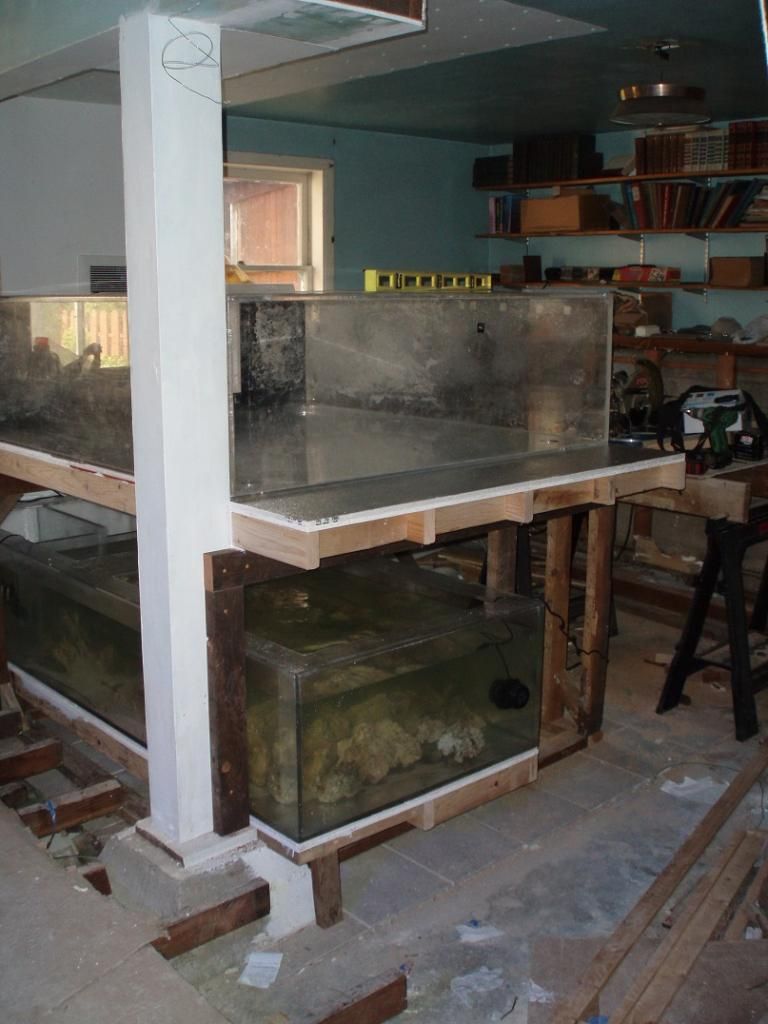
So the unfortunate thing is that you get no detail in what I did as far as the stand. So here is it is with the top deck attached
Stand-Front_zps704ad917.jpg

The way I did it was make sure the legs were sturdy as all bloody hell, and bridge across to each leg. That is where all strength needs to be, the 2x4 legs are more than sufficient enough to carry the weight, in fact the compressive strength of just one 2x4 is probably enough to hold up the entire tank if I could find a way to balance it perfectly... but since I couldn't balance it perfectly I did the next best thing, 8 legs :D

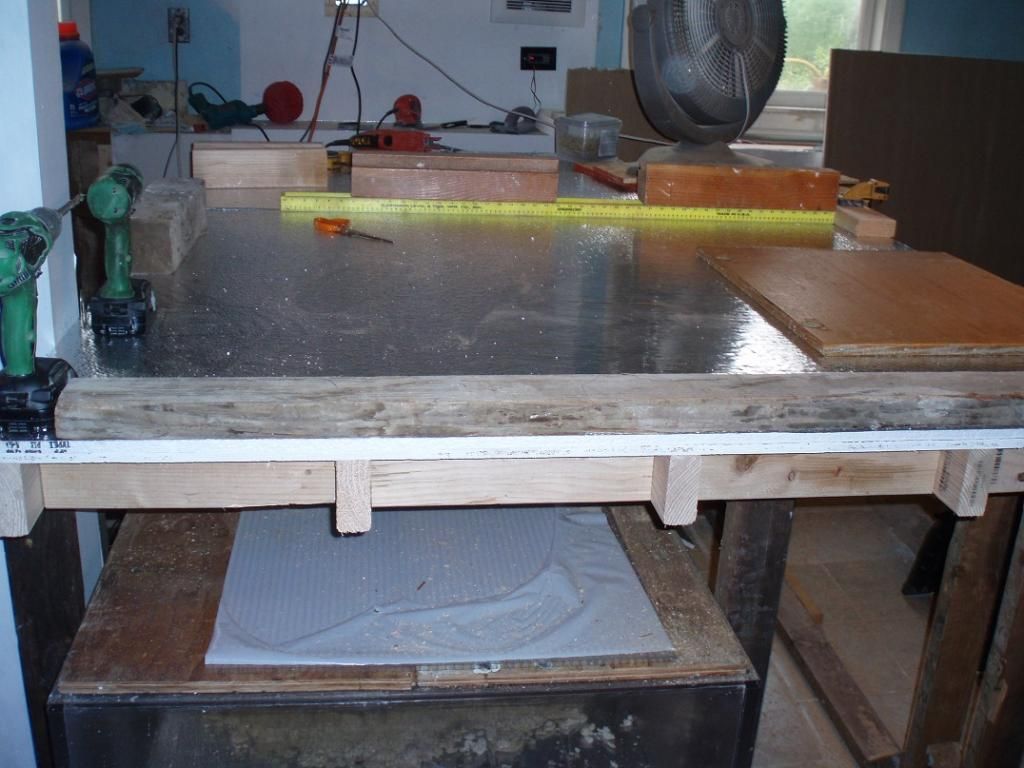
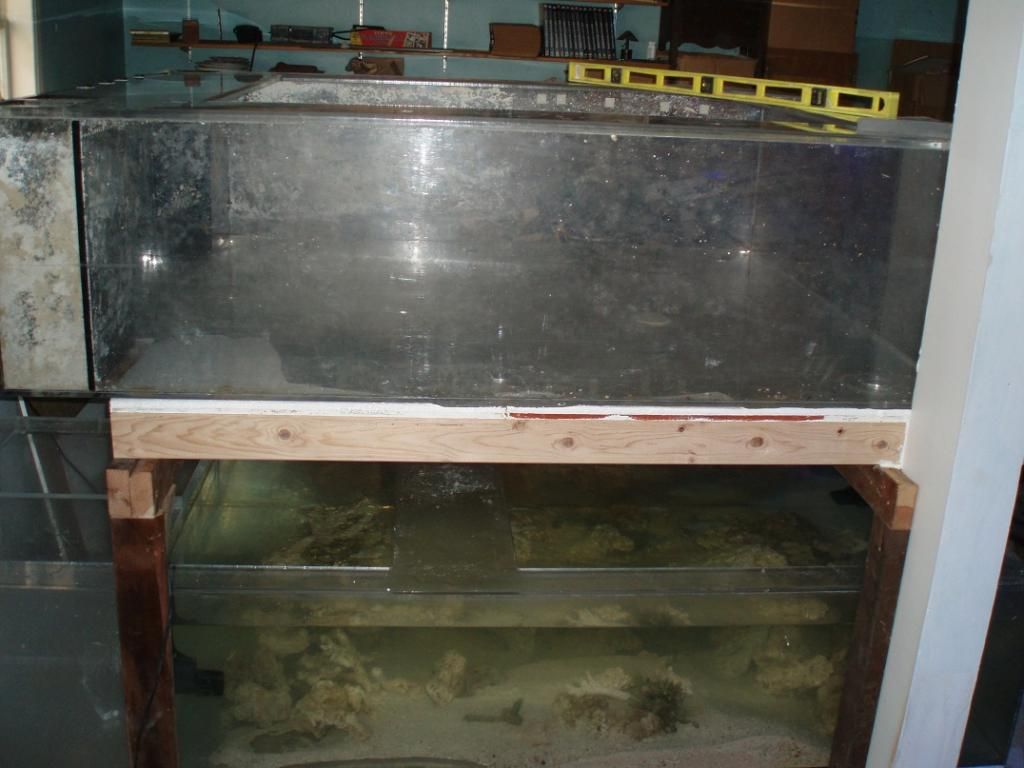
On top of all that bracing went a deck that would actually hold the stand, the longest unsupported span is a hair over 4 feet and with all 5 beams, I'm really not terribly worried about any deflection at all... or at least I hope that I hearing creaking sounds when I start filling it with water to alert me:D

So what you're looking at in the picture is the "front" part of the stand, there's blocking in there to tie all the beams together, and then there are gussets attaching each of the beams of the deck to the beams of the base tying it all together as one solid piece of badassery! Seriously, the only earthquake I'm worrying about with the stand is the one strong enough to take the whole house down with it. On top of the deck is 1/2" ply, and on top of that is 1/2" styrofoam, all the junk on top is just to hold the Styrofoam down while the glue under it sets up. All the stuff on sump was basically put there to cover the openings so that no sawdust, screws, or other nasty things made their way into the sump while I was building the stand.

So I'm ready to move the tank... ahem... the tank is going to need to be moved. *calling in favors that are owed* But seriously, the tank isn't horribly heavy. I almost could do it by myself, and probably could with a bit of help to get it up a step, as it's basically going to roll on furniture movers to here (after a step) and then lean it against the stand and push it up onto the deck. But since tomorrow is Easter I'll understand if people are busy. But I'll only need like one extra set of strong set of arms/back, 2 might be easier though

You might be saying "Hey Mike, are you going to get sloppy with the stand again and just leave it as naked framing?" to which I reply "Ha,ha! No I am not... I hope" seriously though the finish work on everything will have to be after the tank is up and I'll probably have it filled before I finish just so I can allow it to cycle while all the
details are done. Not to mention I'll need to climb in and out of the tank to deal with the scratches that are inside the tank, plus plug some holes up! Plus running plumbing and power cords, and all that stuff is going to be a whole lot easier if silly things like wall panels are not in my way all the time.

Also to kick start the motivation.
Salt_zps26e99596.jpg


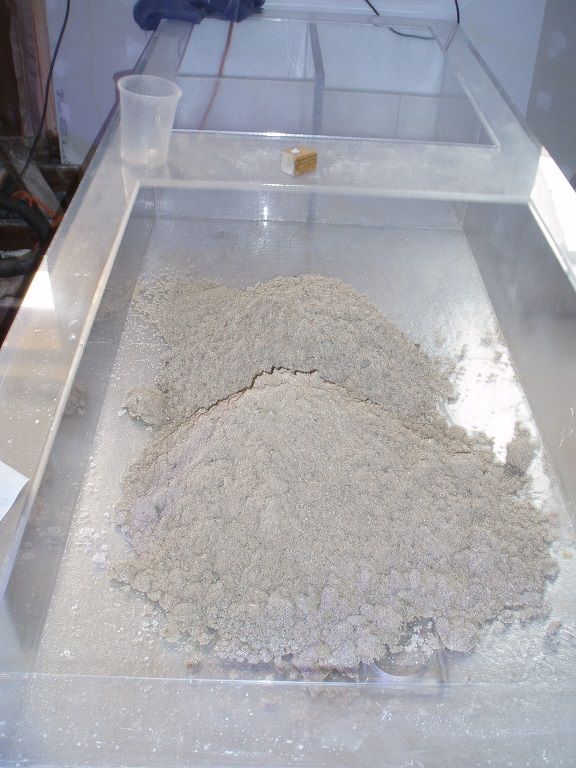
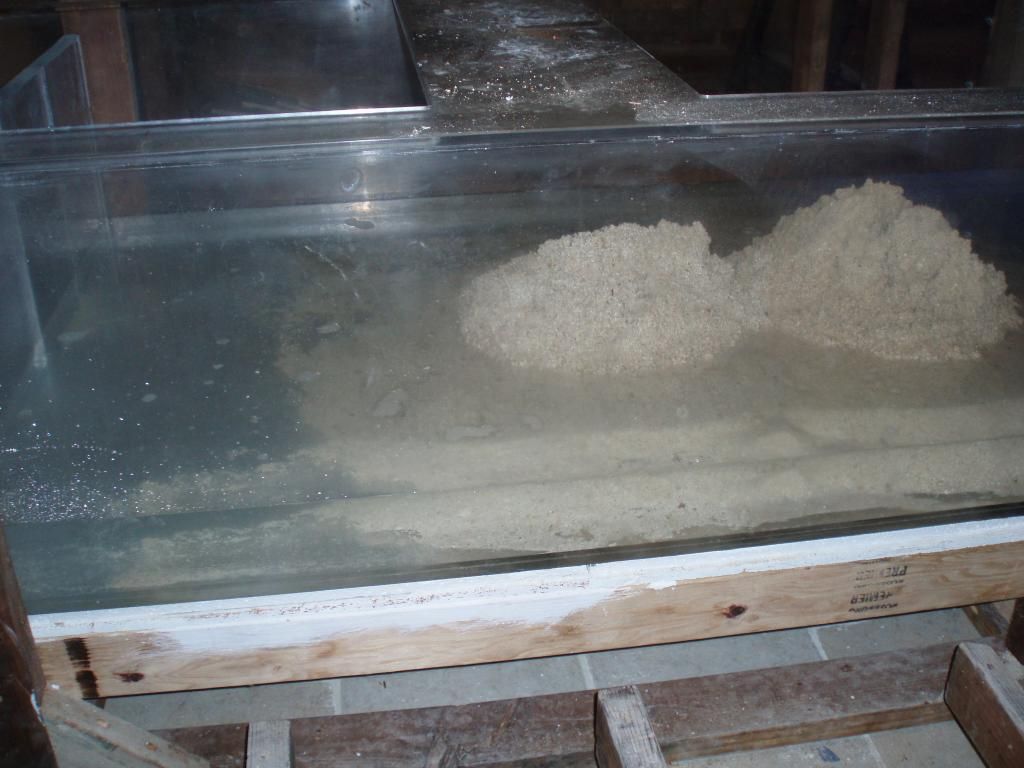
First 30 gallons is mixing as we speak! Going to fill the refugium, hopefully get a cycle started with the sand in there. While I did clean it fairly well I'm sure there's still some stuff in it... plus it's been sitting in buckets for years, I'm quite sure any live qualities it had are long since gone :D Also thinking of tossing in some dryrock that I plan on aquascaping with later, if anything get some bacterial growth on there, maybe toss in a few pieces from the tank that's up now too just to kick start the bacterial process as I'm not going to use the snake oil in a jar to "accelerate" the process, and since the top part of the stand is up it'll make it awfully hard to refugium to kick start the ammonia process :D
 
First water! 1 can of approximately 30 gallons down, approximately 19 more to go!
Sump-FirstWater_zps23212d49.jpg

I can almost hear those bacteria reproducing in a wild orgy of salty fun!
 
Awesome Mike, moving right along!! I'm sorry, I'm working today. Hope the tank move goes well.


Sent from my iPad using Tapatalk
 
No problem, I have a dinner to go to in an hour or so anyways. However if the offer stands with either of you anytime during the week (or next weekend) I would love to take you up on the offer. I work nights so I'm free during the day.

Mike, no worries about the water I've put in 3 more 30-gallon buckets of salt water into the refugium, honestly didn't think I'd produce water that damn quickly. I'm maybe halfway filled with that, so I'm good as far as water is for now (lots of sanding required on the main tank before I think about putting water in it). Either way I tossed a bunch of dry rocks into the sump, and along with the sand everything is covered with water, so the cycling process will work fine for now.
 
Thanks Mike, I may give you a call later today I think I still have your number in a message somewhere.

Although I forgot about all the paper on the bottom of the tank, and I'd rather avoid a brown bottom, upside doesn't matter if I scratch it all to hell because it'll be under the tank, so hopefully only will take me a few hours..
 
Alright so I did what any man would do... I tried to move it myself, I got it on dollies, I rolled it across the basement floor, I managed to get it up 2 steps, I figured I could lean it against the stand and push it up since I can live on end without much problem... however the laws of physics slapped me across the face and scolded me telling me I should have known better.

Luckily Mike just lives up the street and he came to help. It was not terribly difficult getting it up with two people, it was more of an issue sliding it on the top since there was still some sticky residue from removing the paper. We ended up talking way longer than it took to get up. But with some lifting and pushing it finally got laid into place.
Tank-Frontangle_zps9b4a0434.jpg


Here's a side view, fuge is filled pretty good, tossed in every piece of usable rock I had that was dry, along with the sand, I'm sure the ammonia level is inching up... I really should probably test it but I'm being kind of lazy now ... plus everything got put away for the move so I'm not quite sure where my test kits are.
Tank-Side_zps0053f104.jpg


Next up, plug those holes in the tank, and climb in to sand away all the scratches.
 
Yeah, even though I'm in the "ahhh damn now I need to sand this thing clear" stage I'm still trying to get some sort of aquascape idea going on in my head and I'm completely coming up with a blank... which is really irritating. While I have had decent success in just letting the creative juices flow at the moment I really would like to have a plan. So far the plan is to have two 5000gph pumps at the back of the tank hiding between the overflows and perhaps build some rock scape directly on the back acrylic but.... that'll take care of 5% of the tank.

As to reaching in the middle of the tank? Hell I can't reach the side of the tank since the top is eye level. But I have idea or two floating around for a plan to access the tank :D
 
Seems like main display tank should have a square or even round overflow in the very center.
Perhaps with returns coming up through it. So all 4 sides are open for viewing.
Then put rock around it, so it simply looks like a nice center reef formation.
That also eliminates the need to reach the very center.
Plus, you could set up a gyre around the center, for improved flow.

Access to the top tank seems simple enough. A ladder, and a few 2x6 boards you set across the tank.
But access to the sump .... pretty funny thoughts of getting stuck there, with one arm in
a skimmer....
 
A center overflow might be better suited for a tank of this size, however I have to think that it would be extremely impractical to fit that in any room, as it is I managed to pull a moment of genius out of my ass just to get 3 sides viewable while still having a reasonable amount of room on those sides to view. Not to mention a center overflow would restrict how you setup pumps unless you want them jutting from the center (I'm not a fan of closed loops, energy efficient they are not).

As it stands having the back available to put pumps and "hide" them works best. I think running the return will be something I'll do once everything is up and set, trying to think of some dynamics to get a some gyres going with some flow on the surface back towards the overflows. I managed to do that with my 180, but as soon as the corals grew in the destroyed the gyres that were setup :D
 
Ok picked up an ammonia test kit, I thought I may have had one laying around but with everything put away I couldn't find it, and I'm sure it expired. between 1.0 and 2.0 PPM (or whatever the units are) with no dying crap on live rock I don't expect it to get terribly high. However I'll keep an eye on it to see if it's still rising or if it's fall off, stuff hasn't been in there TOO long for me to think that it's already peaked.

Also getting very depressed with acrylic. finding scratches after I finish going through all the sanding and buffing, some are very fine and I'm getting to the point of calling it a day and claiming they'll disappear when I fill the tank with water which very well might be true, wet sanding is such a pain in the arse because it's still wet you can't really see the new scratches you put in with the finer sand paper grits or more importantly see if you completely erased the ones from the previous grit paper. Also found out palm sander, not a good idea, chatter marks all over the fricking place and that was with 2500 grit, lesson learned start all over again from 400 grit and work my way back up by hand. I'm almost done with 1/3 of the sanding I need to do though, that translates to one acrylic pane, still need to buff it down with Novus 2 and call it a day.

Need to also start thinking about assembling some lights both for the main tank and for the refugium underneath. The refugium part I was thinking of ordering some various macro algae online and just seeing which ones end up taking root and staying and calling that done. Might go with a couple of those multichip emitters for the refugium just so I don't need to deal with a ton of LEDs.
 
Wow! That is going to be sooo awsome when it's set up! I'm envious of that refugium space, great stuff!

I gotta go update my Wifebane thread.... got some fish and corals in it now, trying to figure out a sump.

V
 
Yeah... when it's setup.. my right arm is absolutely killing me from all the sanding. I got a system though, sand with one grit everything. Wait for it dry and then I can see if the sanding worked properly, the wetness makes it hard to see the scratches and those finer grits you don't know if the sand paper is done yet, unfortunately that's a rather long turn around time but it gets my arm some rest.

Oh well, Friday or Saturday I should be done, or at the very least with "awww screw it, it's good enough"
 
Back
Top